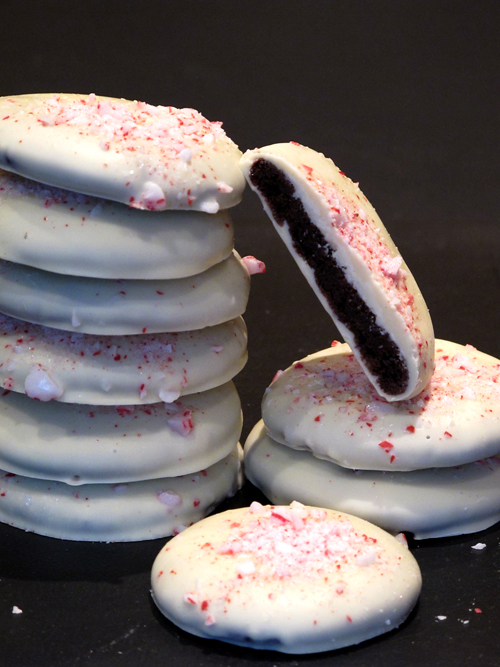
On the seventh day of holiday baking , my true love brought to me: a heating pad and thermometer. No, I’m not sick with fever and chills. Those are just some essential tools to temper chocolate. The recipe for these cookies comes from the December 2008 issue of Martha Stewart Living. I dreamed about these cookies for over a year, not quite trusting myself to make them without having a clear plan of where to deliver them. I finally made them for my holiday gifts last December and they were so amazing, I had to bake them again this year.
I have adapted this recipe somewhat. Martha asks you to roll the chocolate dough, chill it, cut out circles, with a 2 inch cookie cutter, chill the cut-out cookies and then bake them. I simplified things by rolling the dough into a cylinder, freezing it and then slicing and baking. Faster and easier. Although Martha does not suggest tempering the chocolate before dipping, I highly recommend it. It gives the chocolate a beautiful shiny coat and the white chocolate will not melt in your hand when you eat them. I am warning you, it is a time consuming and highly exacting process, but I think it’s worth it. Should you decide to forgo the tempering, they will still taste just as delicious but the appearance will not be as spectacular.
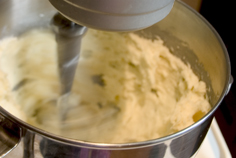
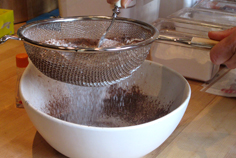
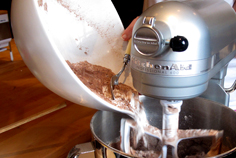
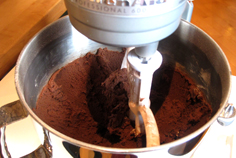
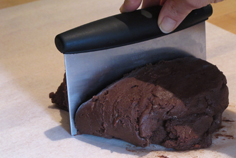
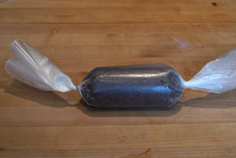
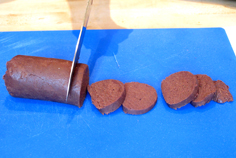
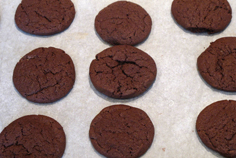
Begin with creaming the butter and sugar. Sift the dry ingredients. Usually when a recipe calls for sifting, I just ignore those instructions, but when cocoa powder is involved, it’s a good idea as it always has lumps. Divide dough into two, roll it into a cylinder, wrap in waxed paper, and freeze. Then slice and bake. The bottom of each slice becomes a bit flat when you slice them. You can reshape them quickly back into a perfect circle with your fingers if you want, and then you will have perfectly round cookies.
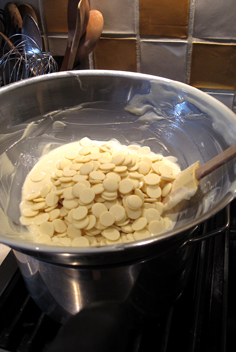
After the cookies have cooled, get ready to temper the white chocolate. DO NOT USE CHOCOLATE CHIPS FOR DIPPING! I can not emphasize this enough. Chocolate chips are made with certain stabilizers in them to help them hold their shape and not melt completely. That is not what you want here. Also, do not buy the pure white stuff at the bulk food store that is labelled white chocolate. It is not real white chocolate, but rather a coating compound. It will melt beautiufully, but it will taste like crap. Real white chocolate is ivory coloured. Buy good quality white chocolate. I like Callebaut or Lindt.
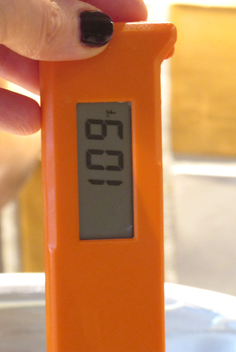
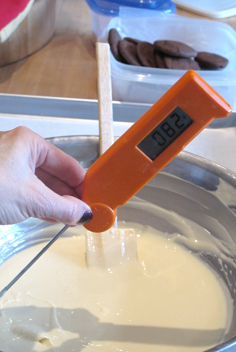
Many chocolate companies are now manufacturing their chocolate in the form of “Callets“. While they may look like chocolate chips, they are not. It is the same as buying a block or bar of good chocolate but saving yourself the time and mess of chopping. A great source for them is www.qzina.com. For tempering, it is also a good idea to have some solid blocks or bars of chocolate as well. Those work well to help cool down the chopcolate in the second step of tempering. A good quality instant read thermometer is helpful for this project. I have the Thermapen and I love it and use it for everything. It was recommended by Alton Brown and Cook’s Illustrated. Can’t get a better recomendation than those two! I also just heard about a chocolate thermometer , which looks really cool. haven’t bought it yet, but I am tempted.
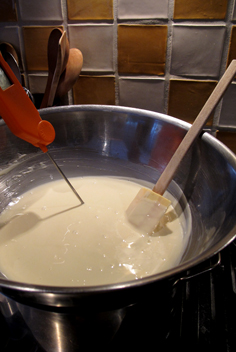
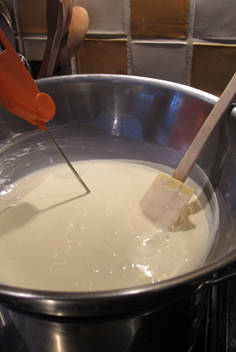
Step 1: Melt white chocolate over a double boiler of simmering water, to 115º F.
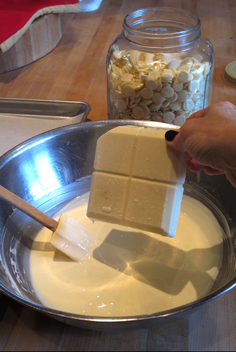
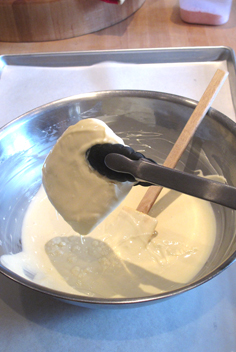
Step 2: Remove from heat and add a block of white chocolate. Stir to cool chocolate down to 81º (for white and milk chocolate) (86° F for dark chocolate). This will take about 10-15 minutes. Be patient. Remove block of unmelted chocolate. This unmelted piece can be wrapped up and reused another time once it has cooled.
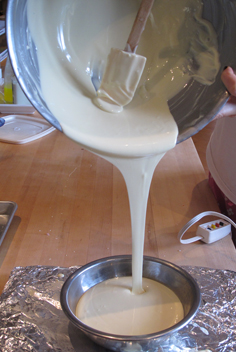
Step 3: Then briefly place bowl back over the double boiler for just 10-15 seconds, until it warms up to 86º F (for milk and white chocolate) (89° F for dark chocolate). Congratulations! You have tempered your chocolate. Now transfer tempered chocolate to a smaller bowl and place on a foil covered heating pad, set on low.
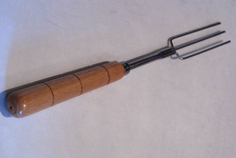
A fork is the best tool for dipping the cookies into the chocolate. I was given a fancy set of chocolate dipping tools many years ago and they are fun to use, but a regular fork will suffice. I saw a less extensive set of these tools on amazon, so if you plan to do a lot of chocolate work, they are a worthwhile investment.
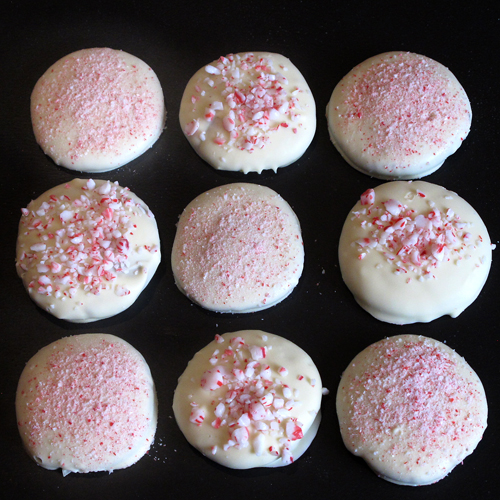
Dip cookies in melted chocolate, and sprinkle with crushed peppermint candies. After you crush the peppermint candies (the Cuisinart does a great job of this), put them through a sieve. This will separate the finer dust from the crumbs. It’s nice to sprinkle some of the cookies with the dust and others with the coarser crumbs. Chill and eat!
To print this recipe, click here.

