Tag Archives: Tarts

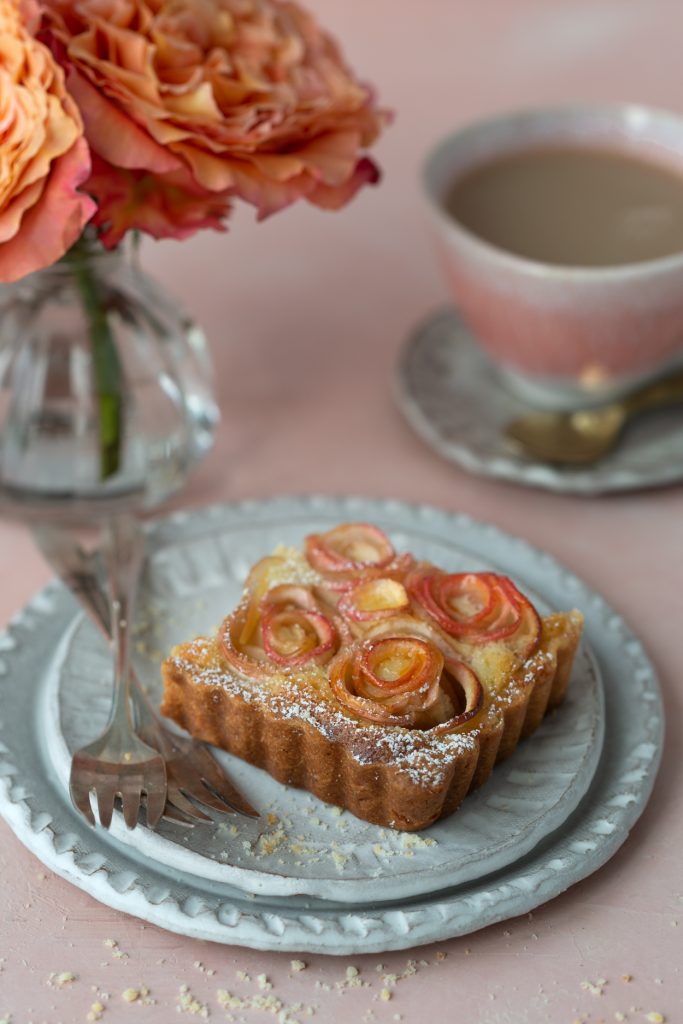
Apple Rose Tart

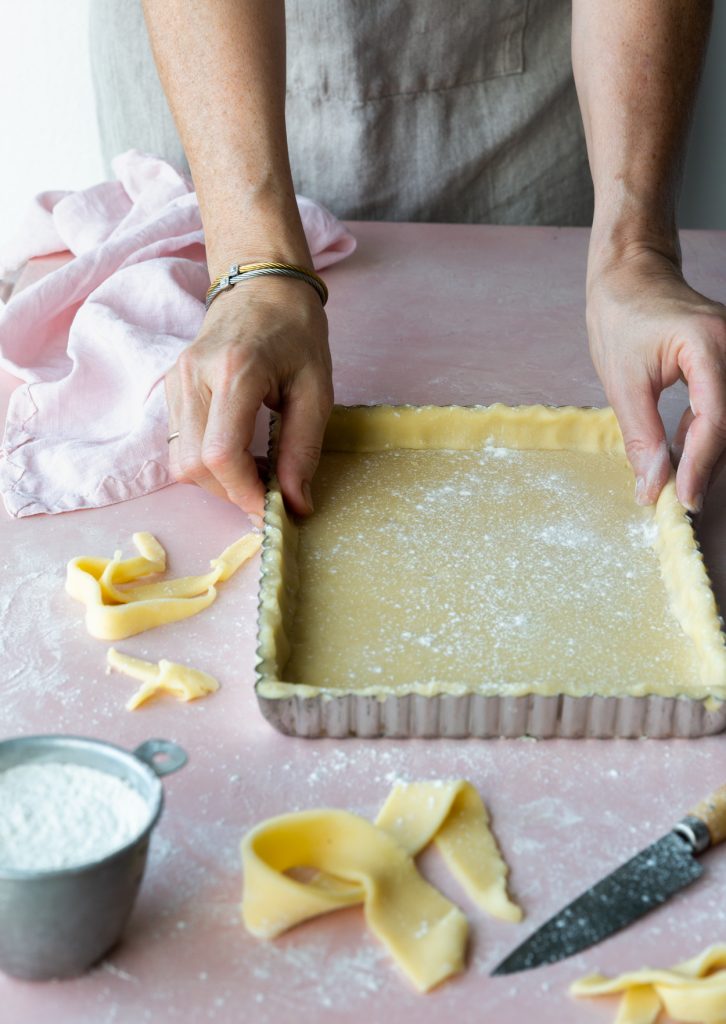
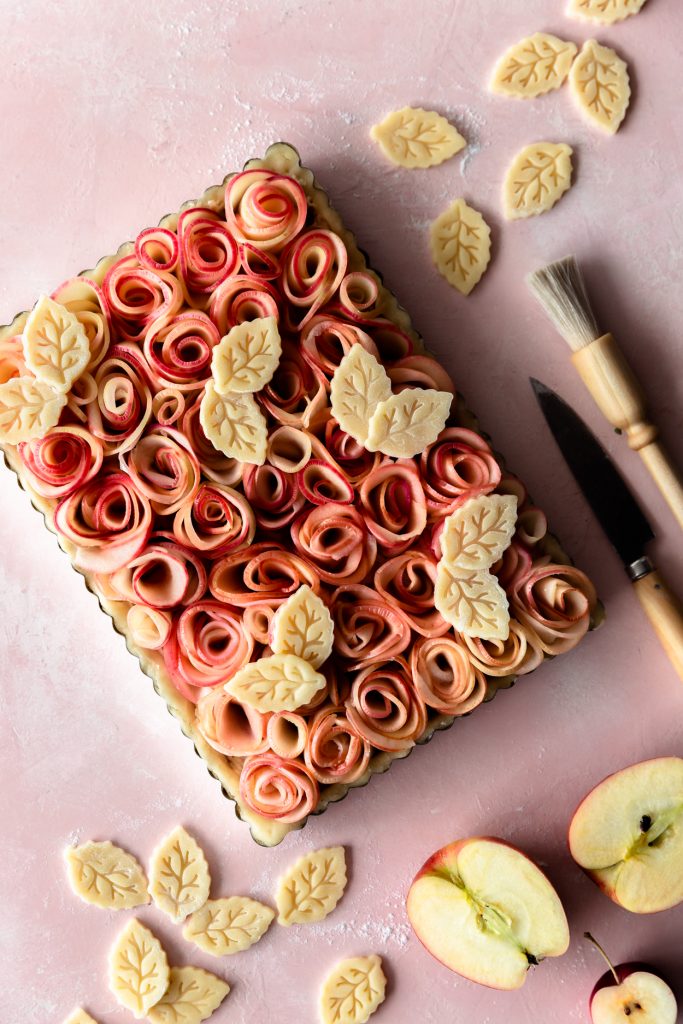
Sometimes when I post things, I think, “who is actually going to make this?” This Apple Rose Tart is one of those things. It took a few hours to create this beauty. It is my take on Julie Jones’ incredible Apple Rose Tart. I have been obsessed with baking it for a while now. I finally decided to tackle it last week.
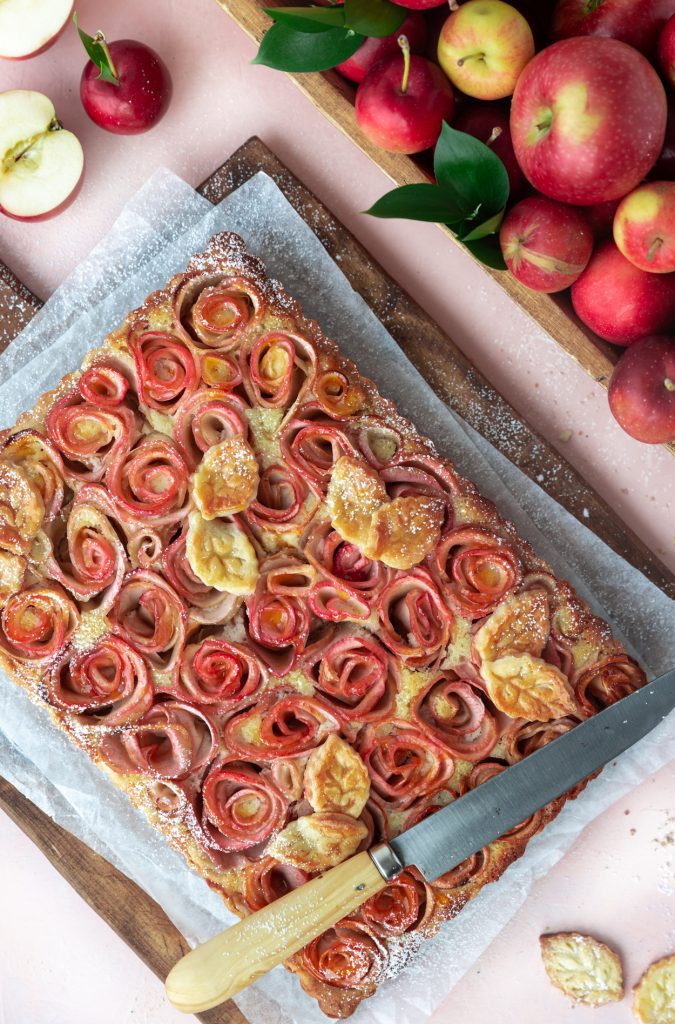
I was listening to Sprout podcast last week, on the subject of Creating a Space for Judaism in the Lifestyle World. Rebekah Lowin was being interviewed and something she said resonated strongly with me. “Things don’t have to be fast and easy. They can be a little bit challenging. Sometimes giving yourself a challenge is beautiful and a more interesting way to live your life.”

My girlfriend Sandy and I were chatting last week, about how we want to spend our time, at this point in our lives. We are both empty nesters. She said she is looking to pare down her time in the kitchen. She only wants fast, easy recipes. I had to laugh, because at this point in my life, I only want to create and photograph beautiful food. If it takes a bit longer, I’m ok with that. I have always had a very strong sense of aesthetics. It drives my husband crazy that I insist on labelling jars with my label maker, in a specific font and not just masking tape and a marker.

So, even f you don’t plan to create this tart, I hope that you can enjoy my journey and still appreciate the beauty. If you do plan to make it, I have included a very detailed recipe and a video showing how to create these beautiful apple roses.

Julie’s version of the tart uses a basic shortcrust pie dough. I decided to use a pâté sucrée instead, which uses more sugar and some eggs. It has the crumbly melt in the mouth texture of a shortbread cookie and I thought it would pair perfectly with tart apples.
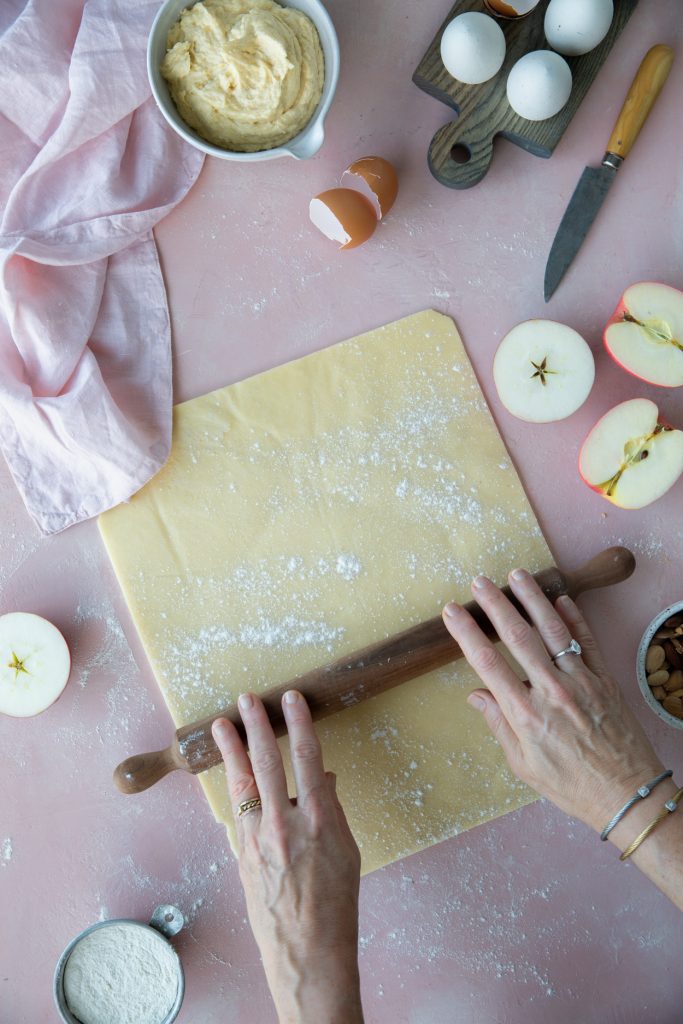
I used a rectangular tart pan (11×7 inches) but a 9 inch round pan would work perfectly. The pan should have a removable bottom. The tart is first filled with an almond frangipane (ground almonds, eggs, butter and sugar).
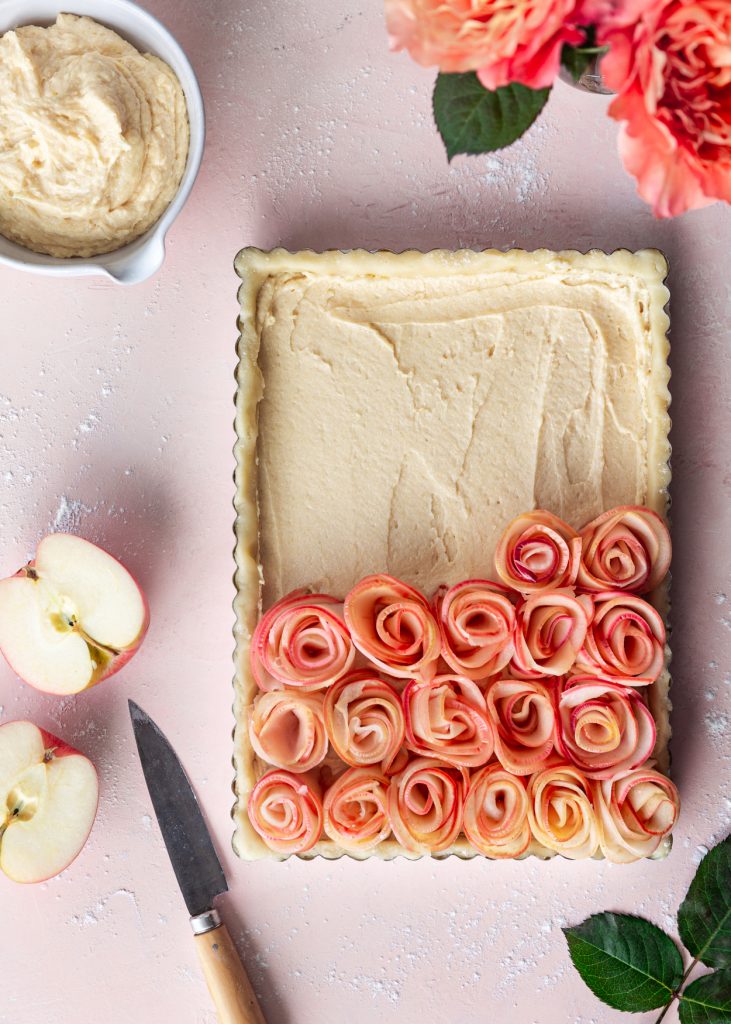
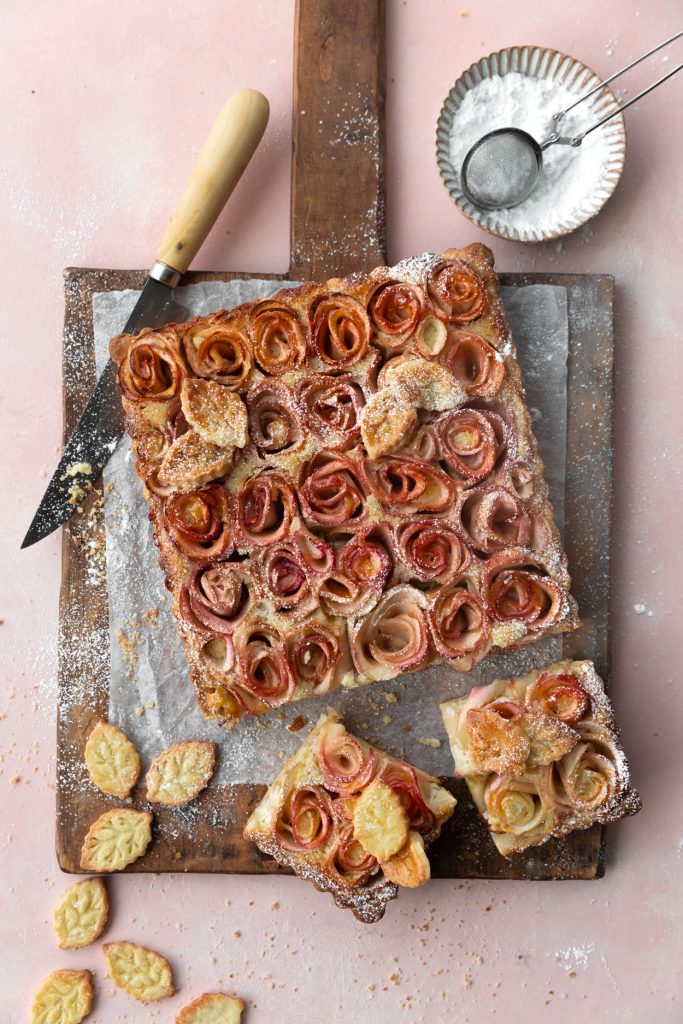
The apples need to be sliced quite thin (1mm or 1/16 inch). A mandolin is best for this job. Core apples and cut in half, vertically. Once sliced, they go into a bowl of cool water with lemon juice to help prevent browning. Then, they are microwaved until pliable and don’t crack when you bend them. This takes about 5-8 minutes, depending on your microwave. Then the fun part begins. It’s not actually difficult, it just takes time. I found the process quite meditative.
Heirloom Tomato Galette and a Family Reunion

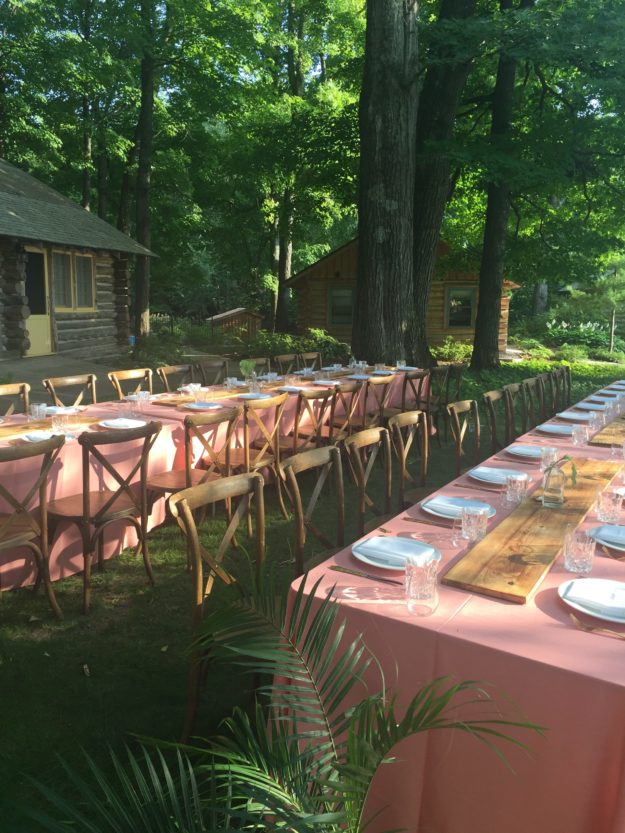
This past weekend we hosted our Triennial (that’s once every three years) family reunion at our cottage, Our first one was 18 years ago, in 2000. This summer we topped out at 43 guests. A tent and more than a few blow up mattresses were involved. Luckily the weather cooperated.

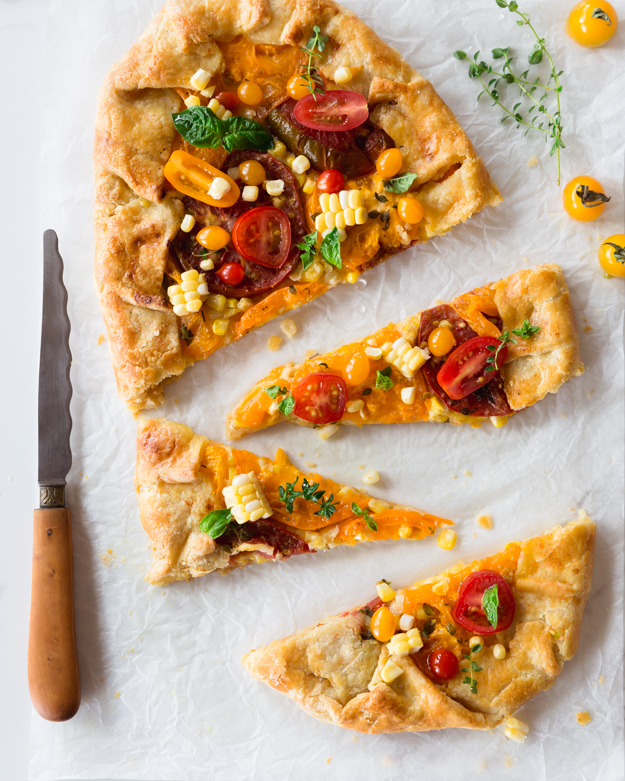
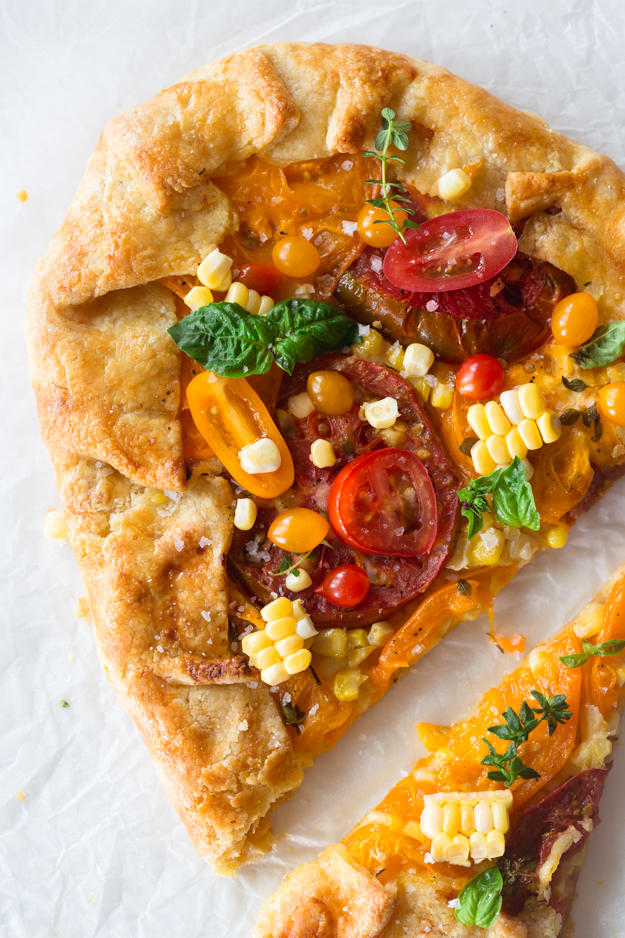
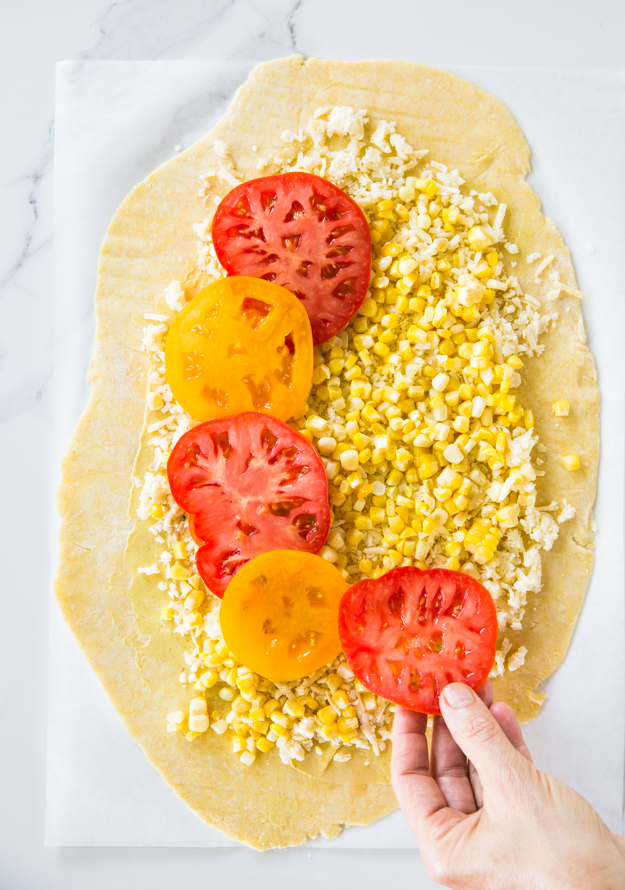
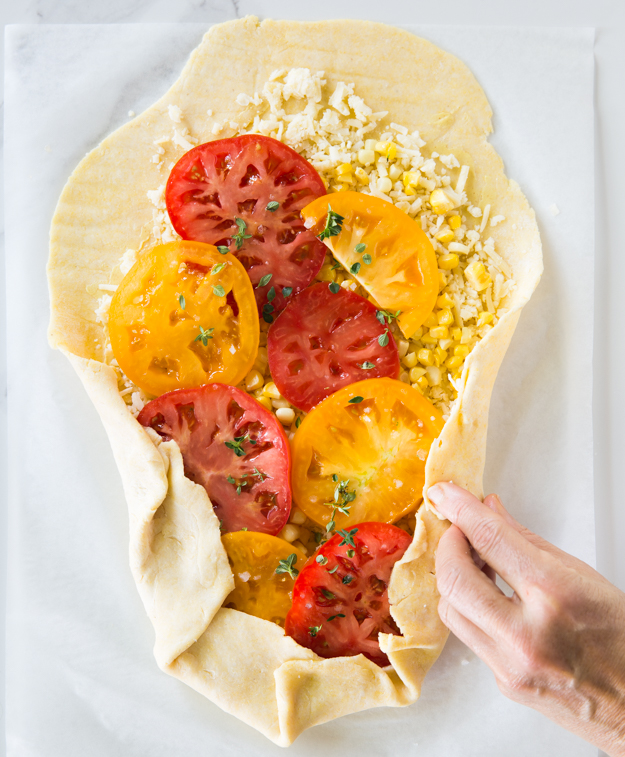
For lunch on Friday, I made a bunch of these galettes. Taking advantage of glorious summer heirloom tomatoes and corn, I added some dijon mustard and Gruyere cheese to amp up the flavour.

In my mind, a galette is the boho-chic French cousin of the tart. Free form and just a little rough around the edges, she is way more fun than a tart.

No need to use a tart pan, just roll out the dough into the approximation of a circle or oval. Once the toppings are in place, gently pleat the sides to form a border.

The dough I use for this galette is a bit unusual in that it contains sour cream as well as butter. The sour cream contributes to a super-flaky crust, almost reminiscent of puff pastry, but without all the work. It rolls out like a dream, no cracking.

The video below demonstrates how to make the dough and assemble the galette. I like to make a few recipes of the dough at a time and then just freeze the rolled out pastry. That way, I can bake a galette whenever the mood strikes or hordes of guests descend upon me.

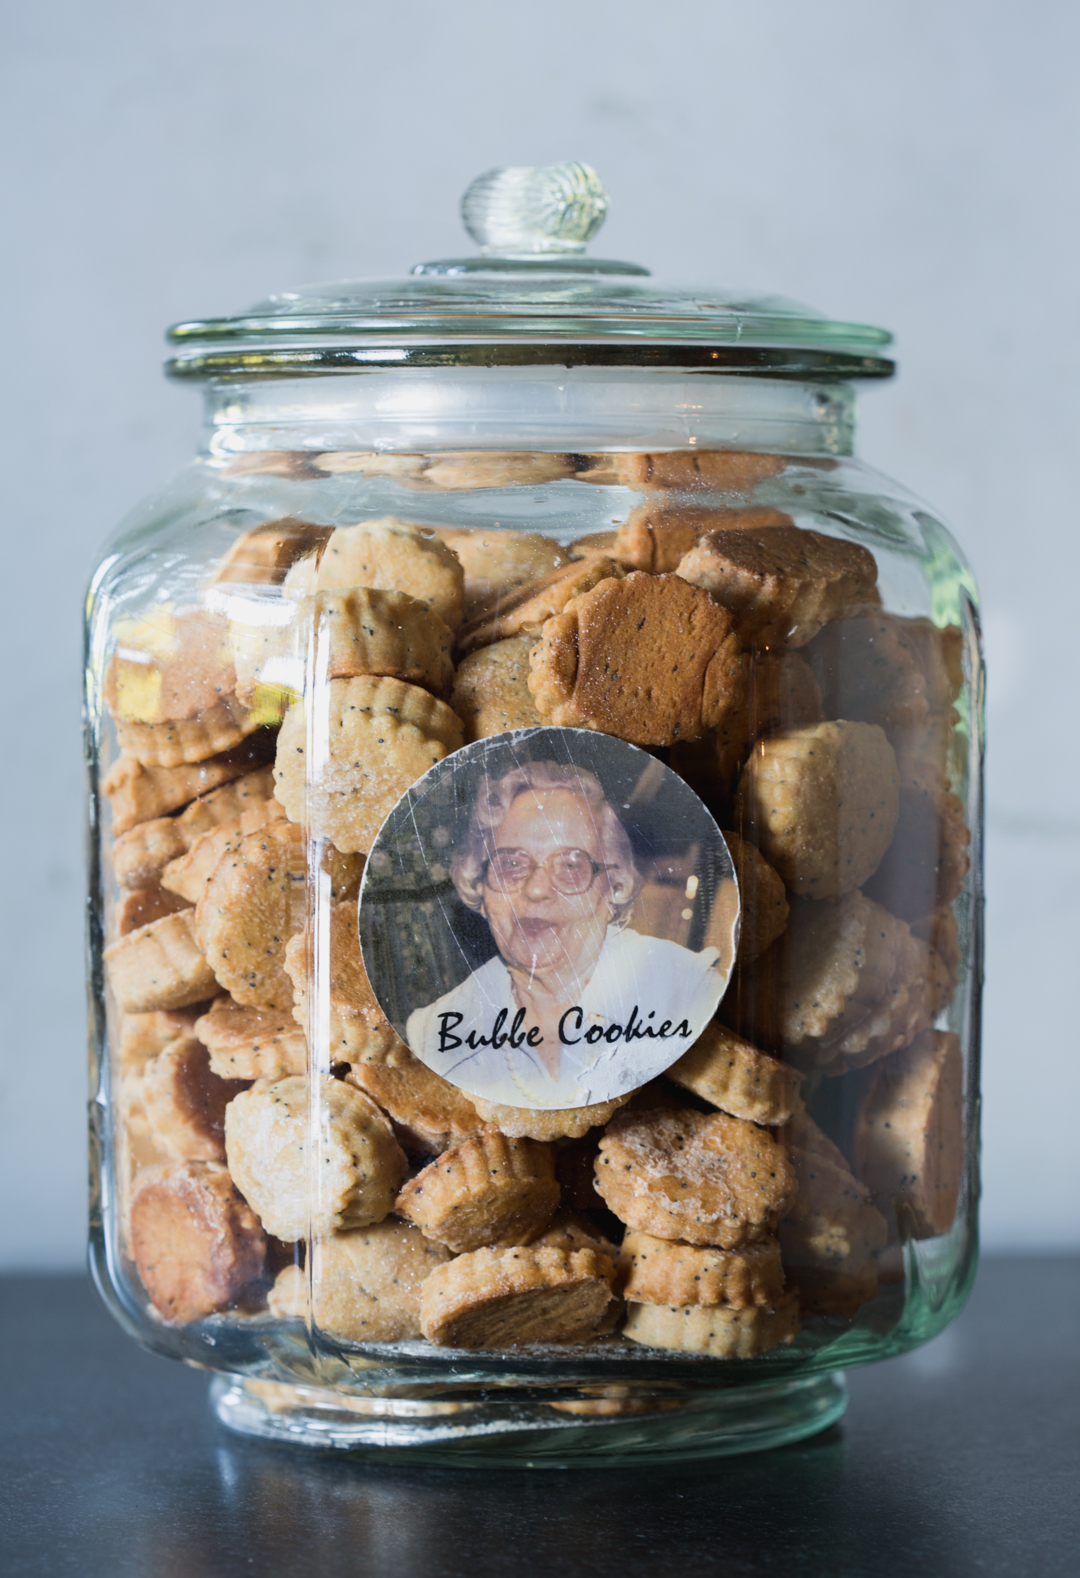
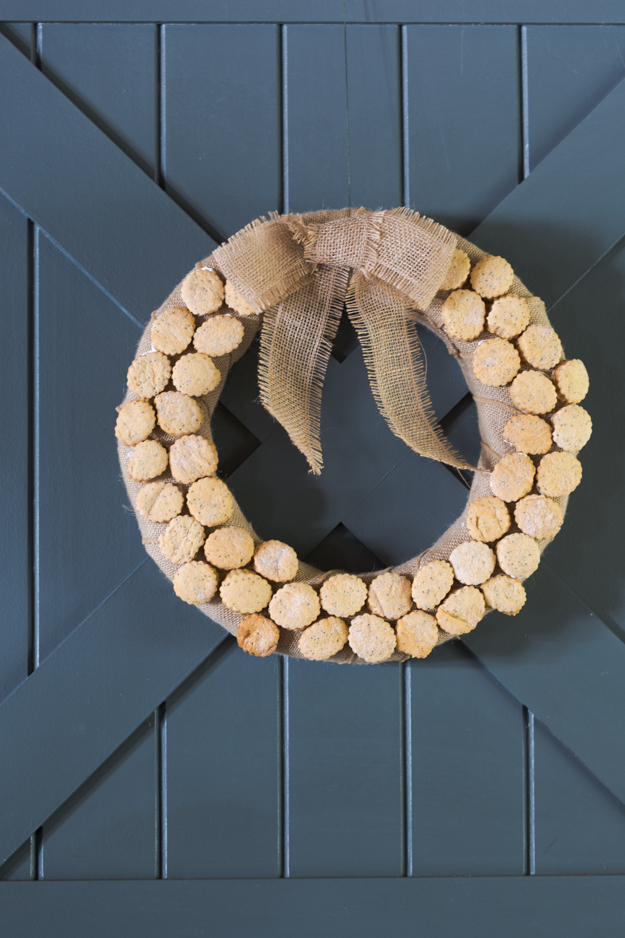
We hired an amazing caterer so that no one had to spend the entire time in the kitchen. Aside from the galettes, my daughter and I baked over 375 “Bubbe Cookies  (poppy seed cookies created by my grandmother, who we called Bubbe) and crafted a Bubbe cookie wreath to welcome everyone.


We introduced our newest cousin to Bubbe Cookies. She’s a fan!
In past years, we crammed the days full of games and activities. 2012 featured “The Amazing Race- Wedding Edition, in honour of my brother’s upcoming nuptials. Under the guise of helping the betrothed couple prepare for the wedding we were  divided into teams and went off on a car rally-treasure hunt to the lovely town of Perth, Ontario.
2015 featured a donut eating contest, where the donuts were dangling from a string, as well as another “Amazing Race” car rally, this time to the booming town of Smiths Falls, Ontario. This year, it was a bit more low key, with more time chilling, and just a bit of drinking. Now that all the little cousins, nieces and nephews have reached the age of majority, everyone indulged in margaritas on Friday night and Cherry Lemon Gin and Tonic on Saturday night.


Being surrounded with loved ones, watching the sun set and eating great food…We are blessed.

Click here to print recipe for Heirloom Tomato, Corn and Gruyere Galette.


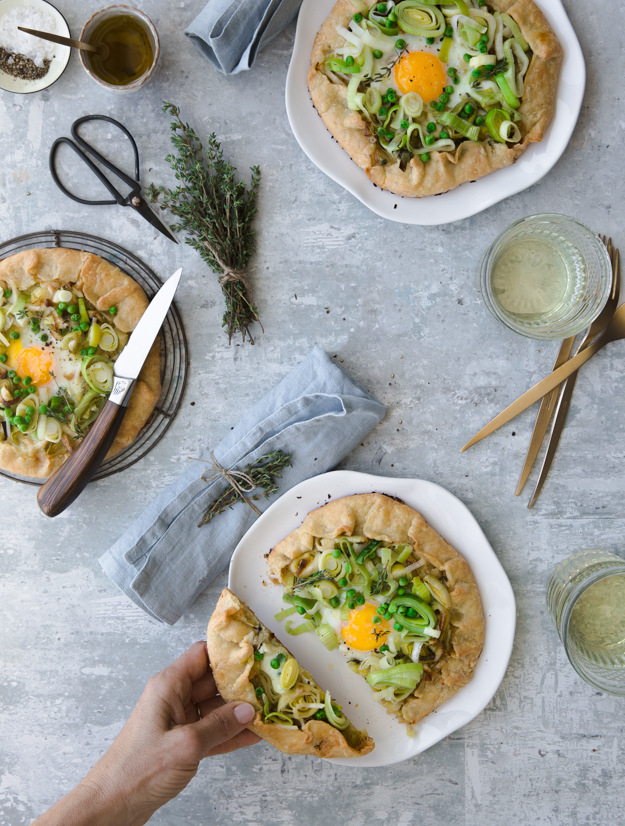
Spring Leek Galette

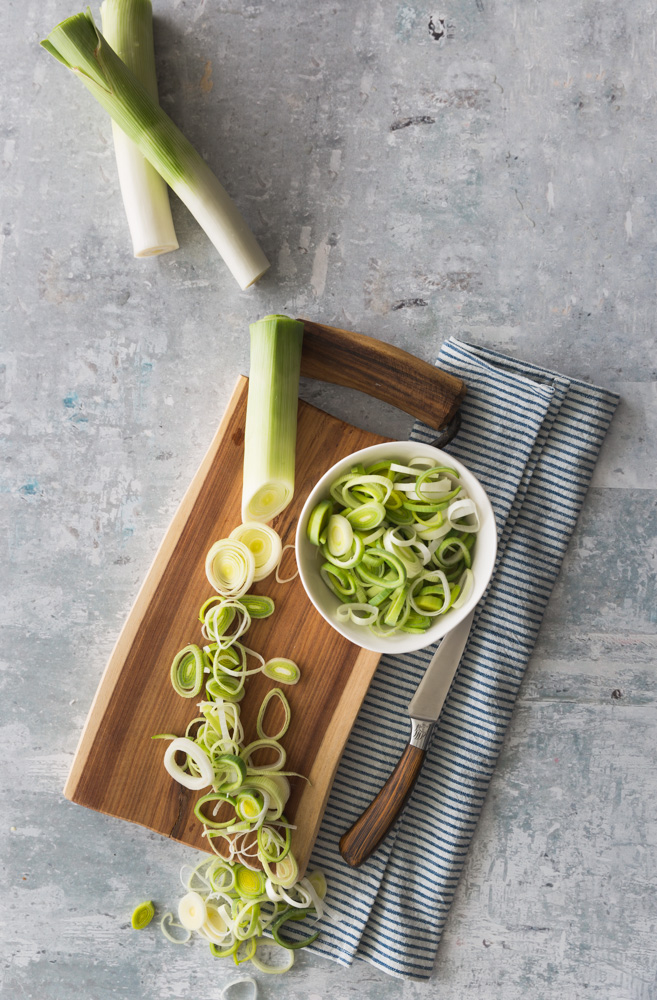
Leeks have never achieved the same popularity in North America as they have in Europe, and that’s a shame. Leeks are the shy cousin of the low-brow onion. Shyness in this case, is a good thing. Cutting them does not cause tears, and their delicate flavour is much sweeter than the common onion. Their natural flavour partner is peas.
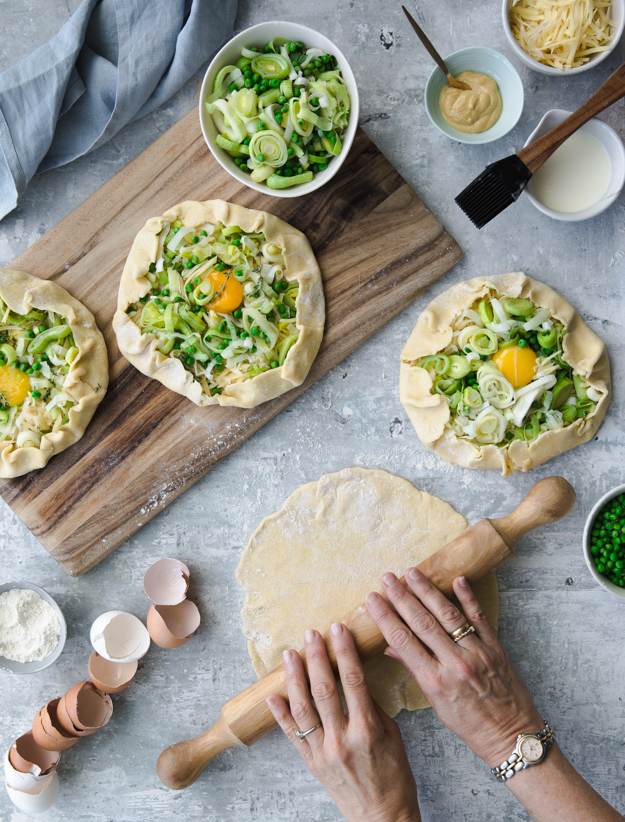
What better way to put leeks and peas together, than in a tart.  No tart pan required, just simply  fold the edges of dough in to form a free-form galette. If you are a regular reader of this blog, you may recall that I have posted about galettes before, here, and here, here, and here. Apparently I have a thing for galettes.
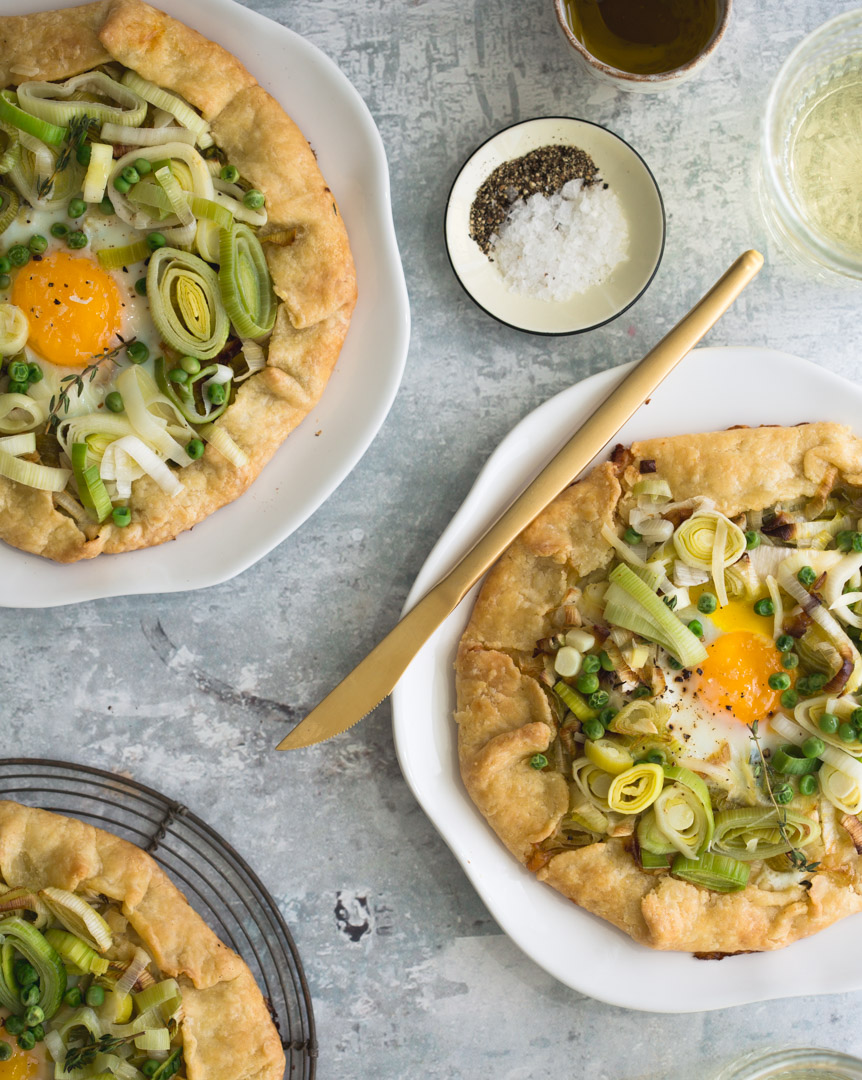
In this version, I spread the dough with some dijon mustard for zing, scattered the mustard with Gruyere cheese because, cheese! After the leeks and peas I topped the galette with an egg because everything is better with an egg on top.

The first time I made them I added the egg just before I put the tart into the oven. The tart takes about 35 minutes, which totally dried out the egg. You want the white to be just set and the yolk a bit runny. On my second go-round I baked the tart without the egg for about 25 minutes and then topped it with the egg for the last 10 minutes of baking. Perfect!

What I love about this galette is that you can serve it hot, warm or room temperature. It’s great for lunch or a light dinner, or cut it into wedges and serve it with drinks. What are you waiting for? Make it today.

Click here to print recipe for Spring Leek Galette.


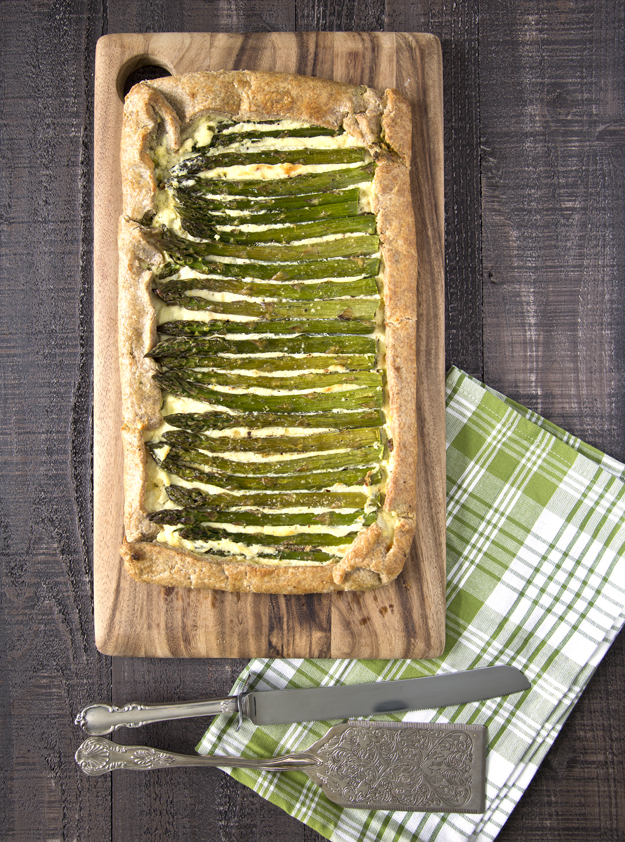
Asparagus Ricotta Galette

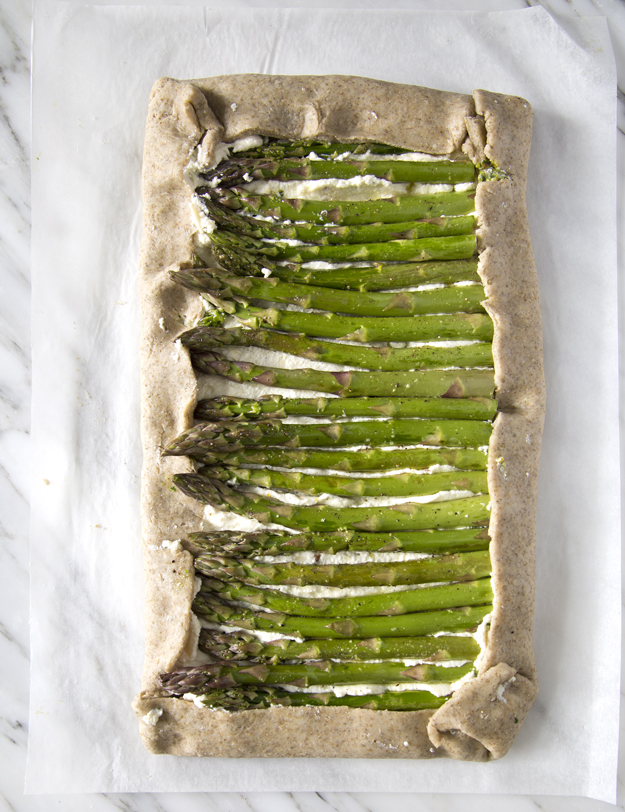
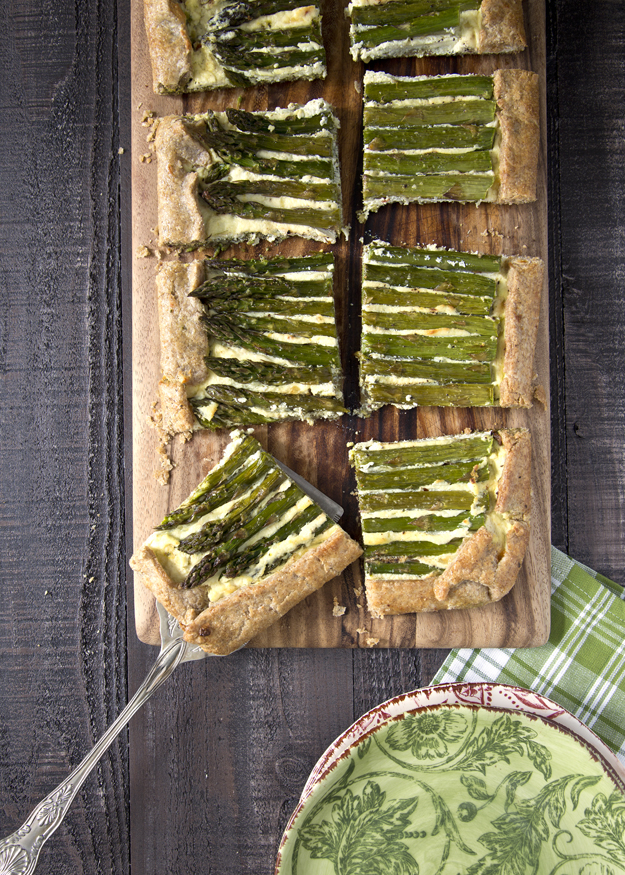
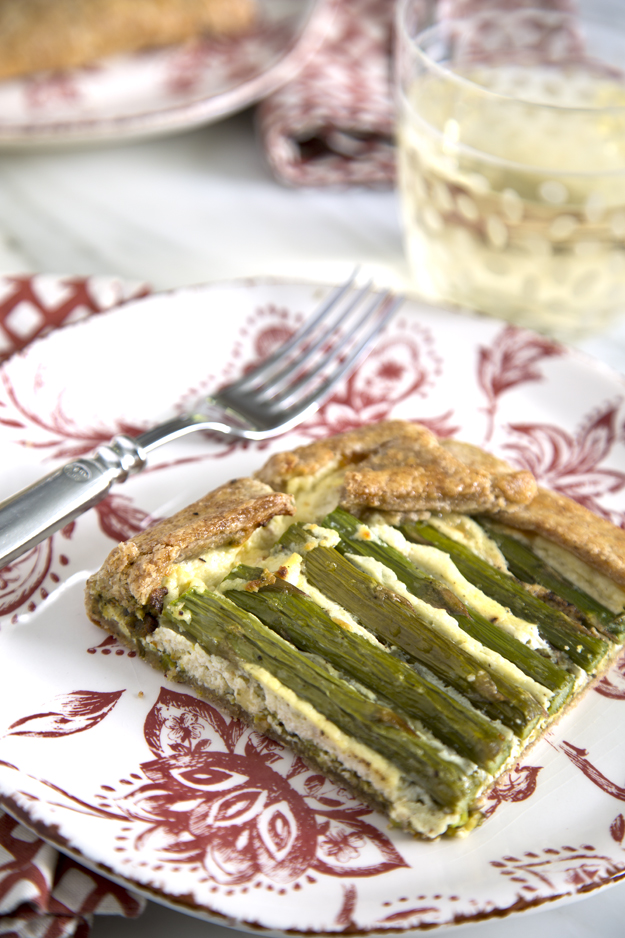
BakedOnce local asparagus shows up, you know that flip flops and a chilled glass of rosé can’t be too far behind. This tart is a splendid way to showcase asparagus, Post-Asparagus Stinky-Urine Disorder, be damned.one sliceMild, milky ricotta is the ideal partner for asparagus. They complement each other perfectly. Ricotta can be a bit bland, so I added  lemon zest, lemon juice and red pepper flakes to ramp up the flavour. Some grated Gruyere cheese and a beaten egg add some heft to the filling.

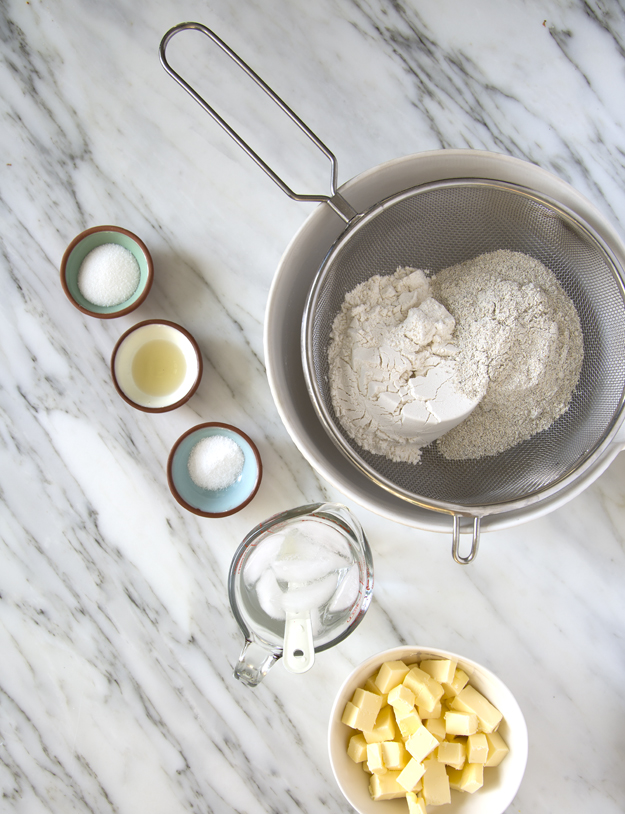
For the dough, I decided to use Kim Boyce’s Rustic Rye Dough, from her book Good to the Grain. The hearty rye dough stands up quite well against asparagus’ strong flavour.

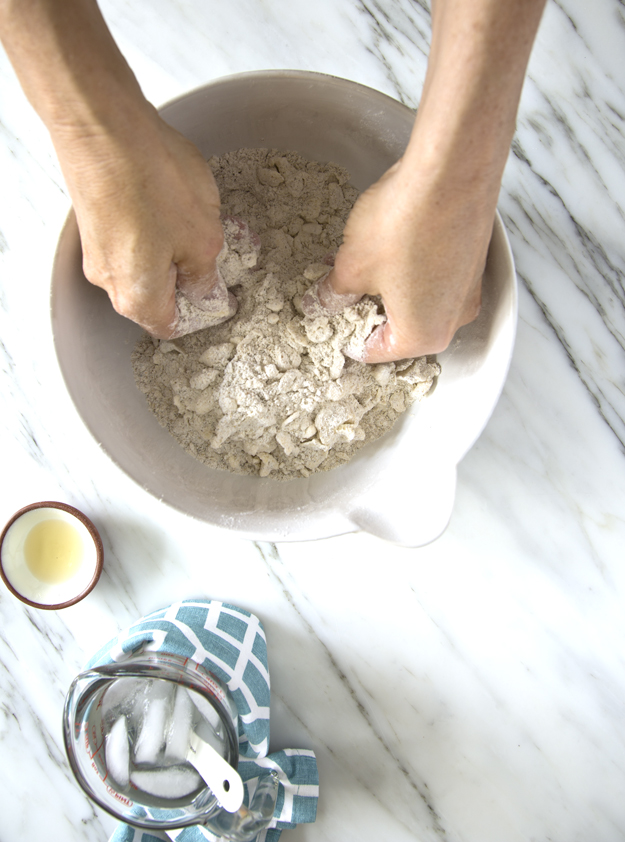
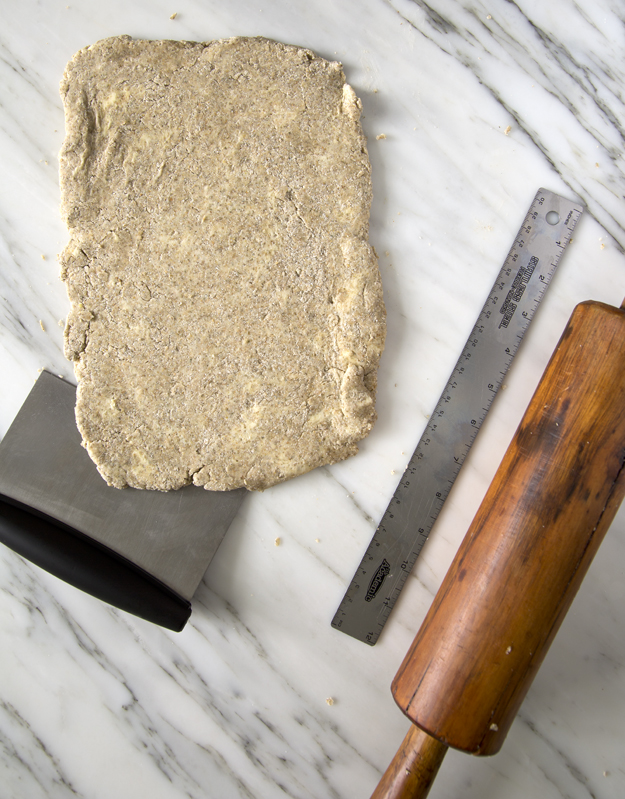
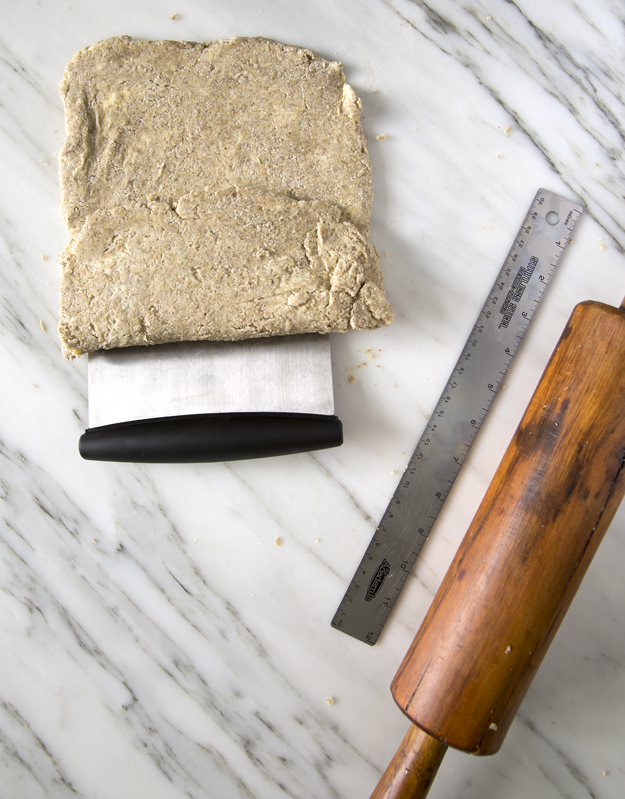
This dough takes a bit of time and needs several hours to chill. If you don’t have the time or the inclination, I think that this tart would still be very delicious using my go-to simple Galette Dough.making rye dough 1Rye flour, all purpose flour sugar and salt are sifted. Cold butter is worked in with your hands. Ice water and cider vinegar bring it all together.making rye dough 2Once the dough comes together, let it rest in the fridge for about an hour, then roll it into a rectangle, and fold the rectangle into thirds, like a letter. This is similar to the process of making puff pastry. The dough gets rolled and folded two more times and is then chilled for an additional hour. You can make the dough and the filling components a day ahead and then just assemble and bake before you are ready to eat. making rye dough 3making rye dough 4I decided to roll the dough into a rectangular shaped tart, but feel free to to roll it into a circle. I have a strong aesthetic sense and I prefer the linear way the asparagus line up in a rectangular tart.

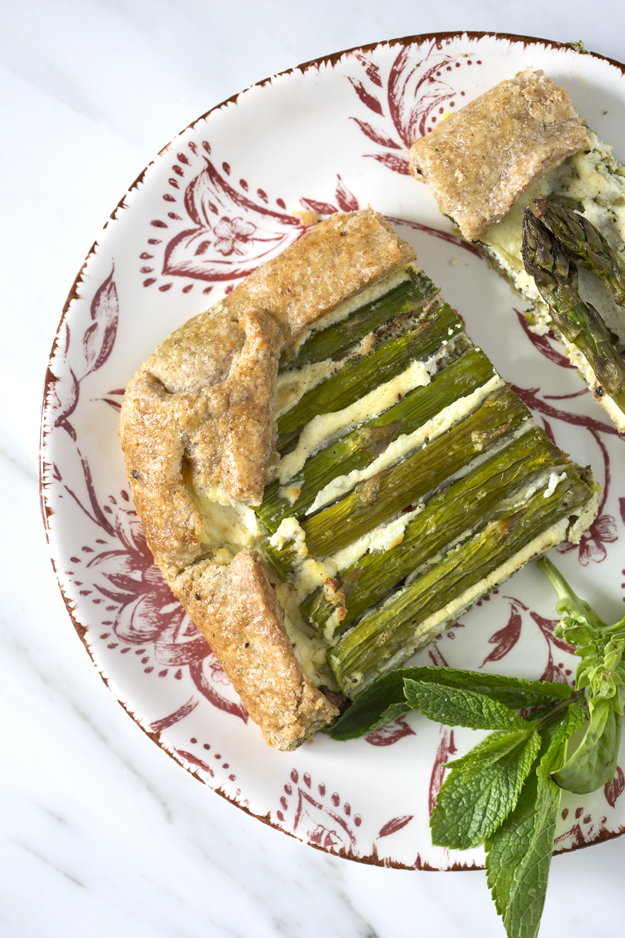
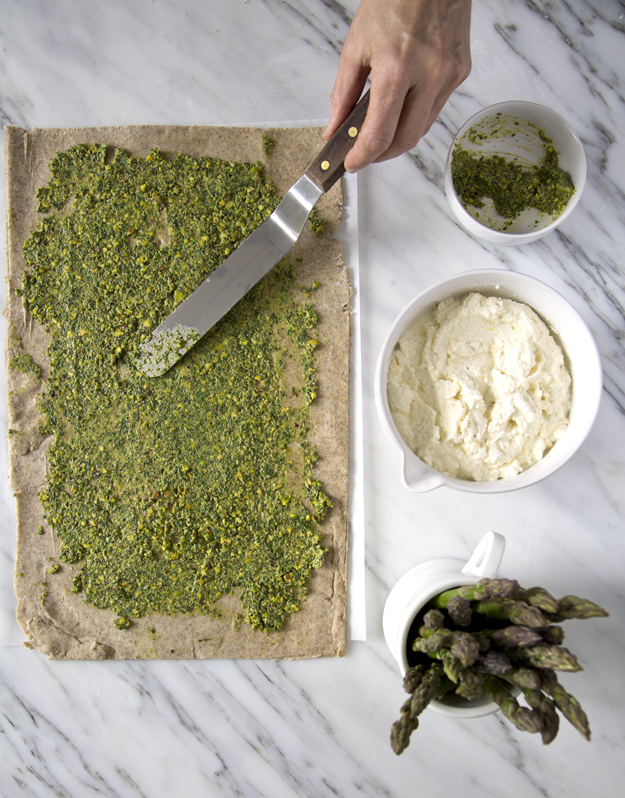
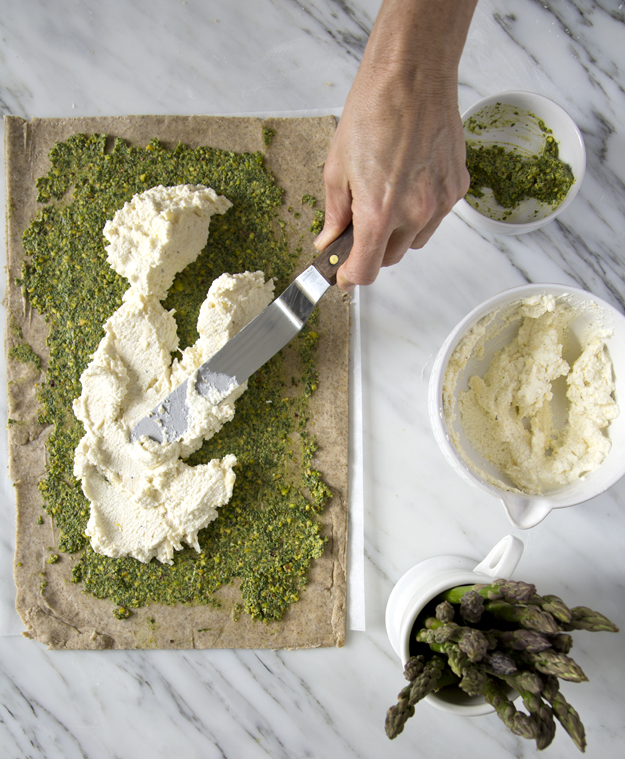
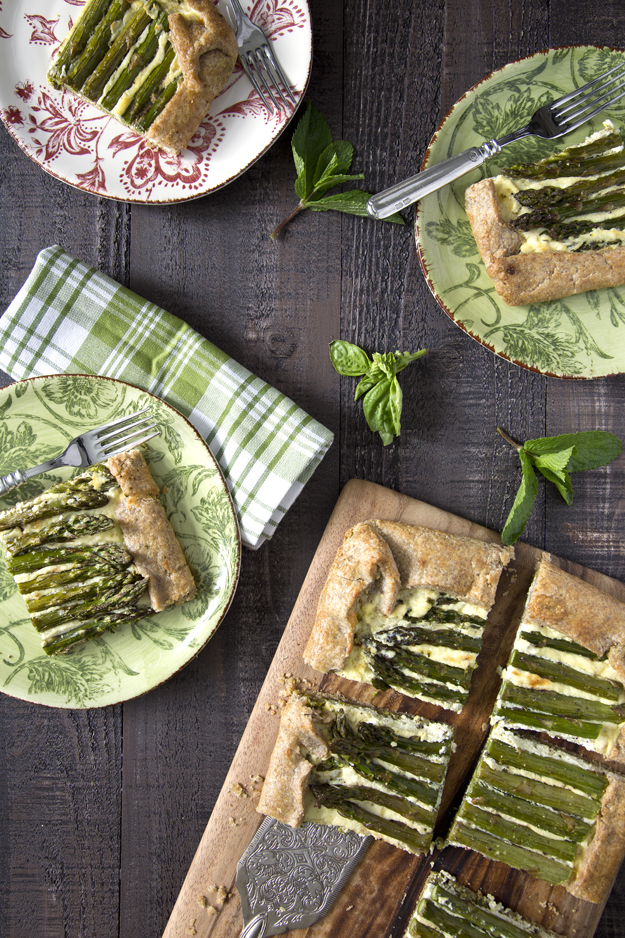
To punch up the flavour profile even more, I spread the tart with a pistachio pesto (recipe from Anna Jones’ A Modern Way to Cook.)  Whole grain dijon mustard or a jarred basil pesto would  be good substitutes.Spreading pistachio pestoSpreading ricotta fillingThe border of the tart just gets folded over the filling. No need to be too precise or precious about it. It’s supposed to be rustic. galette ready for ovengalette cut upThis would be great as a light lunch or dinner, or cut up into smaller squares and served for aperitivo with a freezing cold glass of Prosecco, on the dock. (I have big plans for this tart!)3 plates

Click here to print recipe for Aspsaragus and Ricotta Galette.

Click here to print recipe for Rustic Rye Dough or here to print recipe for Galette Dough.

galette with a glass of wine

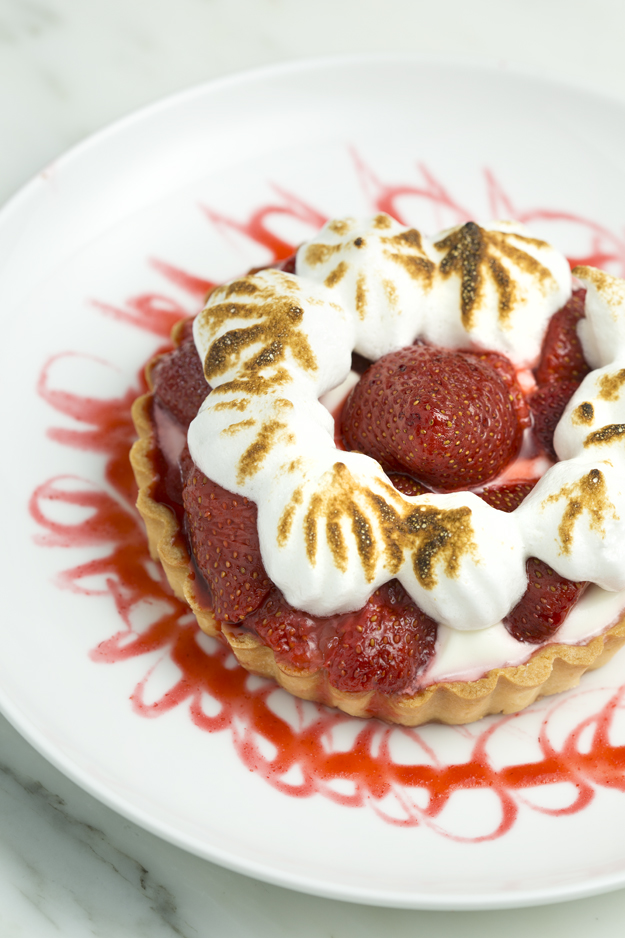
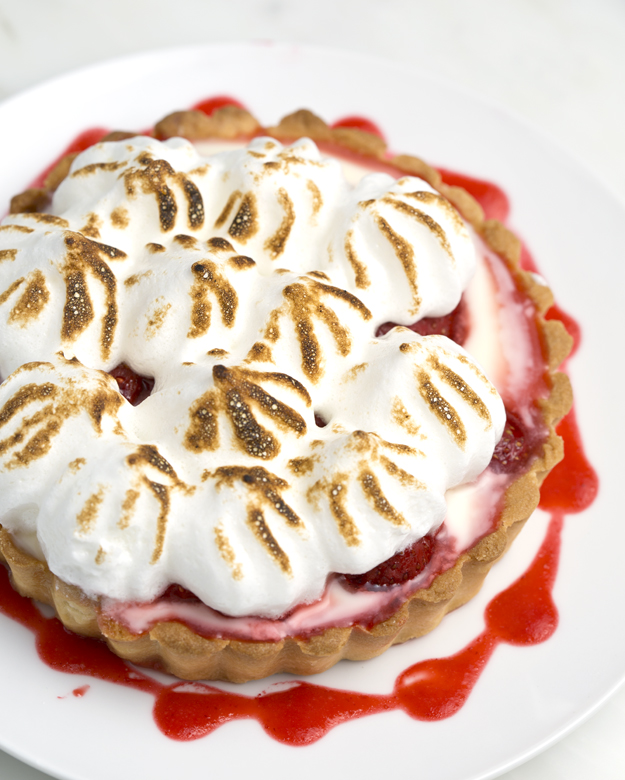
Roasted Strawberry Lemon Meringue Tartlets

Tart 2I recently attended a food photography workshop at The Urban Element. The class was taught by two very gifted Montreal food photographers, Ariel Tarr and Valeria Bismar. Together they run The Illuminated Table.

I have been experiencing blogging fatigue, struggling with what to write about and feeling like I’m stuck in a rut with my photography and food styling. The opportunity to attend this workshop came at the perfect time. It was great to connect with other like-minded food obsessed women.

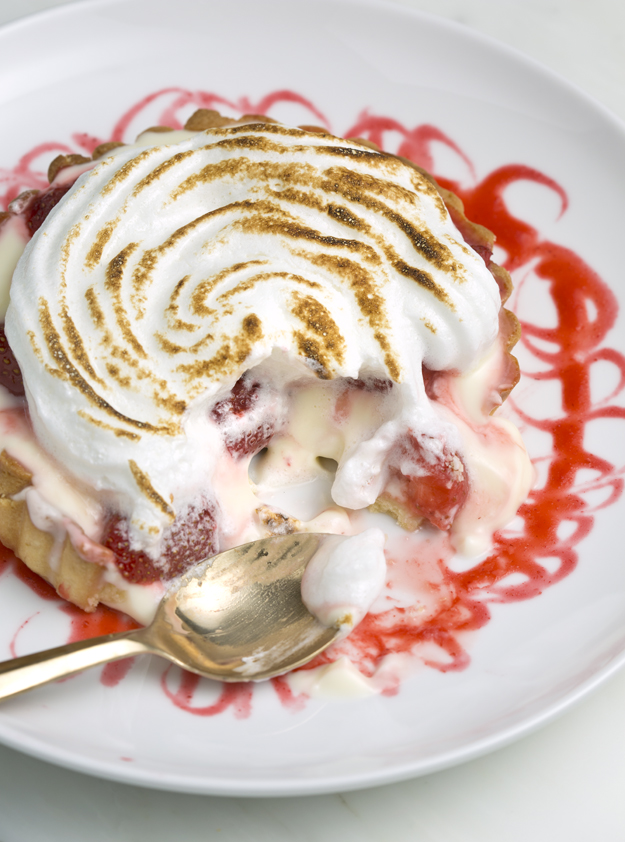
I came away feeling inspired to step away from my comfort zone and change my camera angle. (I rely too heavily on the top down shot) Watching Ariel and Valeria maximize the available natural light galvanized me to abandon my artificial lights and set up next to the window.Tart 1jpgPartially eatenI also left with some great new food blogs and Instagram accounts to follow. Food blogger Katie was there at the suggestion of her mom. Wish my kids listened to my suggestions!! Denine, a photographer and teacher of photography at Algonquin College was there to pick up a few tips about food photography. Food blogger and cooking show host Eva,  and cooking teacher and blogger Maria were both looking to hone their photography and food styling skills.

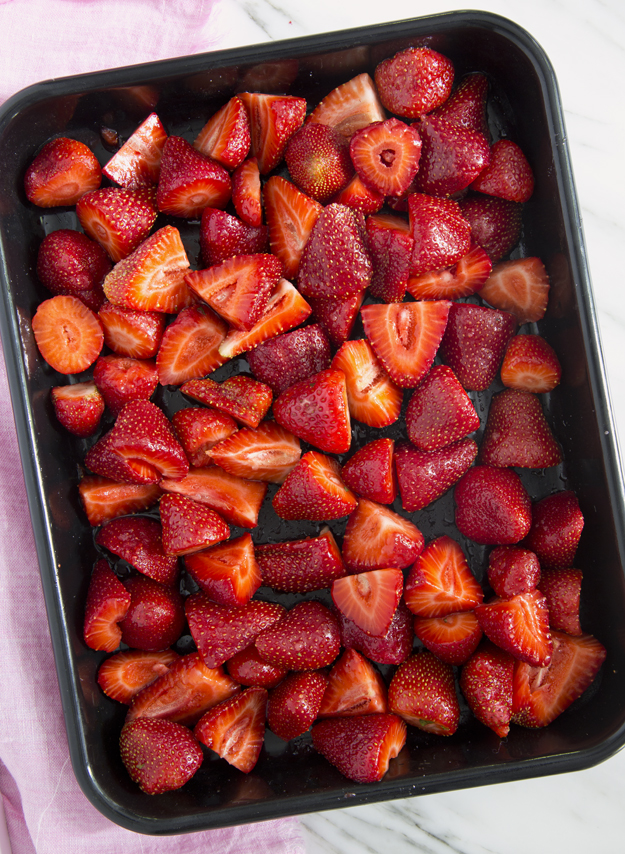
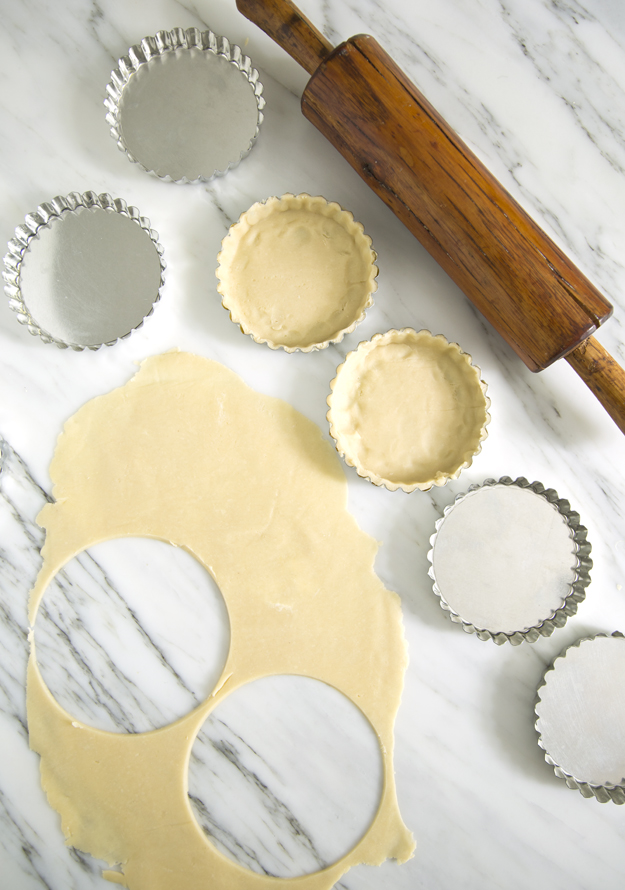
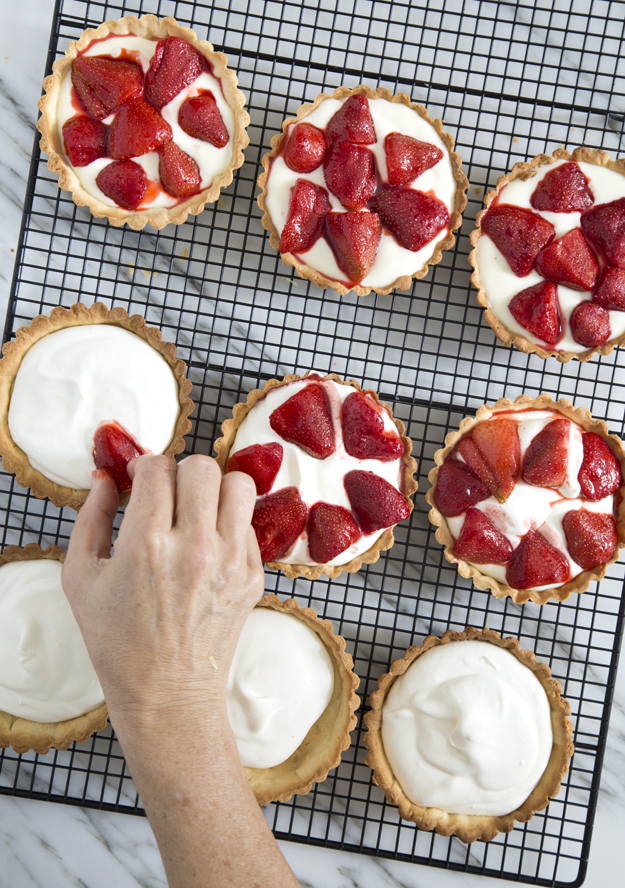
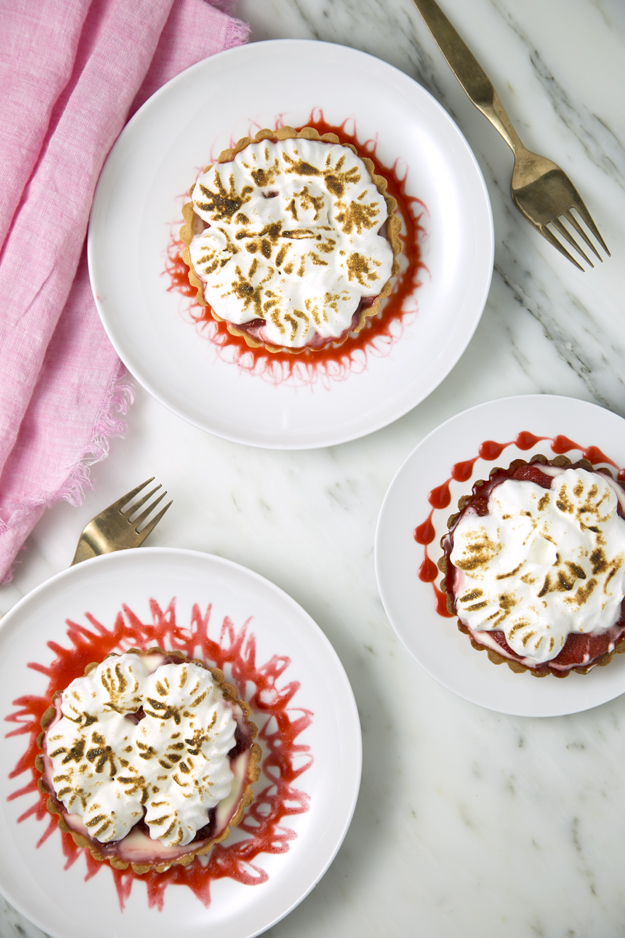
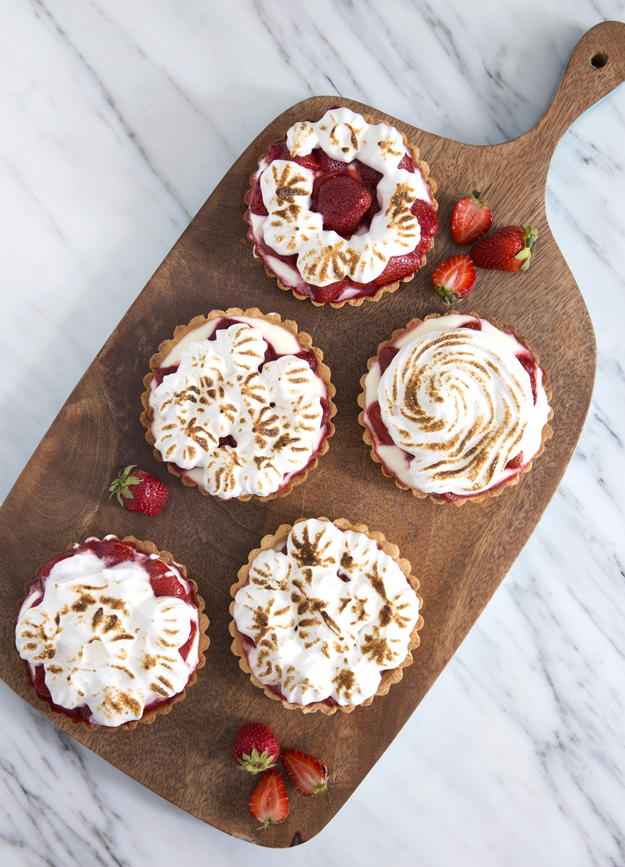
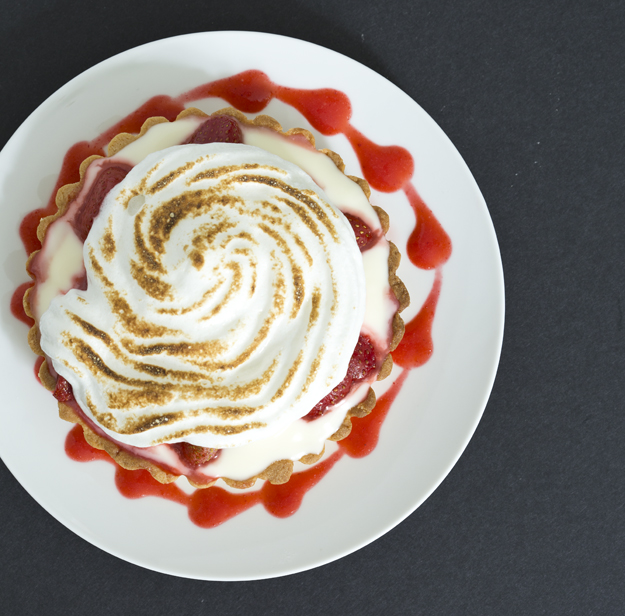
The workshop was mostly hands on, with lots of opportunity to practice the new skills we were taught. In the afternoon session we had the chance to style and shoot a gorgeous lemon meringue tart. With local strawberries just coming into season, I was inspired to create a  strawberry lemon meringue tart. The genius idea of roasting the strawberries, to intensify their natural sweetness and juiciness comes from this Bon Appetit recipe.Roasting StrawberriesYou could of course make one large tart, but I have mini tart pans and I love to use them any opportunity I get.dough fot tartsTart ShellsTime to build the tartlets. A tart lemon filling is topped with sweet and juicy roasted strawberries. I filled my tarts with a lemon cream, but I strongly suggest you fill yours with a lemon curd. The recipe that follows has detailed instructions on how to make a lemon curd. A curd is much more stable than a cream and as a result, the tarts will not get soggy within a few hours. putting strawberries on tartsI put the meringue in a piping bag fitted with a star tip and greatly amused myself making different designs. You could also just spoon it on, but then you won’t have as much fun. To brown the meringue I used a kitchen torch, because it’s so satisfying and just a bit dangerous to play with fire. (I know, I live on the edge!) If you don’t have one, a minute or two under the broiler will achieve the same result.tarts on wooden board 1Tart with black background 1

Click here to print recipe for Roasted Strawberry and Lemon Meringue Tarts.

3 tarts

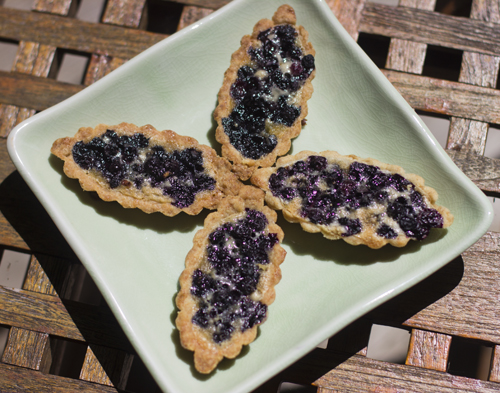
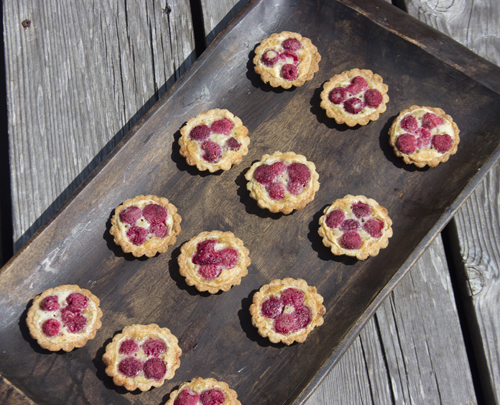
Berry Brown Butter Tarts


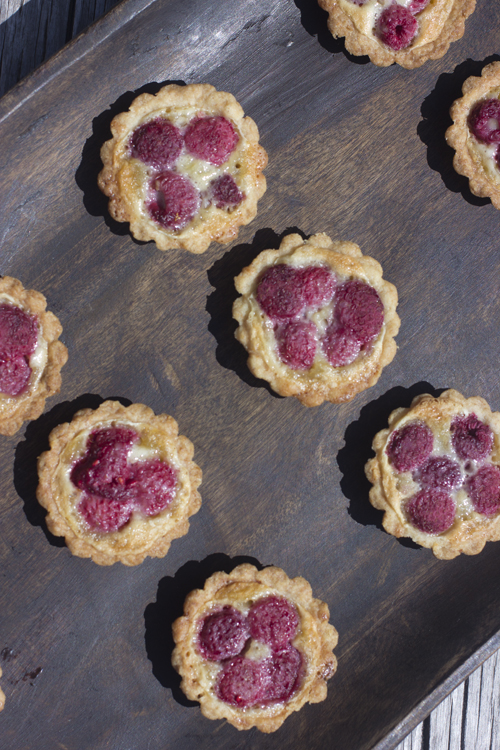
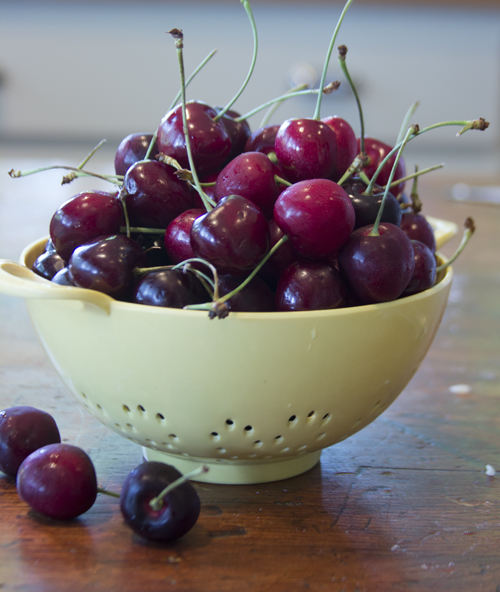
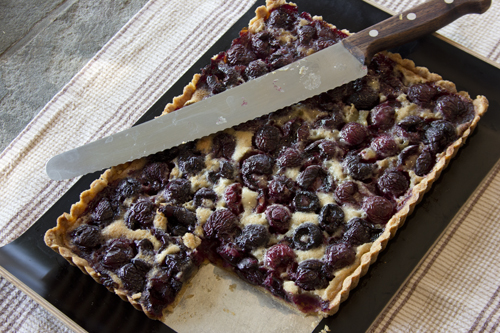
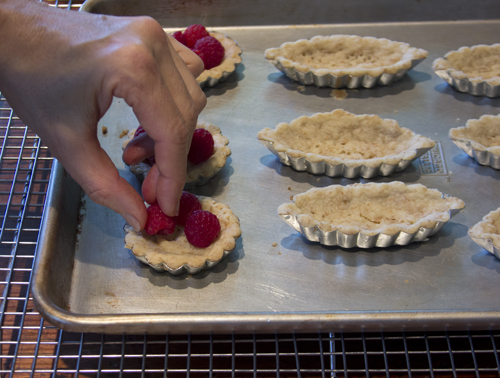
These adorable mini raspberry tarts actually started their life as a cherry tart. It all began a few weeks ago when my brother-in-law sent me a link to this blog. The talented Rowena of Apron and Sneakers made a stunning cherry tart. As soon as cherries started rolling into the market, I bought a big box and got to work.

I had such high hopes for this tart. Fresh cherries in a tart with a brown butter filling. What could be bad? To be honest, the filling was just too sweet for me. I have discovered that I only really like cherries in their raw form. I think it’s that slight snap when you bite into a firm cherry, as it gives way to the sweet juicy fruit inside. For me, when cherries are cooked, they lose what makes them so special.

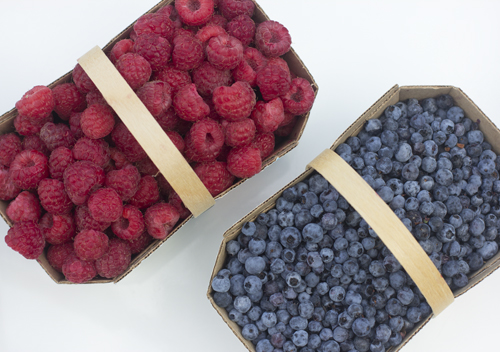
While the filling was just ok, the crust was fantastic. Buttery, slightly sweet and browned to perfection it was reminiscent of a cookie. I knew I had to make this again, but in mini form so I could maximize the crust to filling ratio. Admittedly, mini tarts are more work than one big tart, but I was convinced it would be worth it. The stands at the market this week were overflowing with raspberries and the little wild blueberries, that make me scream with joy, were just starting to arrive. The heady scent of the ripe berries filled my car and made me slightly dizzy as I drove back to the cottage.
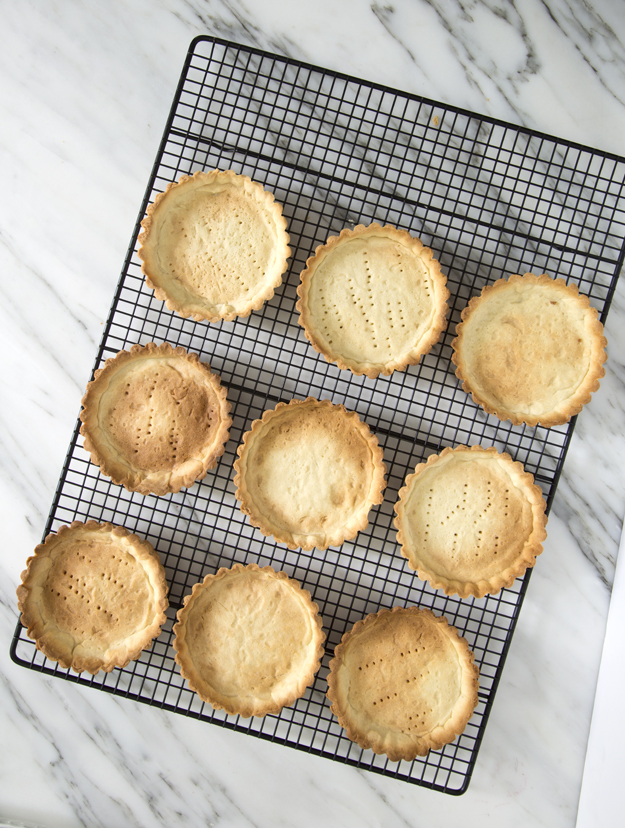
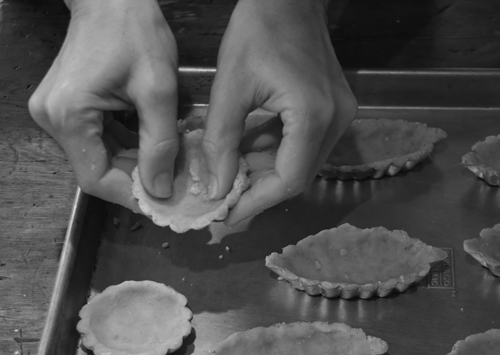
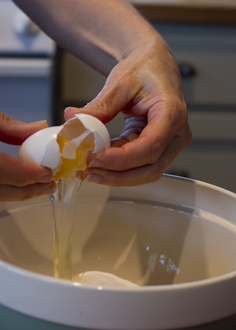
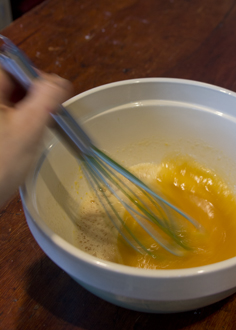
The dough comes together really quickly. No mixer needed. Flour, sugar, vanilla, a pinch of salt and some melted butter are combined in a mixing bowl. The original recipe uses all-purpose flour but I snuck in a bit of whole wheat flour, not because I am delusional to believe that 1/4 cup of whole wheat flour will make this a healthy dessert, but because I thought it would really enhance the nuttiness of this crust. I unearthed my mini tart pans from my basement graveyard shelf of unloved and useless kitchen gadgets. The dough just pressed into the tart pans, no rolling required.
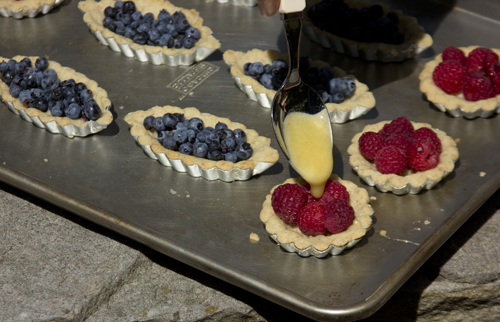
To ensure maximum crunch in the pastry, the shells are pre-baked before filling. While they are in the oven, prepare the  filling. The butter is cooked over low heat until it turns a light brown. Do not walk away when doing this. It goes from light brown to black in a flash! The smell of the brown butter is intoxicating. Brown butter gives a real depth of flavour to the filling.

Click here to print recipe for Berry Brown Butter Tarts.

The crisp tart shell shatters when you bite into it, giving way to tangy berries in a nutty brown butter filling. These are summer perfection!

Salted Caramel Chocolate Tarts and a very sweet Mother’s Day.

Today I am grateful for several small and large blessings! I am grateful to be relatively pain free. If you read my last post,  you, may recall that I was in bed for over 8 days with terrible back and leg pain. The MRI revealed a bulging disc which was pressing on a nerve and causing me back pain. It seems to have eased greatly and I am back on my feet again. I feel grateful for a wonderful husband who brought me an extra hot skim milk latte in bed this morning.

Although I couldn’t be in Toronto today to celebrate Mother’s Day with my mom, I am grateful to have 5 siblings all living there to celebrate with her. They gathered at my baby sister’s house and had a “friendly” game of softball. Some family members tend to get a bit competitive about these things so hopefully no one sprained a hamstring sliding into first base or got bonked on the head from being tagged out at home plate. I’m sure to get a play by play analysis very soon.

Finally, I am grateful for my sweet children. My oldest was unable to spend today with me, but he drove for over 5 hours to come home for a short visit yesterday. My middle child bought me a beautiful blue hydrangea plant and gave me a very fitting (and funny) card .

And my youngest, with the help of his sister, made me a video on YouTube, serenading me with Elvis’ “Love me Tender.” So sweet!

I made these tarts a few days ago and thought we would have them today for dessert. Unfortunately they were all gone the day I made them. Luckily I have other sweet things to satisfy me!

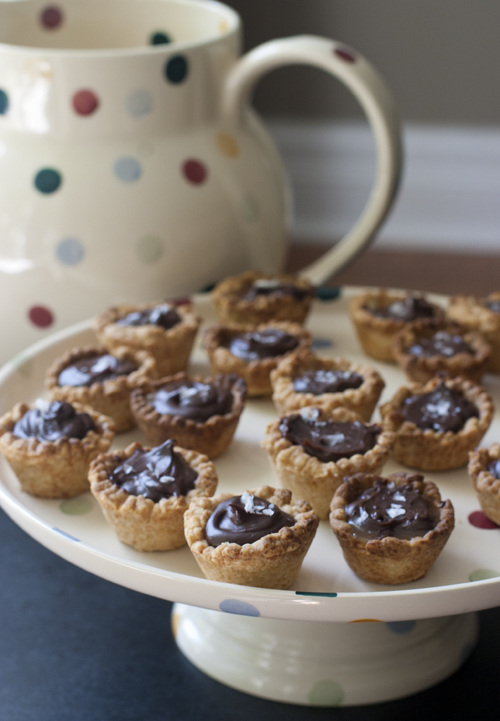
These tarts are the creation of Lucy Waverman, food columnist for the Globe and Mail. I have adapted the recipe somewhat.  The original recipe produced tarts that had a thin layer of caramel and then a thick layer of ganache. I doubled the caramel recipe so that the finished tarts would have a thick layer of both caramel and chocolate.I also added some salt to the caramel filling as well as a few decorative flakes on top of the ganache filling.

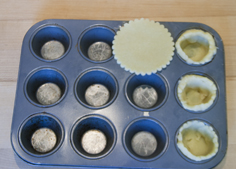
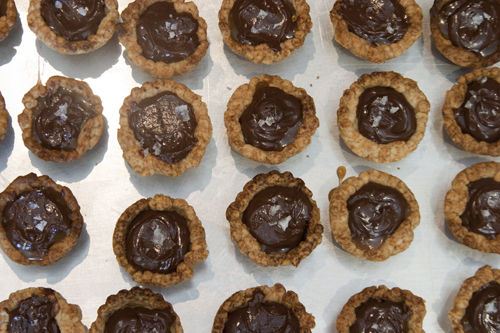
I made them in mini muffin tins. Not only do they look adorable, but there is no guilt at all involved in popping one (or three) of these into your mouth. The contrast in textures of this mini bite are what make it so special. Biting into the crisp flaky pastry you discover a silky smooth layer of bittersweet slightly salty caramel covered in a thick layer of chilled chocolate ganache. The ping on your tongue from a melting crystal of fleur de sel helps these tarts from being too cloyingly sweet.

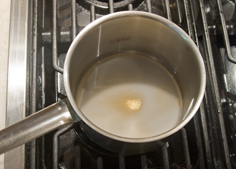
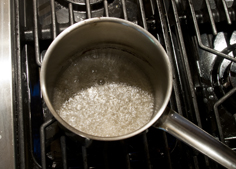
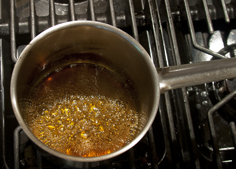
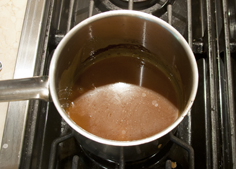
Begin with making the caramel, as it needs time to cool and firm up. Sugar, water and corn syrup are boiled until a rich amber colour is reached. Finish with whipping cream and a pinch of kosher salt.

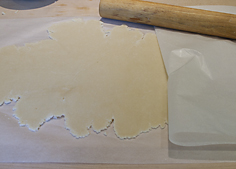
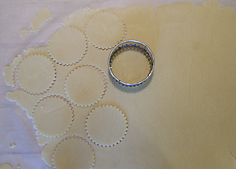
I like to roll out the pastry dough between 2 sheets of parchment paper, right after making the dough. Then I chill the rolled out dough. Be sure to roll the dough very thin (1/8 of an inch thick) for these mini tarts.

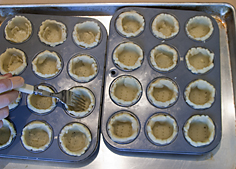
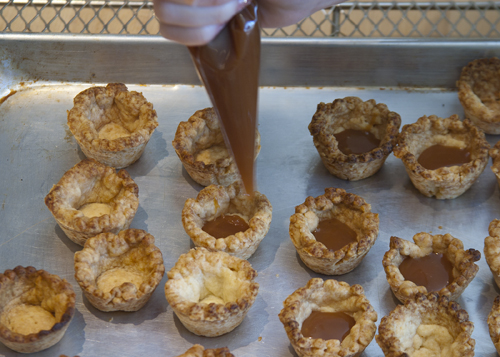
Let the tart shells cool completely before filling. I find it easiest to put the caramel filling into a disposable piping bag.

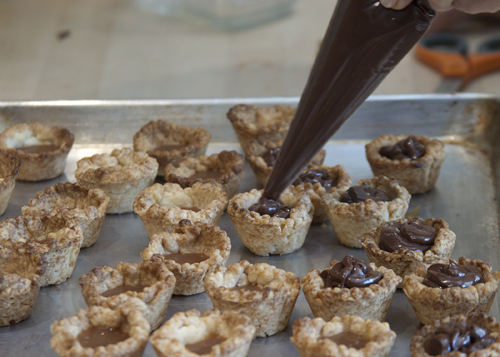
Finish off with chocolate ganache and a few flakes of fleur de sel.

Click here to print recipe for Salted Caramel Chocolate Tarts.