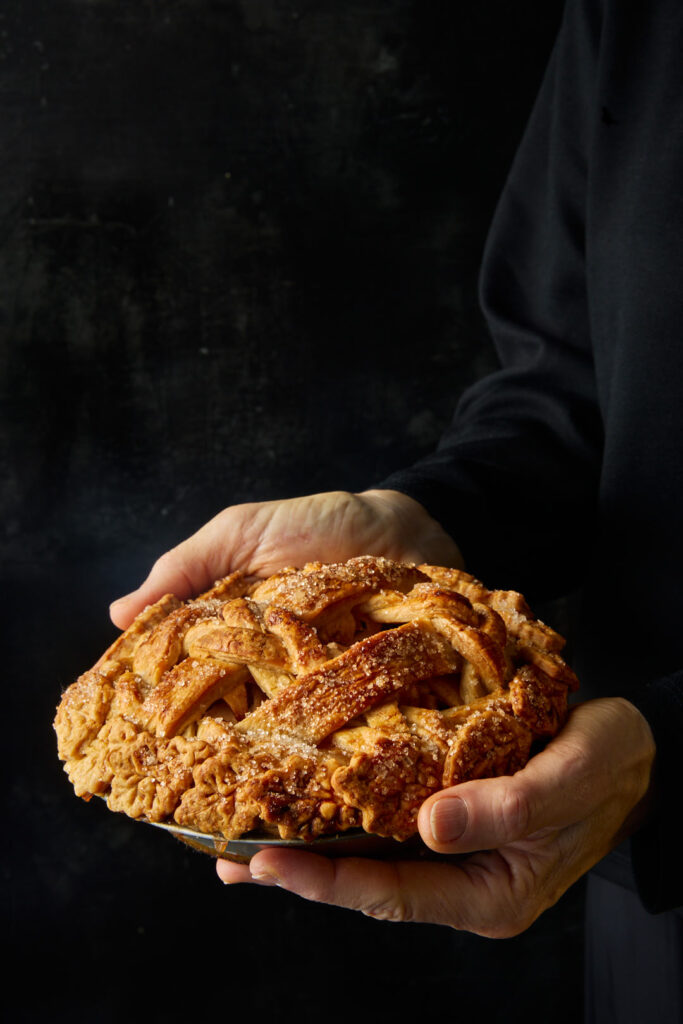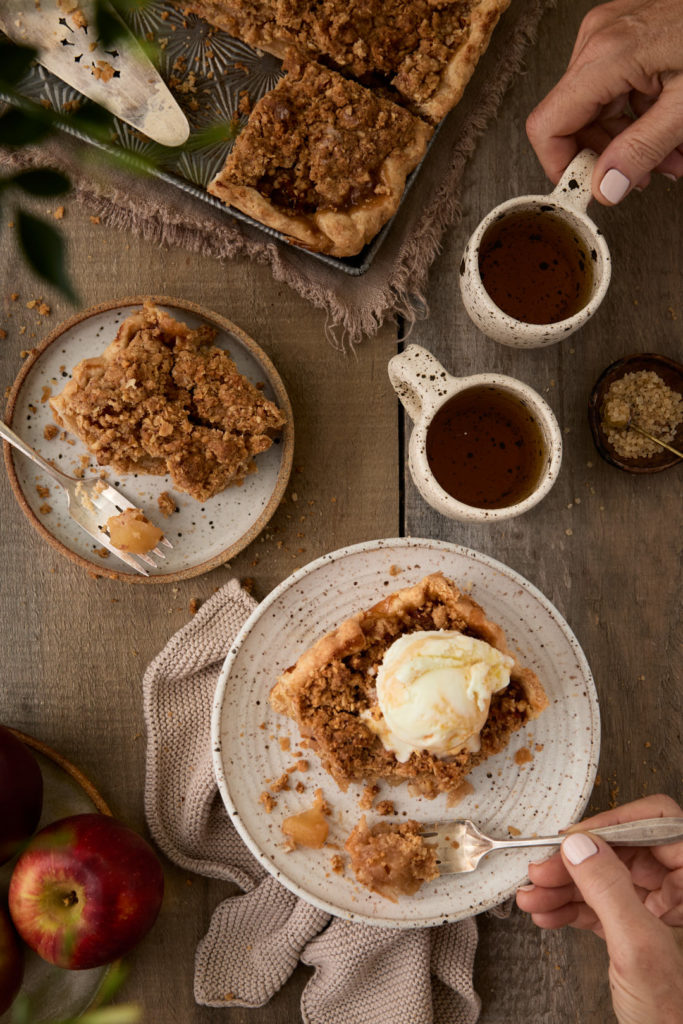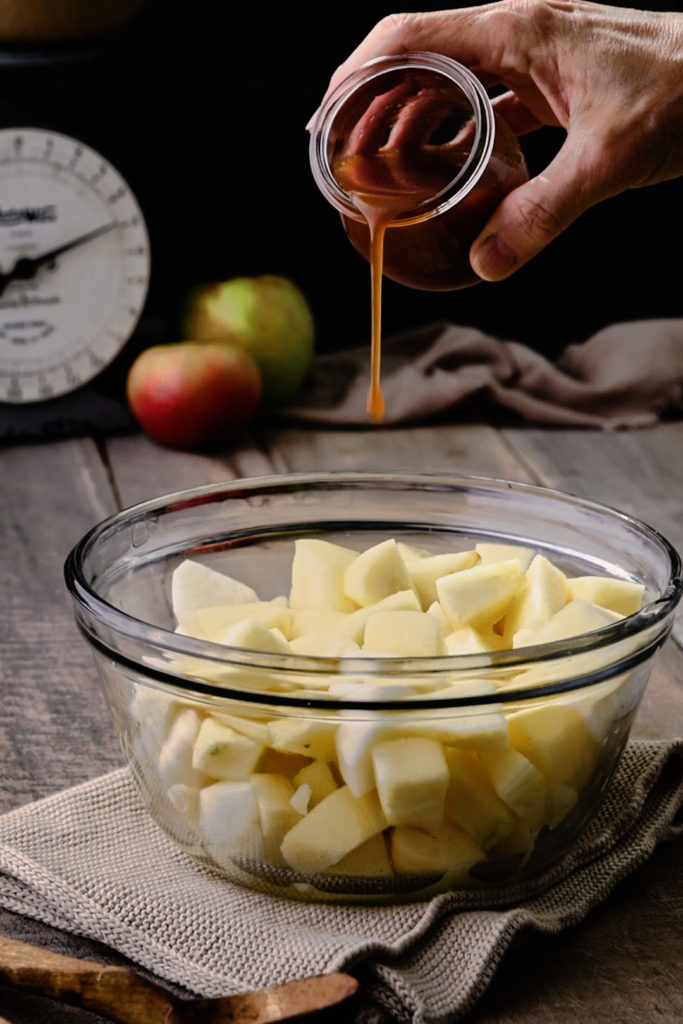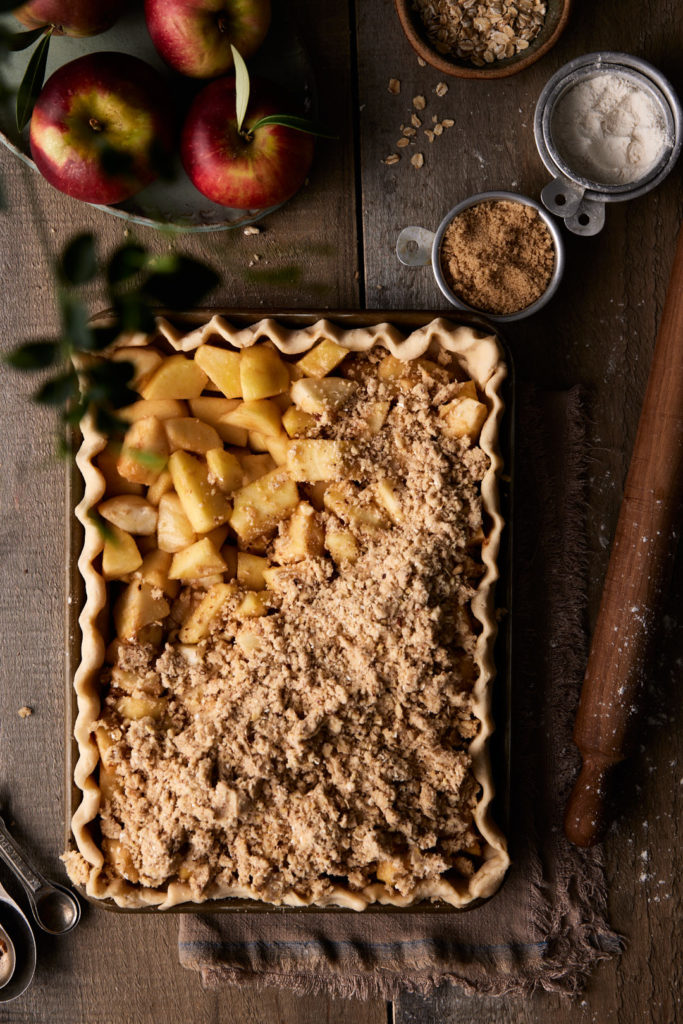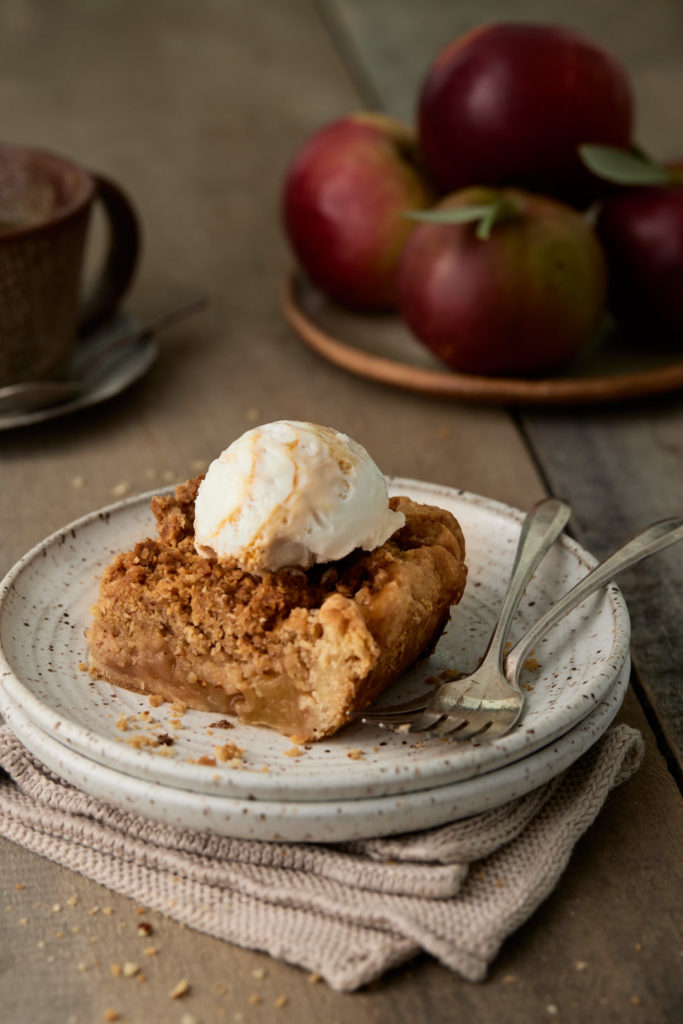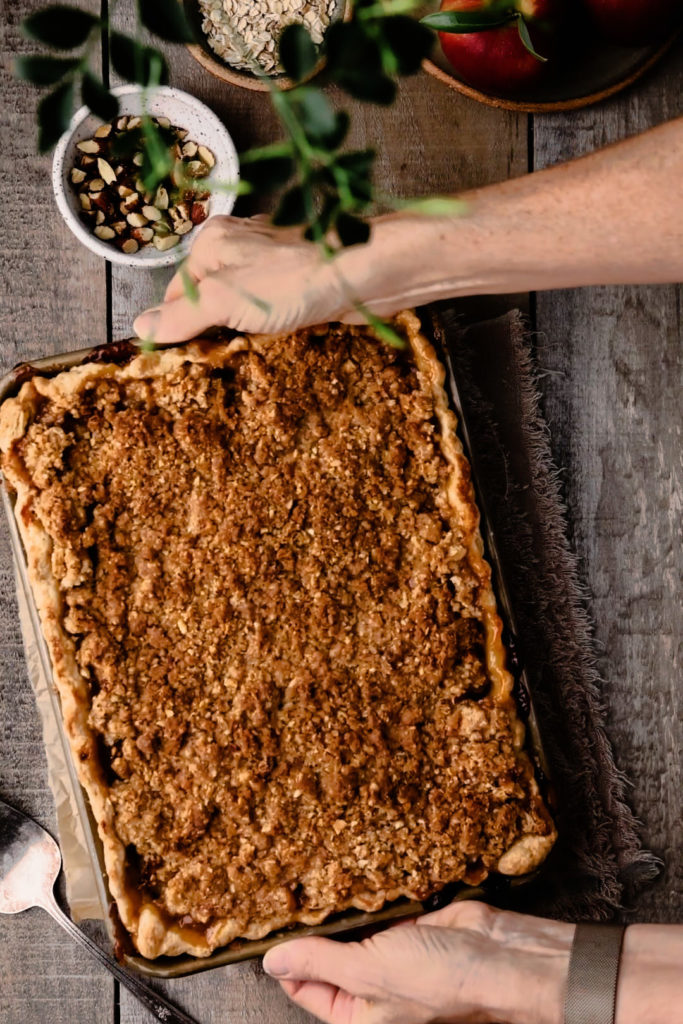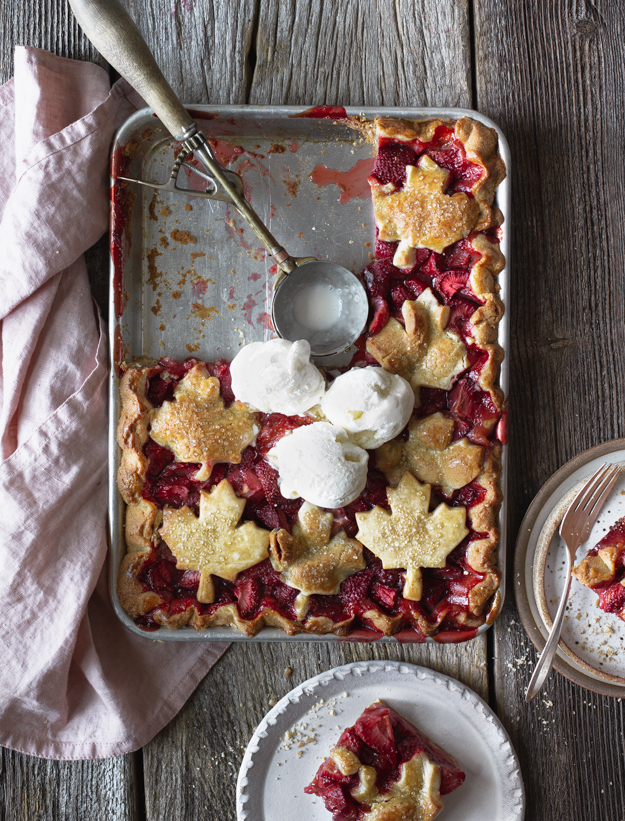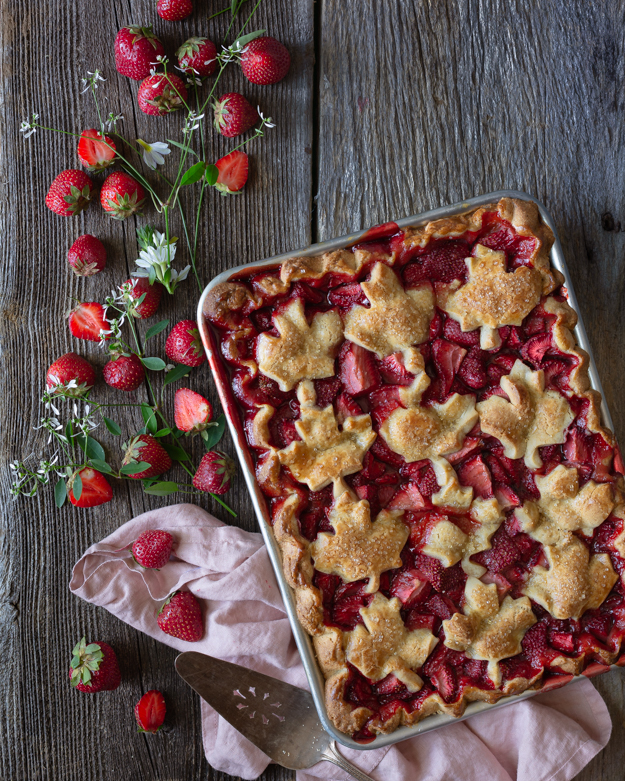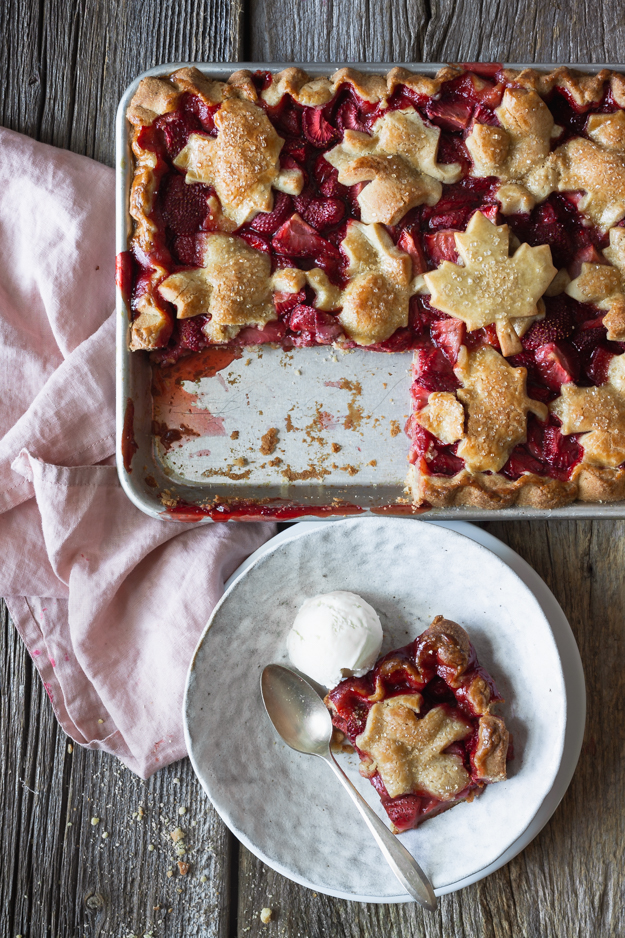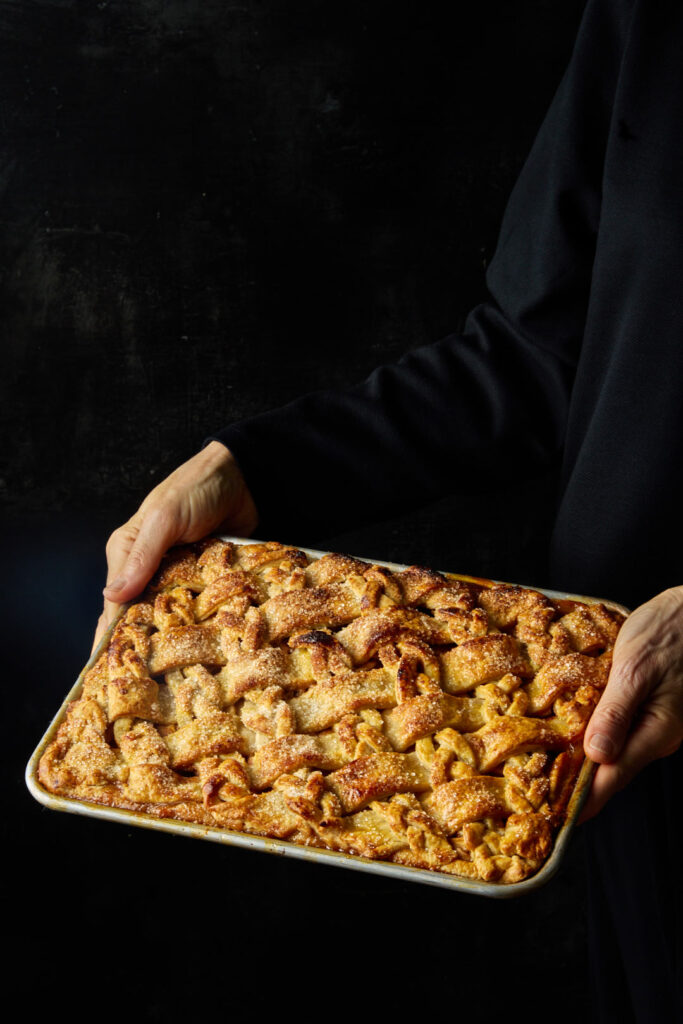
One more apple dessert before we transition into the cozy flavours of gingerbread and peppermint. This Apple Cider Caramel Slab Pie is perfect for the crust lovers in your life. Most pie eaters fall into two camps, crust lovers and filling lovers. A slab pie is baked in a sheet pan, resulting in a higher crust to filling ratio. But even the crust lovers will adore the filling in this pie. The apple slices get bathed in an apple cider caramel sauce that balances sweetness with a bit of tang.
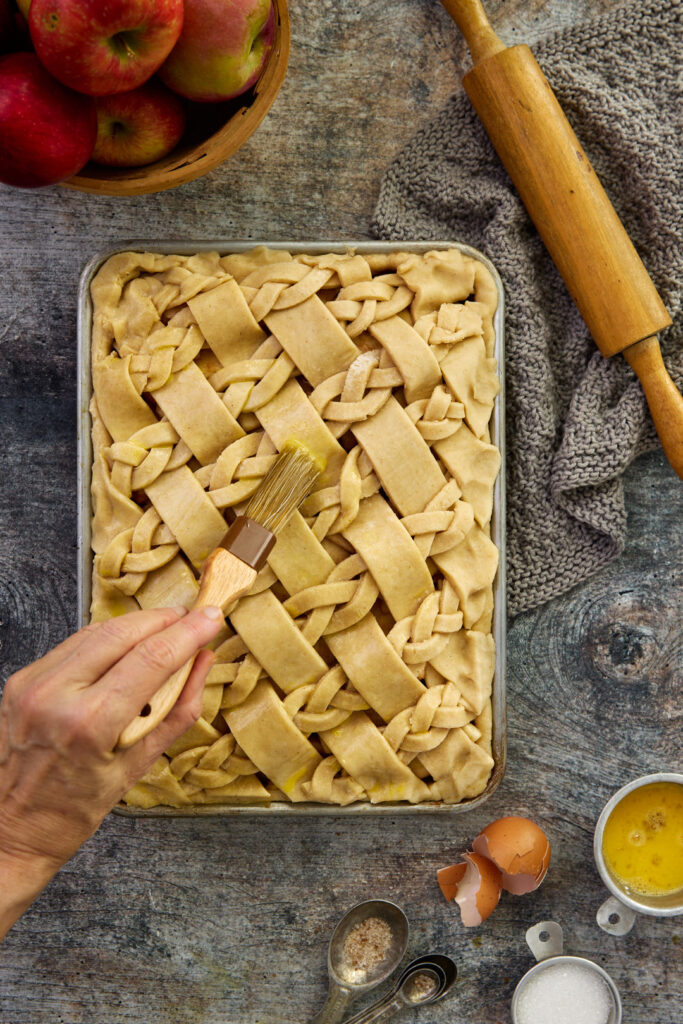
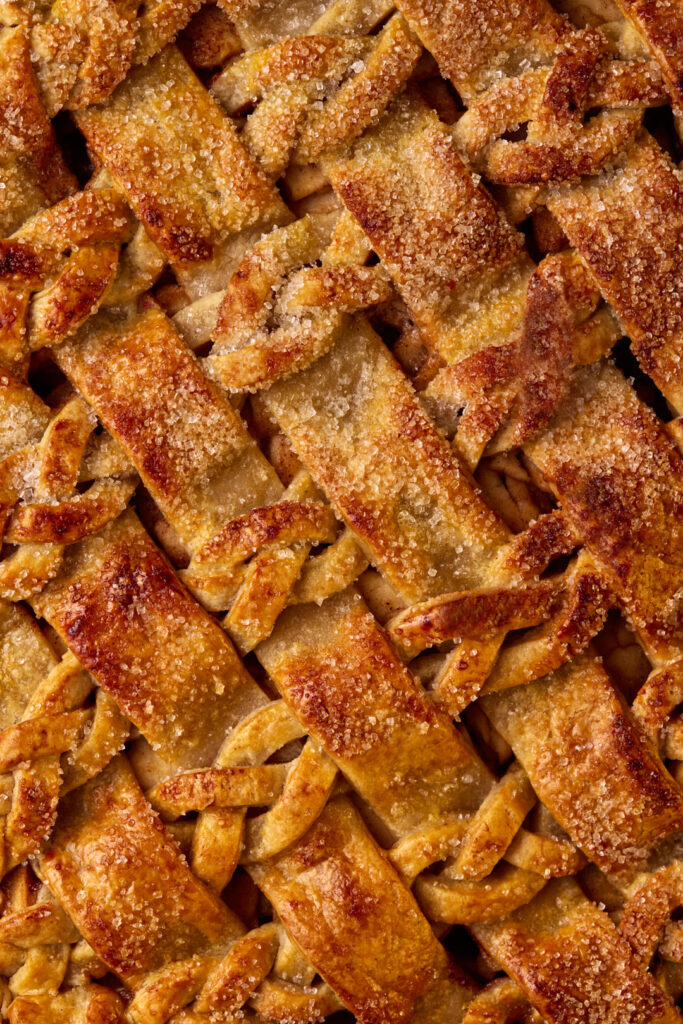
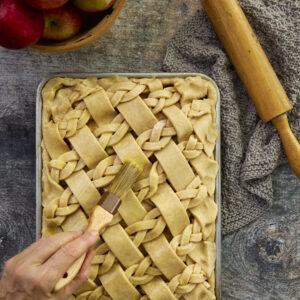
I made a lattice top for my pie, mixing plain and braided strands. It looks gorgeous and with a bit of planning, it is easily accomplished. Check out the video to see how to create a lattice top.
Tips for success for Apple Cider Caramel Slab Pie
- Don’t overwork the pie dough. When making it in the processor, stop before the dough gathers into a nice smooth ball. Don’t mix for more than 10 seconds once you add the water. The dough will look loose, but it holds together when pinched.
- Form dough into a rough disc. Wrap it well, and chill for at least 30 minutes. This allows the flour to hydrate before rolling out the dough.
- Make the Apple Cider Caramel Sauce a day ahead.
- Slice apples thinly, rather than dicing them or cutting them into wedges. I prefer the pretty layered look of the sliced pie.
- Bake the pie until deeply golden brown. No soggy bottoms wanted. If the top is getting too brown, tent with foil.
- The dough needs to be quite cold if you plan to braid your lattice strips.
- Let the dough soften before doing the weaving of the lattice. If it’s too cold, it will crack when. you bend the strips back.
- Chill pie before baking for at least 30 minutes. That will result in a well defined lattice.
Apple Cider Caramel Slab Pie with Lattice Top
Ingredients
Pie Dough
- 600 grams all-purpose flour
- 1/2 teaspoon cinnamon
- 2 teaspoons Diamond Crystal Kosher salt
- 3/4 teaspoon baking powder
- 380 grams unsalted butter, cold, cut into 1/2 inch pieces
- 2 Tablespoons apple cider vinegar
- 3/4 cup ice cold water
Cider Caramel
- 4 cups apple cider
- 28 grams unsalted butter
- 1/2 teaspoon Diamond Crystal Kosher salt
- 1/2 teaspoon vanilla bean paste or vanilla extract
Apple Filling
- 1.5 kilograms Honeycrisp or Granny Smith apples, (about 8 large apples) peeled, halved, cored, and thinly sliced into 1/4 inch slices
- 125 grams light brown sugar
- 40 grams all-purpose flour
- 1 teaspoon ground cinnamon
Assembly
- 1 large egg, whisked with 1 Tablespoon cold water
- 3 tablespoons coarse sugar
Instructions
Pie Dough
- Make the dough: In the bowl of a food processor, mix the flour, cinnamon, sugar, salt, and baking powder. Add the butter and pulse until pea-size nuggets of butter remain. Add the vinegar and water, holding back 3 Tablespoons of water, and pulse until dough is just holding together. Add additional water if needed. DO NOT continue processing until dough comes together in a ball.
- Dump dough onto the counter and gently knead it together. Divide dough into 3 equal pieces. Roughly shape each piece into a rectangle, about 4×6 inches in size. Wrap each piece of dough in plastic wrap and chill for 30 minutes.
- Remove dough from fridge, lightly flour counter and roll first piece into a 12×16 inch rectangle, about ⅛ inch thick. Place the pastry onto the bottom of an ungreased 9×13 1-inch-deep sheet pan pan, pressing firmly against bottom and sides.Trim the excess dough. Place dough lined pan in fridge.
- Roll second piece of dough, between 2 sheets of parchment paper, into a 12×16 inch rectangle, about 1/8-inch thick. Chill dough for about 15 minutes. Using a ruler and sharp knife or pizza cutter, cut dough into 1/4 inch thick strips. Set strips on baking sheet and chill for another 10 minutes.
- Roll third piece of dough, between 2 sheets of parchment paper, into a 12×16 inch rectangle, about 1/8-inch thick. Chill dough for about 15 minutes. Using a ruler and sharp knife or pizza cutter, cut 6 more 1/4-inch thick strips and then 7-inch thick strips. Set strips on baking sheet and chill for another 10 minutes.
- Remove dough strips from fridge and braid the 1/4 inch thick strips into a tight braid. I like to start in the middle of the strand and go to one end, then flip the braid and finish the other end. Dough is much easier to braid when cold. It tends to break if too warm. You will get 7 braids. Gently, with two hands, return braided and plain dough strips to fridge while you get the apples and caramel filling ready.
Cider Caramel
- In a large, wide heavy-duty pot (I used my 5-quart Le Creuset for this), bring the apple cider to a boil over high heat. Reduce heat to medium-low and continue cooking, without stirring, until the cider reduces to a sauce with the consistency of thin caramel. This will take 20-25 minutes, depending on the size of your pot. Check the progress every 15 minutes at the start, and then more frequently once it starts to thicken.
- Add butter, salt and vanilla to the caramel and then pour it into a heatproof bowl to cool slightly, about 30 minutes. You can make the caramel ahead of time, but because of the high amount of pectin in apples, the caramel sauce will become jelly-like at room temperature. You will just need to warm it in the microwave in 15 second bursts, until it becomes fluid again. It shouldn’t be hot when you add it to the apples, a little bit warm is fine.
Apple Filling
- Place sliced apples in a large bowl. Add brown sugar, flour, cinnamon, and cooled cider caramel. Use your hands to gently mix until the apples are thoroughly coated.
- Place oven rack in lower third of oven and preheat oven to 425°F.
Pie Assembly
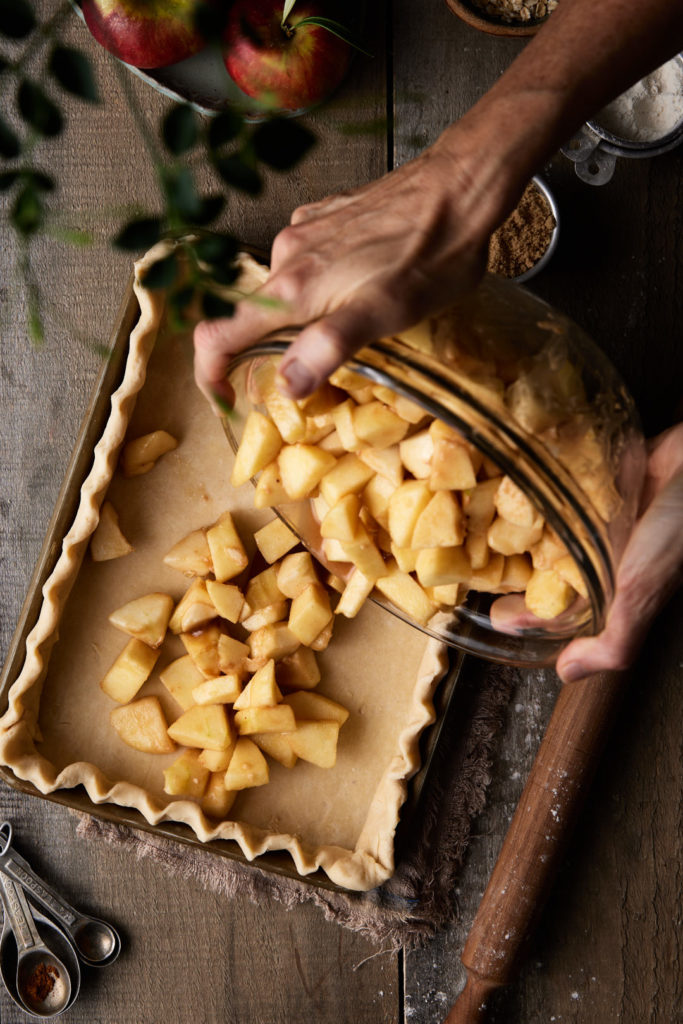
- Remove bottom crust from fridge. Pour apples into crust. Use your hands to spread the apples out. Remove dough strips from fridge and let sit for about 5-10 minutes until dough is slightly pliable. To make a lattice topping, it is helpful to watch the video on the blog post. Here are some written instructions as well.
- Brush edges of the bottom dough with a bit of water. Lay six plain dough strips diagonally over the filled pie parallel to each other and evenly spaced. Use longer strips in the middle and shorter towards the edges of the pie.
- Arrange the pie in front of you with dough strips facing away. Carefully fold back the second, fourth and sixth strips towards you then lay a strip of braided dough perpendicular to other dough strips.
- Unfold second, fourth and sixth dough strips over the new strip. Fold back the first, third and fifth strips towards you then lay another strip of braided dough across the pie. Unfold the first, third and fifth strips over the new strip. Repeat until pie is covered with a lattice crust.
- Using scissors, trim dough strips overhanging the pie by ¾ inch. Use your fingers to fold edges of dough underneath itself so that it creates a thicker, ¼ -inch border that rests on the lip of the dish. Decoratively crimp the edges with your fingers or a fork. Place pie on larger rimmed baking sheet and freeze for about 15 minutes. Brush pie with egg wash and sprinkle with coarse sugar
- Bake for 15 minutes. Reduce oven temperature to 375°F. Cover slab pie with foil so top crust does not get too dark, and bake for an additional 45-50 minutes until crust is golden and apples are tender, and filling is bubbling. Let cool at least 2 hours before slicing. Serve warm or at room temperature.
Notes
Nutrition
