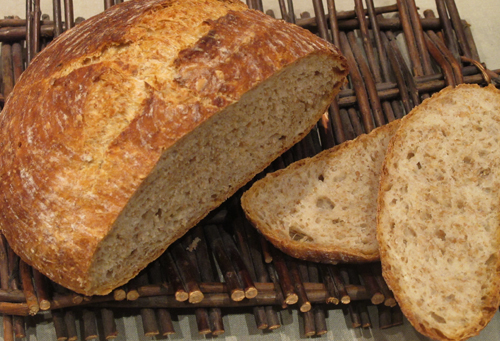
After reading the title of this post you may have either one of two reactions. If you are a fellow bread freak you may be saying to yourself, “What?? Who is she kidding? That is so last decade. Mark Bittman wrote about Jim Layhey’s revolutionary no-knead bread in 2006! Every food blogger worth her salt has reported on this bread.” If you are not a bread freak, you may be saying, “What?? No knead bread. She’s been inhaling too much bleached bread flour. How could that be possible?” So, to the bread freaks reading this, I apologize for reporting on something you have already heard about ad nauseam. To the rest of you, I say, yes, this is possible and it’s spectacular. (sorry, couldn’t resist that link!)
Although I first heard about this no-knead bread over two years ago, I only just tried it for the first time last week. I then made it a second time, 4 days later because I just couldn’t get over how simple it was to produce such amazing bread. There are 2 major factors at play here that help create this wonderful bread. The first is mixing up a very wet dough and letting it sit, at room temperature for 18 hours. Food scientist, Harold McGee, explained it like this, to Bittman,
“It makes sense. The long, slow rise does over hours what intensive kneading does in minutes: it brings the gluten molecules into side-by-side alignment to maximize their opportunity to bind to each other and produce a strong, elastic network. The wetness of the dough is an important piece of this because the gluten molecules are more mobile in a high proportion of water, and so can move into alignment easier and faster than if the dough were stiff.”
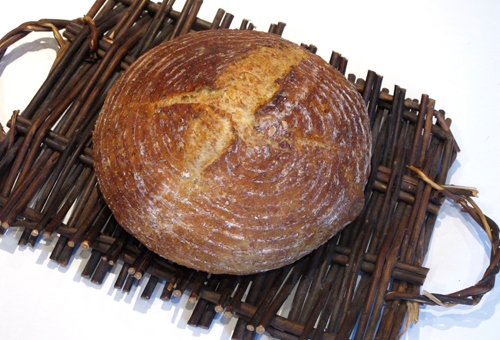
The second major factor involved in making this bread is where Jim Lahey’s real genius comes into play. He discovered that by baking the bread in a covered preheated cast iron or enamel pot (like a Le Creuset), you mimic the steam ovens that professional bakers use to develop that crisp crackling crust so desirable on artisan breads. During my 18 month journey through the Bread Baker’s Apprentice Challenge, I tried all sorts of methods to produce steam in my home oven. I put a pan of hot water at the bottom of the oven, I sprayed the sides of my oven wall with a plant mister during baking, I added ice cubes to the oven during the baking process and I even tried adding lava rocks to the pan of hot water, to mimic a sauna. I never did achieve that holy grail of crackling crust.
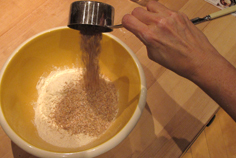
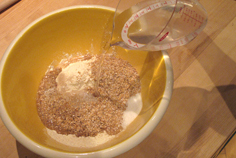
I discovered a version of the original recipe with some wheat bran added to the dough. (Chatelaine Magazine Feb. 2011 issue) I really loved the addition of the wheat bran. Truly, the only thing difficult about making this bread is remembering to start the night before you want to serve it. It had been awhile since I last baked bread so I was excited to get back to it again.
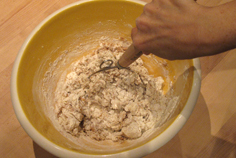
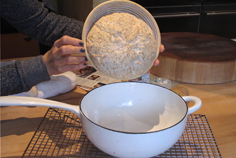
Over the past two years I have accumulated quite a bit bread making paraphernalia, so it was great to use some of it again. In Jim Lahey’s video he says to just use your hands to mix up the dough but I was excited to use my special King Arthur bread whisk again. If you plan to make lots of bread, get one of these. If not, your hands work just fine.
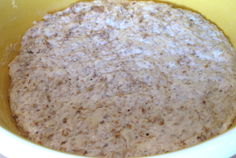
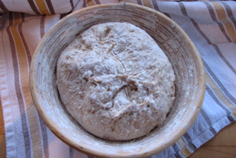
Once mixed, the dough will appear quite shaggy and rough-looking. That’s ok, it’s supposed to look that way. Just cover the bowl with plastic wrap and leave it on the counter for 18 hours. It is a big leap of faith to take, I know, but trust me, it works. After 18 hours, it will have all smoothed out and the surface will have fine bubbles on it.
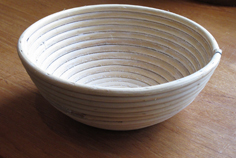
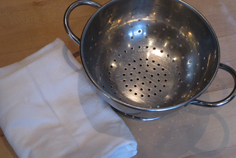
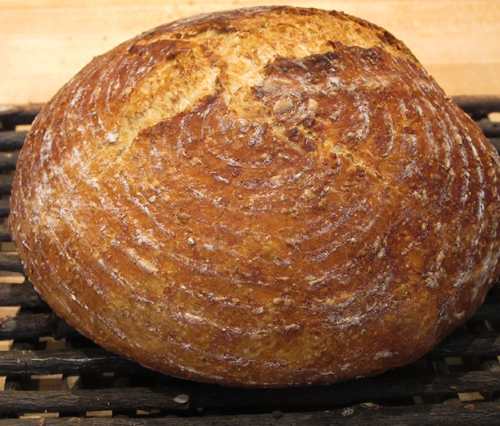
In the original recipe, Jim says to just form a ball and place it on a cotton towel, cover it and let rise. Since I had a special bread rising basket in my cupboard (a banneton) I decided to use that. A banneton is woven bread mold, usually made of made of cane and is used to form and shape artisan loaves during the proofing/raising stage. The basket imprints its shape and ribbed design on the finished loaf. They can be ordered online from Brotform (U.S.) or Goldas Kitchen (Canada). You can also just line a colander with a clean cotton towel, although you won’t get the cool design on your bread.
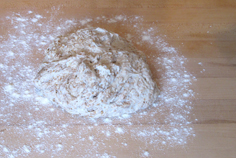
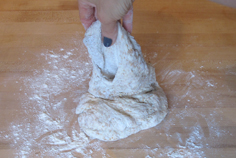
I found it best to lightly flour the counter and then wet my hands to scrape the dough out of the bowl. I did not want to add too much more flour as the high hydration level of the dough is what gives you the big open crumb structure (ie: big holes) of the finished bread. Bread freaks aim for big holes in their finished bread. If you are at all interested in reading more about this subject and finding our why big holes are desirable, visit The Fresh Loaf’s website. A very animated discussion on this very topic has been raging for the past week. Yes, bread freaks are a strange and wonderful breed!
Once the dough is dumped out onto the counter, just fold it over itself, sort of like a business letter. Then, cover with plastic wrap and let rest for 15 minutes.
Then you want to shape the dough into a ball.
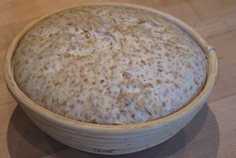
After dough is shaped you can just place it on a floured towel and cover it with a second towel, or you can put it in a basket or colander to let it rise for about 2 hours. I heavily floured my banneton with rice flour and then dumped out the excess, and set my dough in there to rise. You will notice I put the dough in seam side up. That is because after it has risen, I will dump it into the hot pot for baking and the top (with the pinched seam) will hit the pot first and become the bottom and then my pretty ribbed design, from the basket, will become the top.
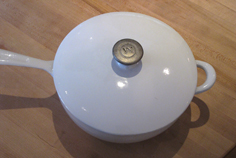
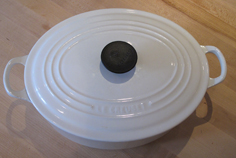
A few words about the pot to cook the dough in. Just about any covered 6-8 quart covered pot will work here. Cast iron or enameled cast iron (like Le Creuset) work very well for this job. I have also read that ceramic and Pyrex would work also, but have not tried them. These are the kind of pots I am talking about.
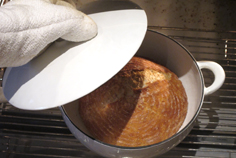
The pot with lid must be preheated in a 450º F oven for at least 30 minutes before baking the bread. It is a bit scary dumping the bread into the hot pot, but just wear oven mitts and dump quickly. If it goes in a bit uneven, just wiggle the pot back and forth a bit to straighten it out. It will all turn out fine.
Resist all temptation to slice the bread as soon as it comes out of the oven. It continues to cook a bit more as it cools. It will be gummy in the centre if you slice right away.

