It was around this time that my husband revealed something to me that made me rexamine our relationship. He told me that when he was in University, he and his friend Joel would get together in his dorm room on Friday night and cook dinner. The night before he’d marinate rib steaks in red wine. Then Friday night, he dumped the steaks and wine it into an electric frying pan, added some dried spices and a tin of sliced mushrooms. He covered the frying pan and basically braised the rib steaks! They thought they were quite the gourmet men about town! Braising rib steaks is a crime. A tender, well marbled piece of beef should never be braised. Luckily I have schooled him in meat cookery and he is now quite skilled in grilling.
I thought I would share with you some of the wisdom I picked up from my Cinderella summer. Here are the Eight Steps to Grilling the Perfect Rib Steak (my personal favourite).
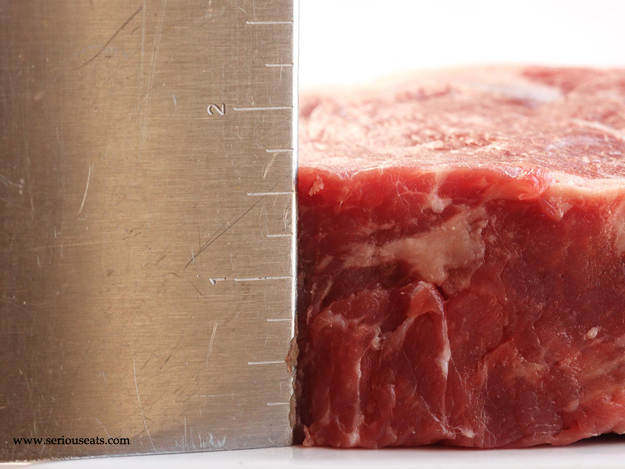
1. Make friends with your butcher. Don’t buy those skinny steaks lined up in the display case. Ask the butcher, very nicely, to please cut you some well marbled steaks between 1 1/2 and 2 inches thick. Yes, that is a big hunk of meat, over a pound, but one of these behemoths will feed 2-3 people,. The only issue might be the fight over who gets to gnaw on the bone. Most butchers won’t mind doing this for you. Some of my favourite people are butchers (Hi Joel and Gabe!)

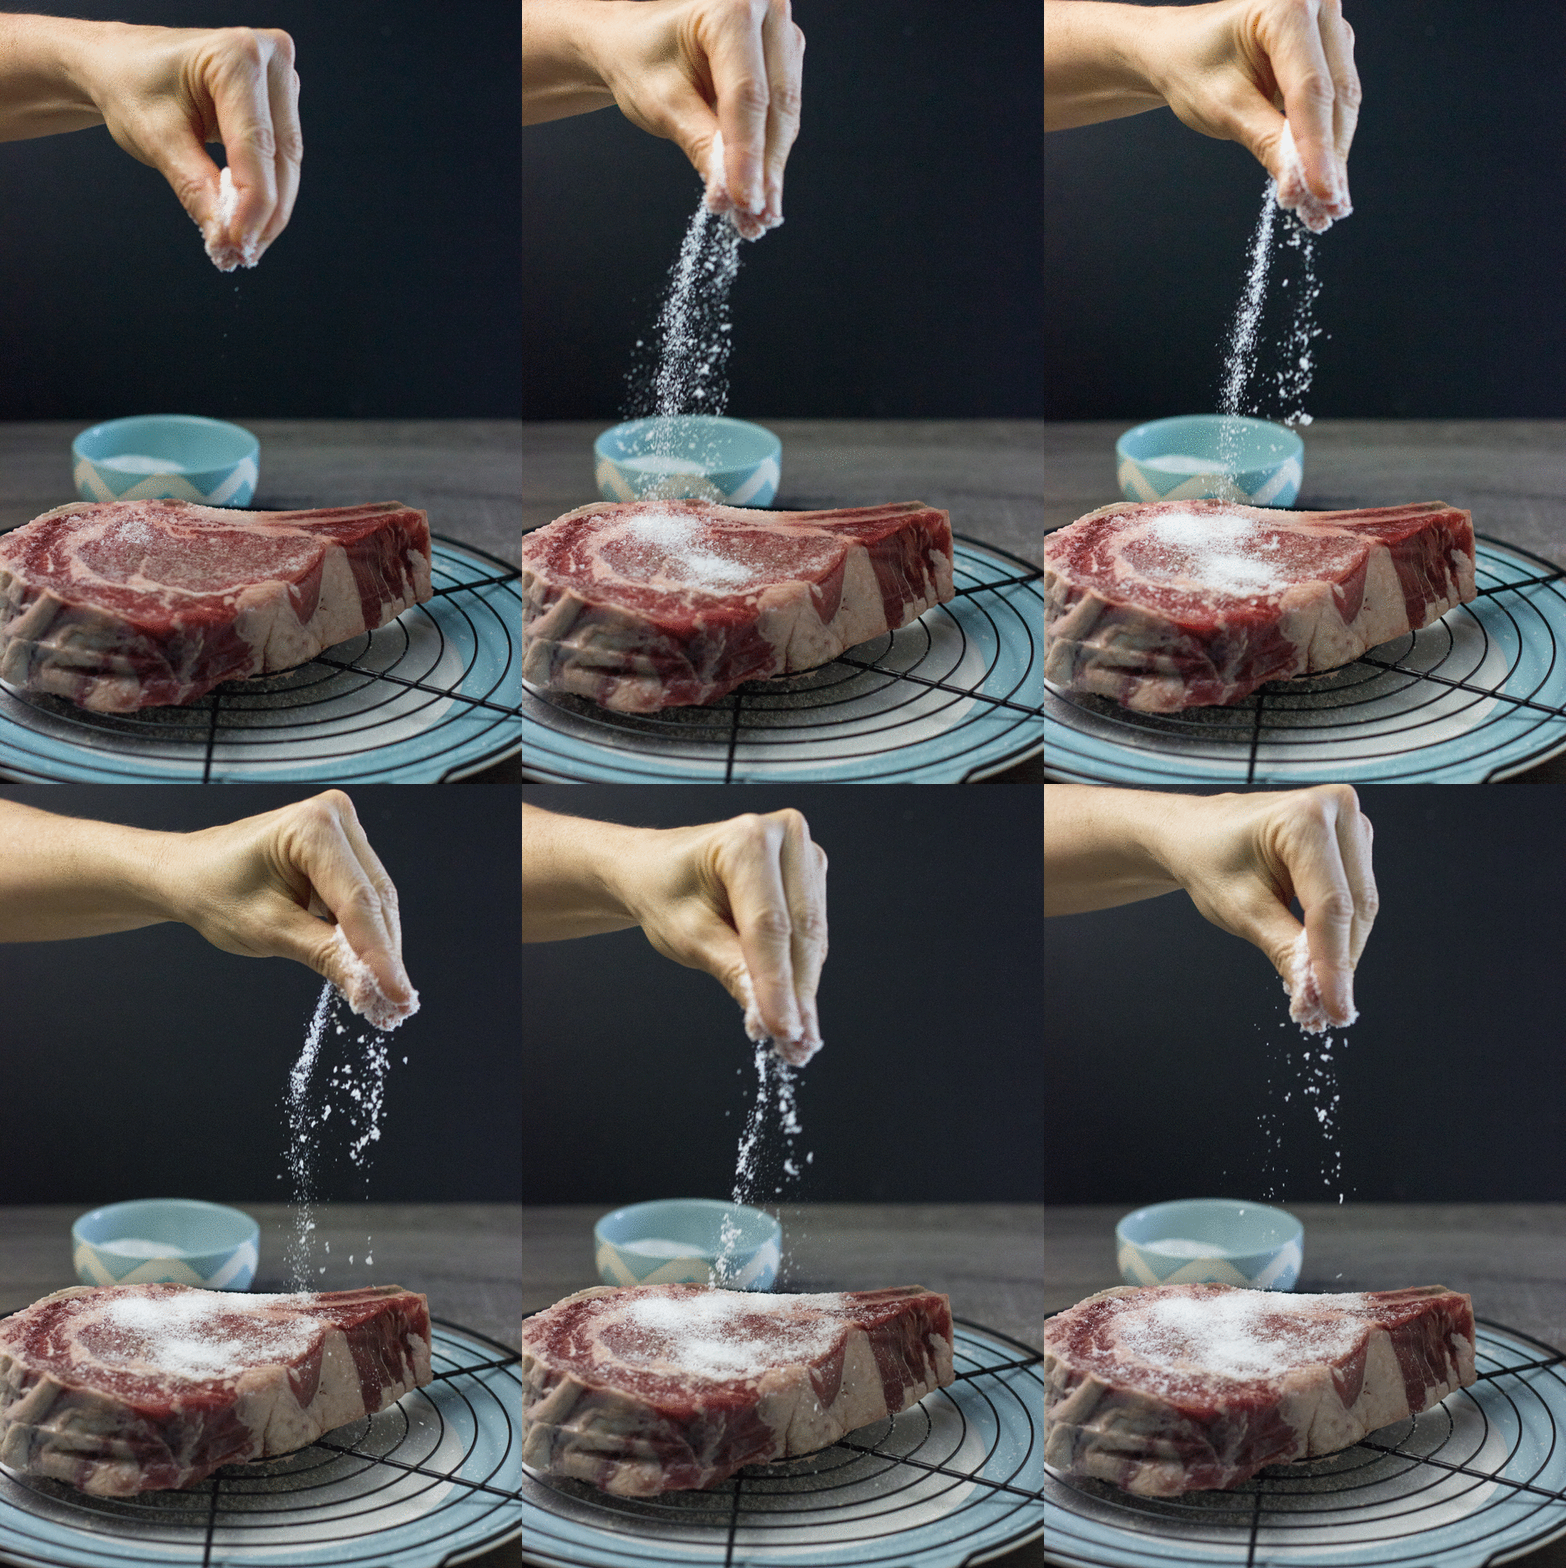
And while we’re here, let’s address the “Let meat rest on the counter for 30 minutes, so it can come to room temperature before grilling” myth. Yes, I said myth. First of all, this is a honking’ big piece of meat. After 30 minutes, it may have warmed up by maybe 3°. What really helps with even browning is having a dry piece of meat. And salting it and letting it sit on a wire rack in the fridge overnight is going to do that work for you. So go ahead and cook fridge cold meat. Tell them I said it’s ok.
4. Make it hot! I am only going to address gas grills here. The debate about gas vs. charcoal continues to rage on with the same ferocity as Montreal vs. New York style of bagels. I have cooked on charcoal and I will admit that, if you know what you are doing, you will end up with a stellar steak. There are plenty of tutorials online for how to grill with charcoal, but, “been there, done that”. These days I am all about the ease of a gas grill.
Turn both burners on the gas grill to high. Close lid and give it 15 minutes to it get rip roaringly hot. After 15 minutes, turn the other burner to low.
5. Start High and Finish Low. Start the steaks on the hot side of the grill and cook each side for about 3 minutes, until it is well charred. Then, move it over to the cool side of the grill, close the lid and let it go for another 5 minutes, before checking the temperature.
There is a school of thought out there that advocates for the reverse sear, starting low and finishing high. Meathead Goldwyn of amazing ribs.com has me almost convinced to give it a try.
When you start with high heat, you load up the exterior, and by the time you are done you have a thick band of overcooked meat. If you reverse the order, start the food in the indirect zone at a lower temp, warm everything until it is close to uniform on the inside, and then hit it with Warp 10, you get both a better interior and exterior. That’s reverse sear, and this is another technique you should master. It is the best approach for many foods.
I will report back to you as soon as I try it.
6. Don’t Poke! If you take anything away from this post today, let it be this. Buy yourself an instant read thermometer. This is a great one, and I see that they have just come out with a little sister. Poking the meat to see if it is done is a fool’s game. A thermometer takes all the guesswork out if it, and makes you look like a rock star.
Blue (very, very rare) or, as we call it around here, “Steak for Ed” 105°F
Rare 115°F
Medium Rare 120-130°F
Medium 140°F
Stick the thermometer in the steak from the side into the center, not from the top.
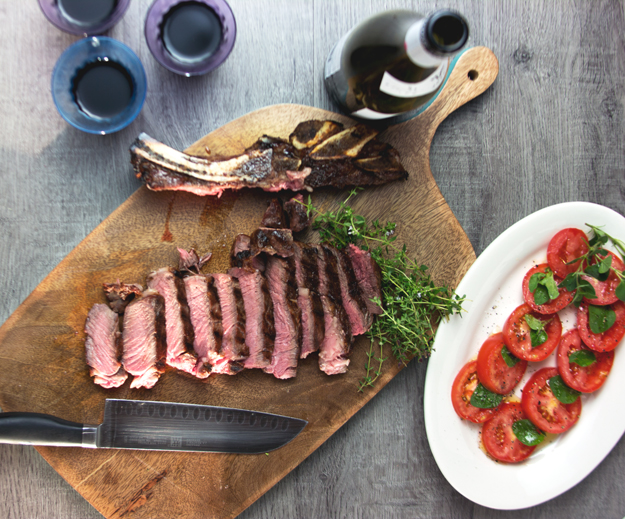
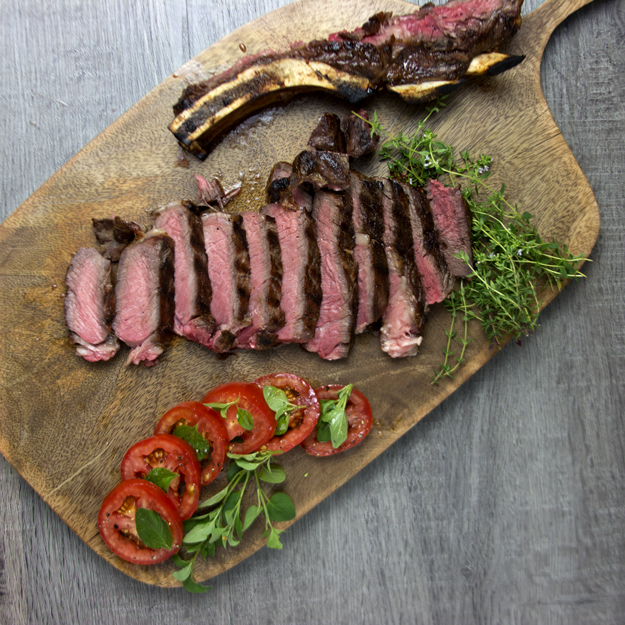
8. Slice steak, and arm wrestle your partner for the bone.

