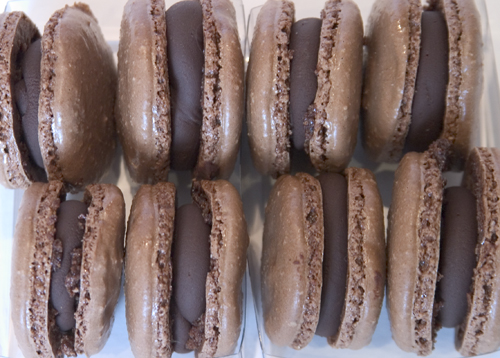
Okay, now I’m really confused. In my last post I cleared up the difference between macarons and macaroons. According to my thorough research, macarons (one o) are the French almond meringue sandwich cookie and macaroons (two oo’s) are the American coconut based cookie. In my pretentious little blurb, I even went so far as to instruct you on how to pronounce macaron correctly with a French accent. Imagine my surprise when I visited the web site of Ladureé. They spell the ubiquitous little almond meringue sandwich cookie, MACAROON!! Huh?
Now, given that it was Ladureé’s first cousin, who at the beginning of the 20th century first thought of taking two macaron shells and joining them with a delicious ganache filling, you would think that Ladureé would know the correct spelling. If anyone out there can clear up this spelling mystery for me, please do!
However you spell it or pronounce it, there is no denying that this is an incredible confection. Light and crisp on the outside and chewy and soft in the center, it is the perfect little mouthful. In my last post I tackled the more complex Italian meringue technique for making macarons, where the egg whites are beaten with a sugar syrup cooked to 230ºF -240ºF. They were delicious but I will admit that there was quite a bit of work and dirty pots and bowls involved.
I have been making a simplified version of macarons for several years now, using an old recipe from Gourmet magazine. But, now that I am more knowledgeable about macarons, I discovered that my Gourmet recipe was not quite authentic. I decided to try the French meringue technique, which is a bit more involved than my old recipe, but not as challenging as the Italian technique.
Here are the main differences between the Gourmet recipe I have been making for several years now, the French and the Italian.
|
Gourmet Recipe |
French Meringue Technique |
Italian Meringue Technique |
|
| Ground Almonds | Grind Your Own | Uses pre-ground | Uses pre-ground |
| Sieve | Not forced through sieve | Forced through sieve | Forced through sieve |
| Egg Whites | Beaten without sugar | Beaten with sugar | Beaten with cooked sugar syrup |
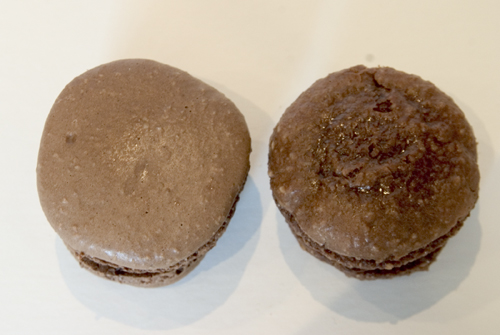
Of course I had to do a side by side comparison between what I have been baking (the Gourmet recipe) and the classic french meringue technique so I prepared both. For the french technique, I used Sue’s recipe from her blog, You can do it at home.
The one on the left is the macaron made using the classical French meringue technique. The one on the right is the Gourmet Magazine recipe. The classical one is smoother, shinier and has a more complex structure. The outside is crisp and as you bite into it, the shell shatters and gives way to a chewy interior. The Gourmet recipe is much more one-dimensional texture wise. The whole thing is chewy. I much prefer the Classical French Macaron. I urge you to give it a try. You will be thrilled with the results!
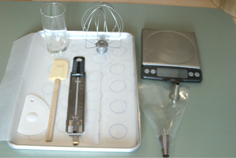
Before starting, make sure you have a scale. From all the recipes I read, it seems that you are more likely to achieve success if you weigh your ingredients rather than measure. Weighing is much more exact than measuring. That is how all professional pastry chefs bake. You will need either a stand mixer or a handheld mixer for beating the egg whites. A food processor is needed to grind the almond meal and icing sugar. A pastry bag (disposable is fine) and half-inch plain piping tip will be needed.
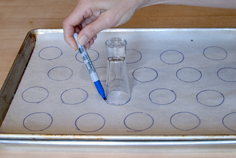
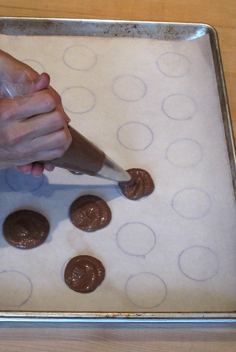
Finally, before you begin, if your piping skills are not top-notch, it’s a good idea to make a template so that all your macarons will be the same size. Take a sheet of parchment and trace out 1.5 inch circles (a shot glass is ideal for this), leaving about 1/2 inch space between the circles. Place the template on a baking sheet and then place a second sheet of parchment on top. That way, once you have piped your circles, you can slip out the template sheet and reuse it. It is also a good idea to double up your baking sheets to protect the bottom of the macarons from burning.
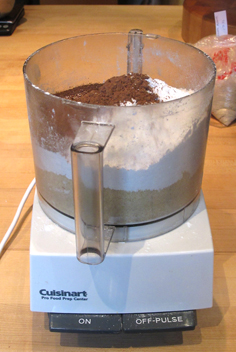
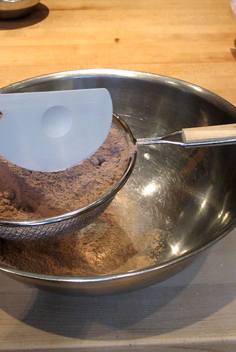
Almond meal is essentially ground blanched almonds. It is readily found at bulk food and natural food stores. It is sometimes called “Almond Flour”, although it contains no flour. The almond flour and confectioners sugar are ground for several minutes in the food processor and then pushed through a coarse sieve. This ensures that the batter will not contain any lumps.
I encountered quite a discussion about the egg whites. Most of the experts agreed that the egg whites should be aged for at least 24 hours. What this means is that you need to separate the eggs one day before you plan to make the macarons. Put the egg whites in a covered container in the fridge to age. According to Duncan, of Syrup & Tang, “Egg whites consist of proteins and quite a lot of water. The water can make the final batter unmanageably wet, either in the making or in the oven (where the macarons refuse to dry adequately). Old egg whites have lost some of their water content through evaporation so can yield a more successful batter.” Remove the egg whites 2 hours before you plan to use them so they can come to room temperature.
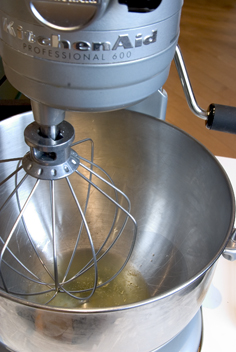
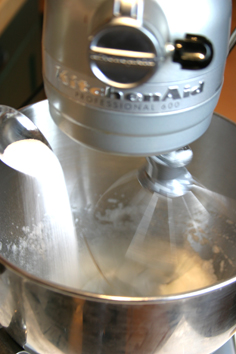
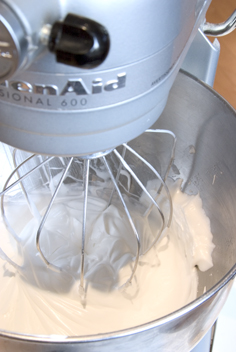
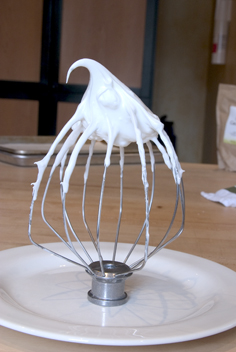
The egg whites are beaten to soft peaks and then finely ground granulated sugar is slowly added to the egg whites, while still beating, until the mixture is glossy and holds stiff peaks.
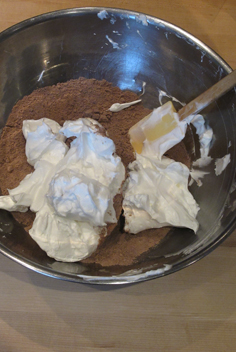
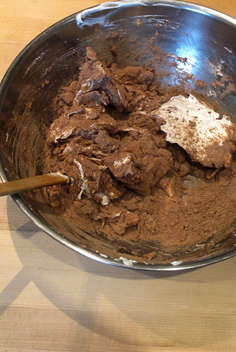
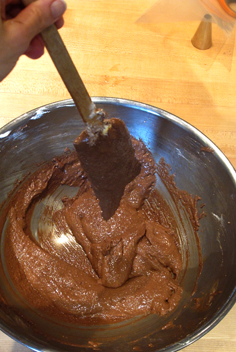
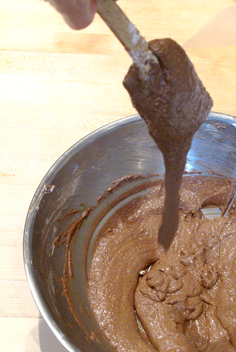
Next the almond mixture is combined with the beaten egg whites. Sue of “You can do it at home” gave one of the best descriptions on how to combine the two so that the batter is not overmixed. “Put the whipped egg whites into the almond meal & icing sugar mixture. Stir vigorously for the first 10 stokes or so. Then continue to mix the mixture until fully combined. At this point, you might wonder if you have deflated your meringue. Don’t worry, we’re not after the air and texture of meringue. It’s more important that the batter is totally blend-in and combined. The batter should have the consistency of thick cake batter and have the ribbon-like consistency…or many website described it as “magma-like consistency”
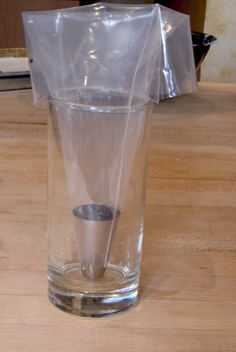
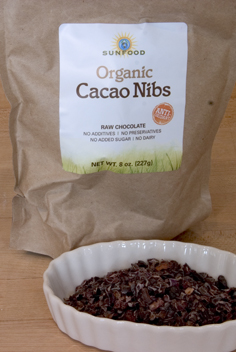
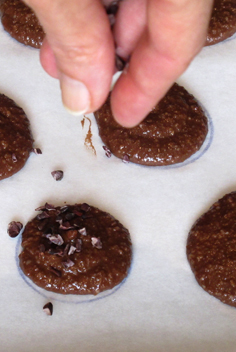
To make it easy to fill the piping bag, place it in a tall glass or pitcher and turn the bag down like a cuff. After the macarons are piped, you can top half of them with a sprinkling of cocoa nibs. These will become the tops of your sandwich cookies. The bitterness of the cocoa nibs plays off very nicely with the sweetness of the macarons.
The baking sheets are then tapped against the counter to flatten out the macarons a bit. Then the macarons sit at room temperature for about 30 minutes before baking. You want them to be dry to the touch before baking. If batter still sticks to your finger when you touch it, let it dry a bit more. This helps to ensure the macarons bake without cracking.
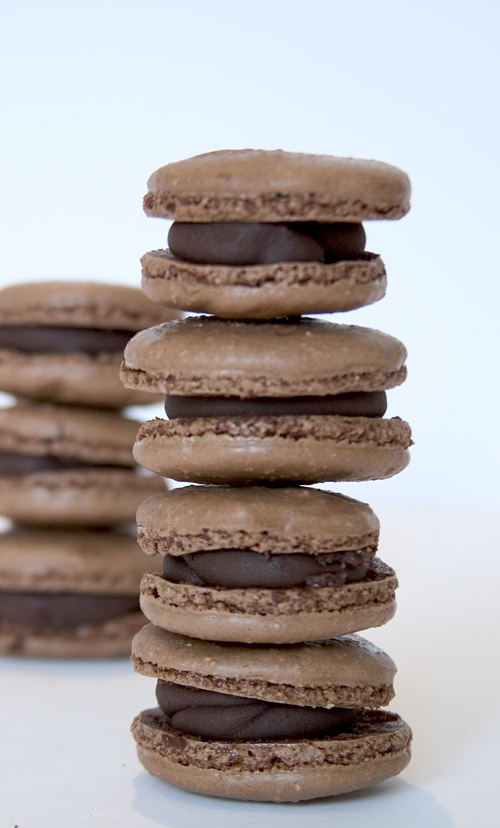
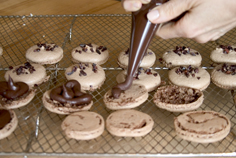
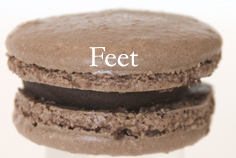
When the shells are baked let them cool completely before trying to take them off the parchment paper. Turn the macarons upside down. Then spoon or pipe the filling onto half the shells and cover with remaining half to make sandwiches. A successful macaron has what they call, “feet”. This refers to that fuzzy little ring around the edge. My macarons grew feet and I was proud!
To print recipe for Chocolate Macarons with Chocolate Ganache Filling, click here.
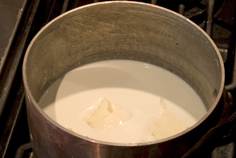
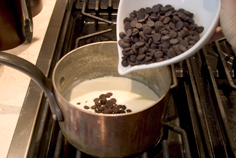
It is best to make the fillings a day ahead of time and give them a chance to firm up overnight in the fridge. Chocolate ganache is simple to make. Heat 35% cream and butter in a pot until simmering. Add chocolate and stir until melted. Pour into a container and refrigerate until firm.

