Tag Archives: Cookies

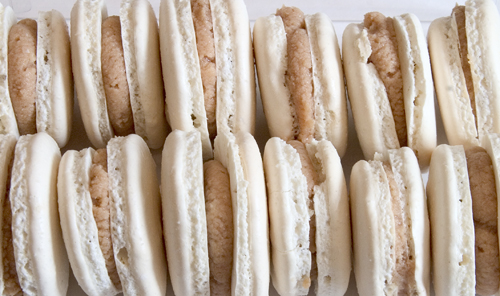
Salted Caramel Macarons


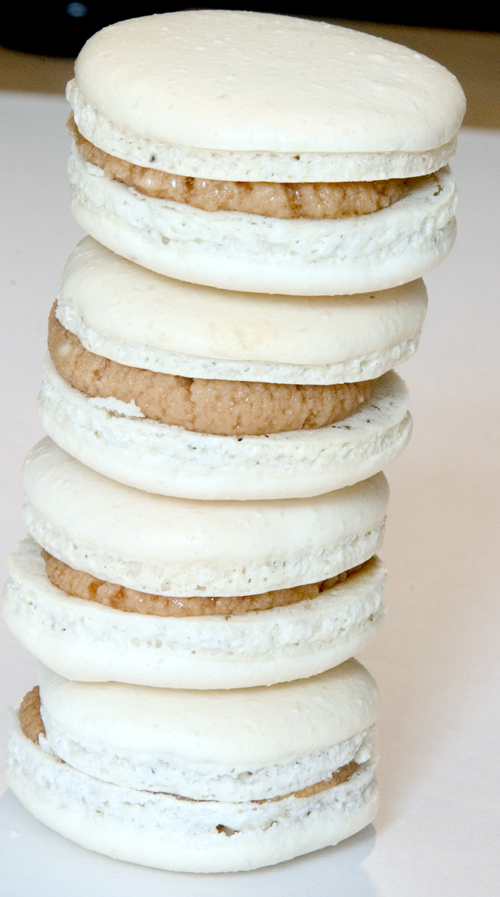
Apparently, this year in desserts, cupcakes are out and macarons are in. Macarons, not to be confused with macaroons, are the new darling of the pastry world. These are French macarons we are talking about here (one o), made with ground almonds, not American macaroons (two oo’s), and made with coconut. Essentially they are an ethereal confection consisting of 2 almond meringue cookies, sandwiched together with a filling.

The correct pronunciation, if you care about things like that, is Ma-Ka-ROHN, (the “r” is rolled)  Check out this YouTube video  (http://www.youtube.com/watch?v=TiKKh7Rf9AQ) to hear it pronounced. If you’re Canadian, well then, you’re ahead of the game as you already know how to roll your r’s .

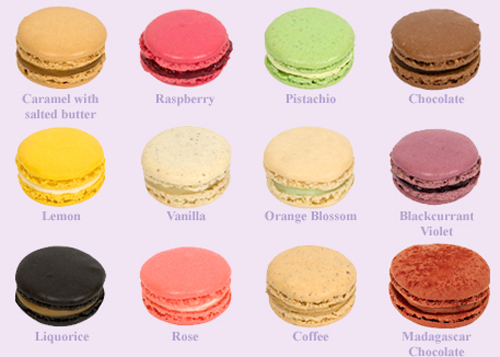
Clearly I am ahead of the trend, as I have been making macarons for about 5 years now. However, in my mind, they were associated with Passover and not Paris. Until recently, I thought they were a Jewish creation because I only made and ate them at Passover. It was only once I visited the venerable Ladureé (London store), that I realized this was a French cookie and was blown away by the flavour variations possible. I whipped out my camera to take a picture and the saleslady started screaming at me. No photos allowed! I did manage to copy a photo from their website.

Once I visited the store and tried all the flavour variations I became slightly obsessed with them. I realized that there was a whole world of macarons beyond my Passover variation.  There are several food bloggers out there who excel at macarons and I began lurking on their sites. Sue, of “You can do it at home”, http://youcandoitathome.blogspot.com/2010/10/i-heart-macarons.html, has mastered the art and I am awed by her talent. Duncan, of “Syrup and Tang” is another master.  I also purchased 2 wonderful little books, which have step by step photos and offer some amazing flavour variations (Secrets of Macarons and Macarons).

I have discovered that there are two main methods for making macarons. The first is simpler. It involves using a French meringue, which is essentially egg whites beaten with finely ground granulated sugar. This is then folded into the ground almonds and icing sugar. The second method is a bit more complex. It involves using an Italian meringue, which is a cooked sugar syrup poured into egg whites and then beaten until stiff and glossy.Apparently the Italian method yields a shinier, smoother macaron as well as more consistent results.

Below I chronicle, by video, my first attempt at making italian Meringues, filled with Salted Caramel Buttercream. The meringue method and recipe are courtesy of Duncan at www.syrupandtang.com.

Duncan’s recipe for the macarons can be found here .

My recipe for the Salted Caramel Buttercream, to fill the macarons with, can be found here.

Admittedly, the macarons are a labour of love. I still have a long way to go to perfect the technique. Mine aren’t nearly as lovely as Duncan’s or Sue’s. Luckily, I will have lots of practice in the following week as I offered to bring dessert to the Passover seder at my sister-in-law’s (35 guests), the Passover Seder at my mom’s (41 guests) and a Passover dinner party at a friend’s house (10 guests). I expect, that by the end of the week, my macaron skills will improve greatly.

Stay tuned as more eggs are sacrificed, and my pants become tighter. In a few days I will post about the French macaron method when I prepare Chocolate Macarons with a Chocolate Ganache filling.

The Case of the Disappearing Oreo

A few weeks ago, my daughter sent me a BBM from her dorm room at College, asking me to please buy a bag of Oreo cookies for when she came home for the long holiday weekend. Huh???  Usually she asks me to bake some decadent cookie, so the store-bought request was odd. When I asked her why she wanted Oreos she said her roommate had seen something unbelievable, using Oreos, on a food blog and wanted my daughter to bake it for her when she went home.

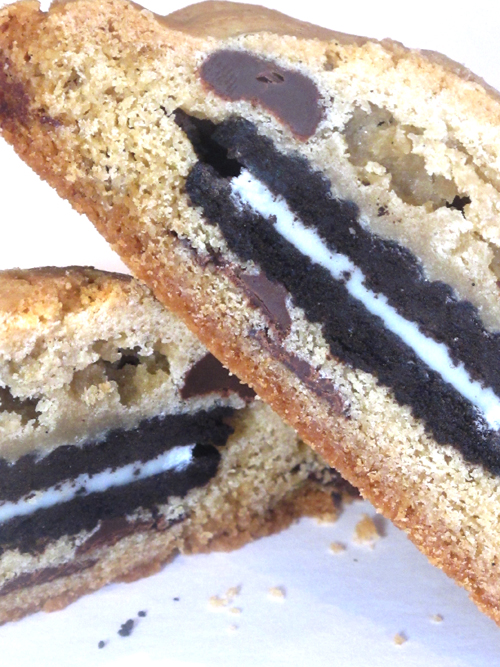
The next day, while surfing food blogs, I came across this and this and this and this, well, you get the idea. Apparently this is the new food blogging darling. Everyone’s doing it! I sent the links to my daughter and asked her if this was what she planned to make. Her reply was an effusive “YESSSS!!” She went on and on about how amazing these looked and yada yada yada.

My first reaction was, “This, in a nutshell, is what’s wrong with America (and Canada too) these days. Supersizing everything. As if a double stuffed Oreo isn’t gluttony enough, now we’re shoving an Oreo inside a huge ball of chocolate chip cookie dough and baking it. No wonder our kids are obese and diabetes and heart disease are killing us.” Then I got off my high horse, and of course, went out and bought a bag of Oreos – not the double stuffed ones though, I have my limits.

I have to admit, the baker in me was very curious to see how this was actually done and what exactly would happen when you stuff SUGAR, ENRICHED FLOUR (WHEAT FLOUR, NIACIN, REDUCED IRON, THIAMINE MONONITRATE {VITAMIN B1}, RIBOFLAVIN {VITAMIN B2}, FOLIC ACID), HIGH OLEIC CANOLA OIL AND/OR PALM OIL AND/OR CANOLA OIL, AND/OR SOYBEAN OIL, COCOA (PROCESSED WITH ALKALI), HIGH FRUCTOSE CORN SYRUP, CORNSTARCH, LEAVENING (BAKING SODA AND/OR CALCIUM PHOSPHATE), SALT, SOY LECITHIN (EMULSIFIER), VANILLIN – AN ARTIFICIAL FLAVOR, CHOCOLATE. CONTAINS: WHEAT, and SOY  inside chocolate chip cookie dough and bake it.

For this post, I had two guest bakers, my daughter and her best friend, who is may as well be my second daughter, as she spends a lot of time at our house. I was just documenting this experiment with the camera. The pictures are less than my usual stellar quality as the girls decided to begin baking at 9:00 pm, and I was lacking daylight, which I like to shoot with.

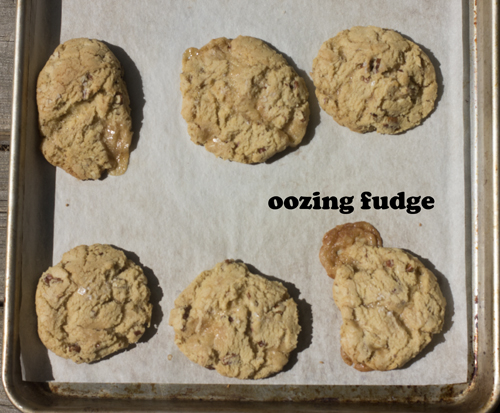
We thought about substituting our favourite chocolate chip recipe, but we thought they might spread too much and the Oreos would ooze out and make a mess. So we stuck to Jenny’s (The Picky Palate) original recipe, since she created them, she ought to know best.

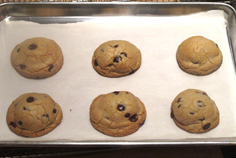
We made a little video to demonstrate how to form these cookies. It’s not rocket science, but we were on a bit of a sugar high and having a little fun, so we made a video.

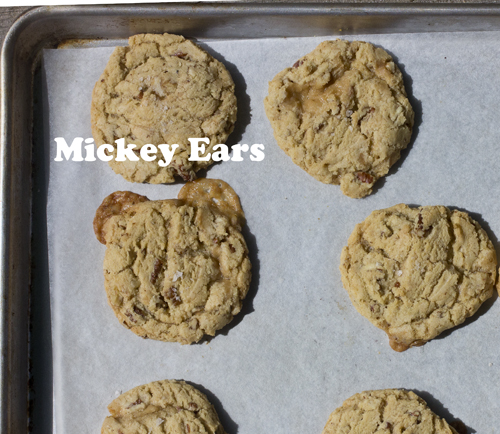
We had a bit of a debate on whether or not to flatten out the Oreo balls after they were formed. We took a vote and flattening won by a 2:1 margin.

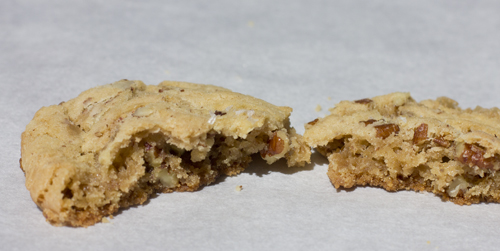
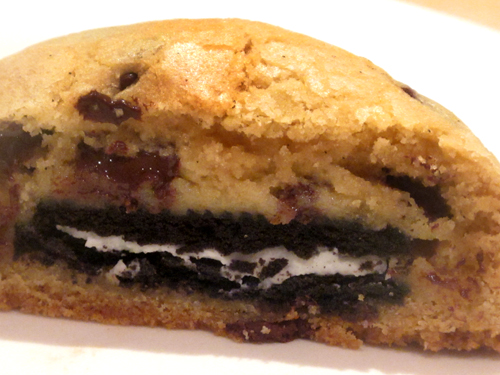
We waited a few minutes and then we cut one open. The chocolate chips were warm and gooey and the Oreo filling had melted slightly. I have to say, I didn’t like them very much. Part of the reason was that I do not like warm chocolate chip cookies. I like them to be totally cooled so the chocolate is not at all melted anymore. I like them even better frozen. I know, I am strange. The girls declared them, not bad and continued to nibble away at them. I went to bed, secretly glad I didn’t love them because I was not really tempted to eat anymore.

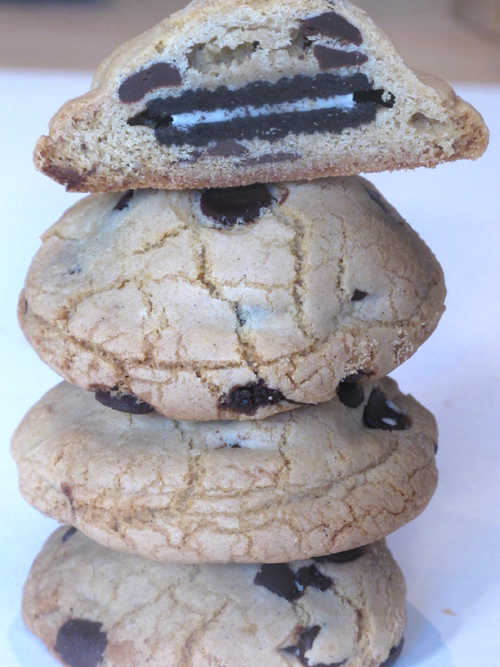
When I got up in the morning, I cut another one open, so I could photograph them in daylight. They had totally cooled by this point and the cookies lost their chewiness. To be fair, I think we overbaked them. The recipe said to bake 9-13 minutes but we went longer, about 16 minutes. They were more crunchy now. I took a bunch of shots and then decided to taste them again. Not bad! Damn!!! I quickly wrapped the remainder up and made my daughter pack them in her bag to take back to school that afternoon. I’m looking forward to seeing what Jenny of the Picky Palate comes up with next.

To print the recipe, click here.


Torie Cookies (Oatmeal Toffee Cookies)


If you have been following along for the last few days you will know that I am struggling to come up with dried fruit desserts for my cooking class on Tu B’Shvat desserts.  Dried fruit desserts are not something I am well versed in.  I think I met the challenge quite well with Tu B’Shvat cake and Meneinas, but the well was running pretty dry and I really wanted to give my students a third dessert.  Of course, there is always fruit compote, but come on now, that’s a cop-out.

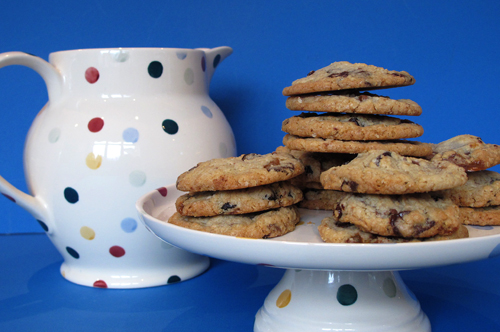
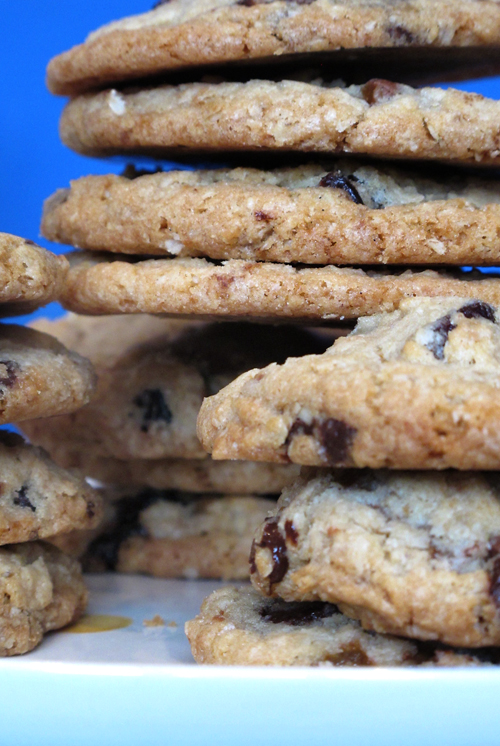
I tried focusing on the glut of dried fruit I had purchased, in preparation for this project, but all I kept thinking was, “I want chocolate!”.  And then I remembered one of my favourite cookies combined chocolate and dried cherries (and oatmeal and chopped up skor bars too).  So I figured, as long as the cookie contained some dried fruit, we were ok on the Tu B’Shvat front.

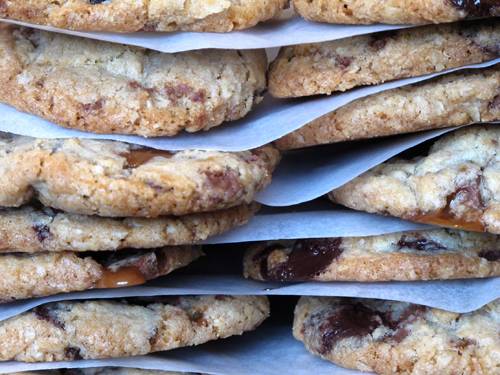
This cookie is an old Martha Stewart recipe, that she got from her friend Torie.  She originally called them “Torie’s Cherry Chocolate Chunk Cookies” and then somewhere along the line changed the name to “Oatmeal Toffee Cookies”.  In our house, we just call them Torie Cookies.  I did a little research and discovered that Torie is Torie Hallock, a real estate broker on Mount Desert island, Maine, where Martha has her famous “Skylands” house.  I’m betting that Torie is a very successful broker as all she would have to do to sell a house is throw in a dozen of these cookies to seal the deal.

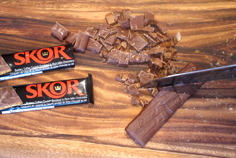
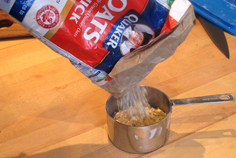
The original recipe called for toffee bits.  They are usually sold here in Canada under the name Skor bits.  I decided to chop up whole Skor bars instead so my cookies are a bit more chocolatey.  I think in the US they are sold under the name Heath Bar.  Whatever you call them, they are delicious.  Just a few notes about ingredients.  Use quick cooking or large flake oats, not instant oats. Instant oats are precooked and dried and are too fine in texture to make a good oatmeal cookie.   Also, the original recipe calls for chocolate chips, but I substitute chocolate callets, which are bittersweet couverture chocolate, shaped into discs.  Feel free to just use any good quality chocolate, chopped up.


To print recipe, click here.

Meneinas (yummy little nuggets)


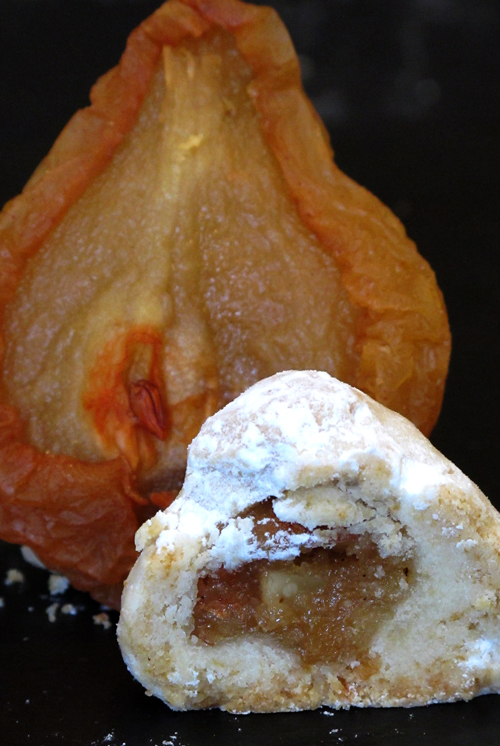
In my continuing quest to uncover dried fruit and nut desserts for my Tu B’Shvat cooking class, I uncovered this little gem.  These adorable little cookies are called “Meneinas” (pronounced Meh-NAY-nas) and they may be singly responsible for making me reverse my former position on not liking dried fruit desserts.  I feel like Sam in “Green Eggs and Ham.”  Say,…. I do like dried fruit and nut desserts.

I discovered this cookie recipe in my new book, “Chewy, Gooey, Crispy, Crunchy Melt in Your Mouth Cookies.” by Alice Medrich.  I am just a little obsessed with this book and am tempted to bake my way through this one too.  When I bought this book in late December, I promised myself that I would not bake from it in January.  I swore I would only use it for bedtime reading.   Come on now, who am I kidding?  I am so weak!  My New Year’s resolution broken in only 2 weeks.  But to be fair, I was giving a cooking class on dried fruit desserts and this little cookie was just perfect.

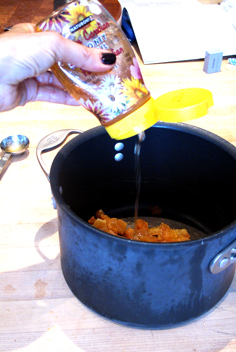
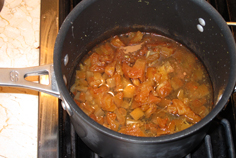
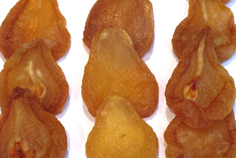
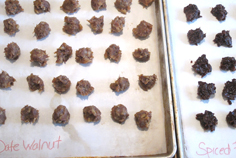
Alice says that this is a cherished family recipe from Alexandria, Egypt, given to her by artist Jeannette Nemon-Fischman.  The traditional filling is made with date and walnut, but in typical Alice Medrich fashion, always one to gild the lily, she offers us 4 alternate fillings: Spiced Fig, Apricot Vanilla with Cinnamon and Almonds, Pear Almond and Sour Cherry with Black Pepper.  Of course, being the keener I am, I had to make all 5 fillings.  Just for research purposes of course.  My favourites were the Pear Almond and the Sour Cherry with Black Pepper.  The cooking class students loved them all but their favourites were the date walnut and the spiced fig.

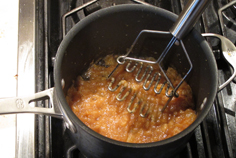
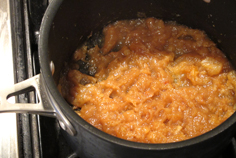
These cookies were so much fun to make.  Actually, I had the best time making the fillings.  Alice suggested that a potato masher would be the best tool for making the dried fruit fillings.  I somehow lost my potato masher so I had to get a new one.  Look what I found!  It is a pogo stick potato masher.  It is spring-loaded and so much fun to use.  No wonder I made 5 fillings.

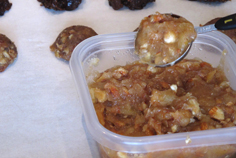
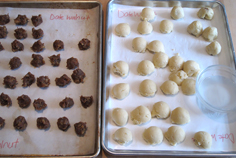
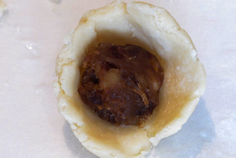
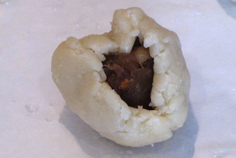
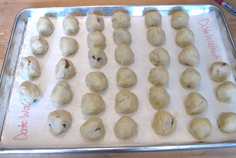
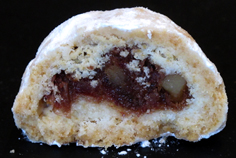
Once the filling cooled, I added some chopped almonds.  The dough comes together quite easily in a mixer.  It’s enriched with butter, milk and orange blossom water.  I’m just warning you, when you open the orange blossom water be prepared.  It smells like a cheap hooker, but once incorporated into the dough, the flavour and aroma are very subtle.  You can find the orange flower water at middle eastern stores.  Just use some orange zest if you can’t find it.  The dough has the consistency of play-doh and the little cookies are so easy to form.  It’s best to set up an assembly line process.  First, scoop out the filling.  A heaping teaspoon is a good size.  Then scoop out tablespoon sized nuggets of dough.  Then form little cups and fill and seal.

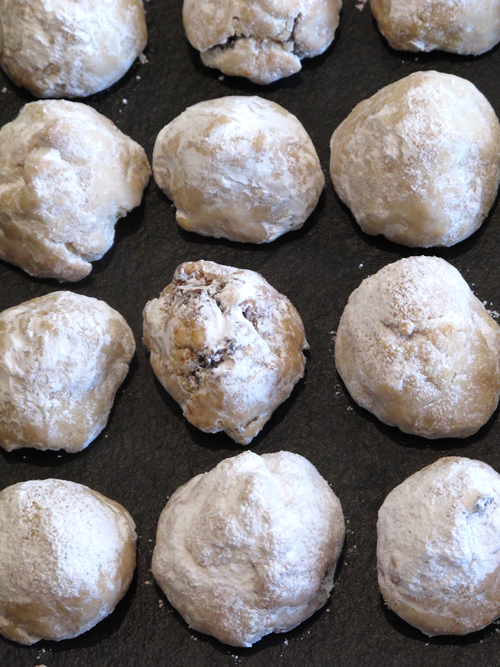
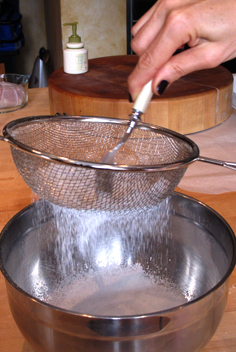
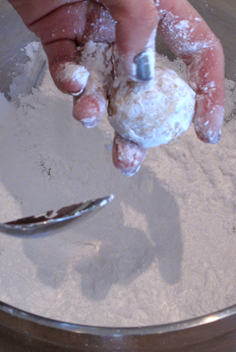
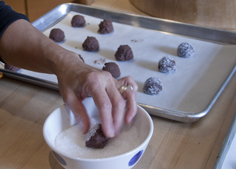
Once the cookies have cooled, I rolled them in icing sugar.  Alice recommends coating them when they are warm and then coating them a second time once they have cooked.  I found they got a bit gummy, so I just coated them once, when cool. I think you could freeze them, uncoated and then thaw and coat them before serving.


To print recipe, click here.

To print filling recipes, click here.

Day 8: Packaging

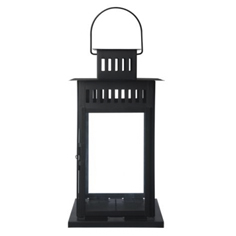
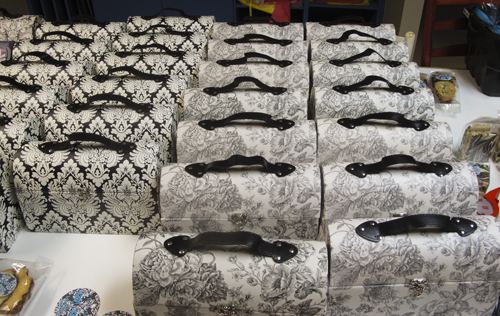
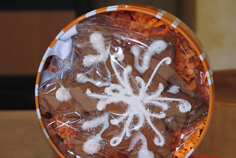
On the eighth day of holiday baking, my true love threatened to leave me if I didn’t stop tempting him with cookies everyday.  Good thing my baking was all done.  Now for the fun part, packaging and labelling.  I am always on the lookout for interesting containers to pack up the treats in.  I found these containers at IKEA in June.  I got a lot of strange looks as I wheeled my cart to the checkout, overflowing with 40 sets of these cookie tins.  Several people wanted to know what I was going to do with them.  When I told them I was using them for holiday gifts, to be filled with home-made cookies, I was besieged with “Friend” requests. 

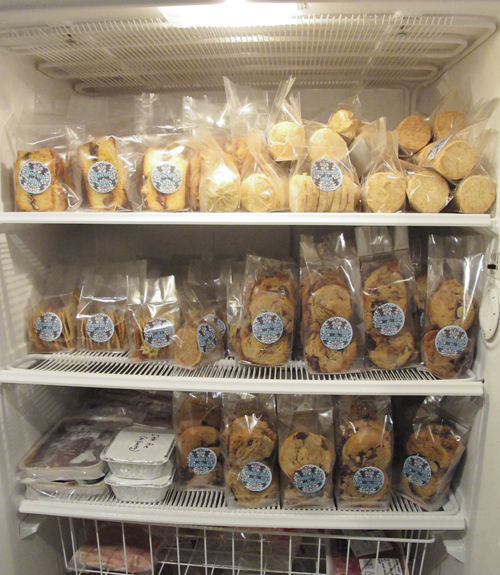
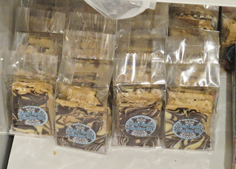
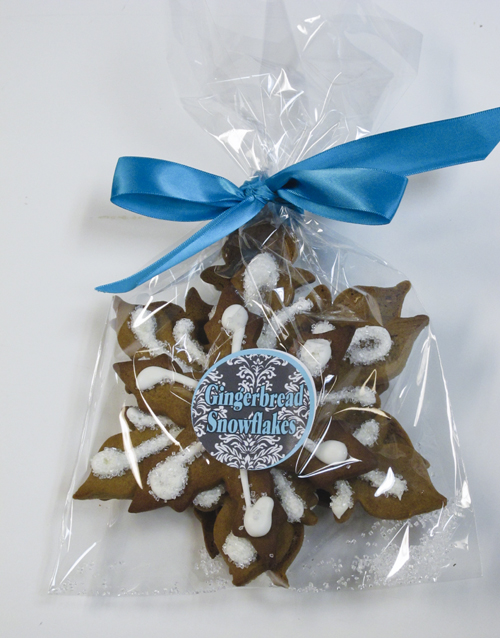
I like to package each type of cookie in a separate bag and label them so people know what they are eating.  I use clear heavy-duty flat bottom candy bags.  They are quite durable and the cookies look tidy packaged in them. The cookies can also be frozen in these bags for a few weeks and they do a good job keeping them fresh until you are ready to give them away.   I invested in a professional bag sealer a few years ago.  I used to tie each bag with ribbon but that took too much time.  I figure the bag sealer has paid for itself already in the money I  am saving on ribbon.  Plus, it looks so professional. And, when the bags are tied with ribbon, it’s way too easy to break into a bag and sneak a cookie or two. 

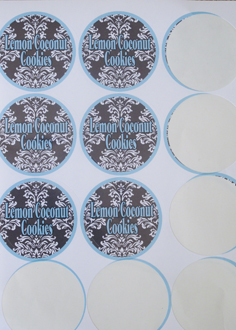
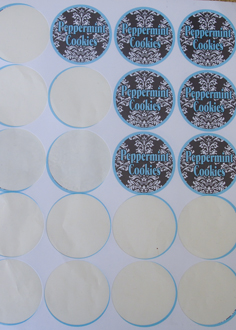
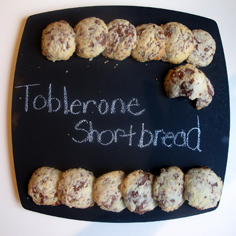
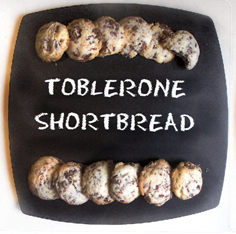
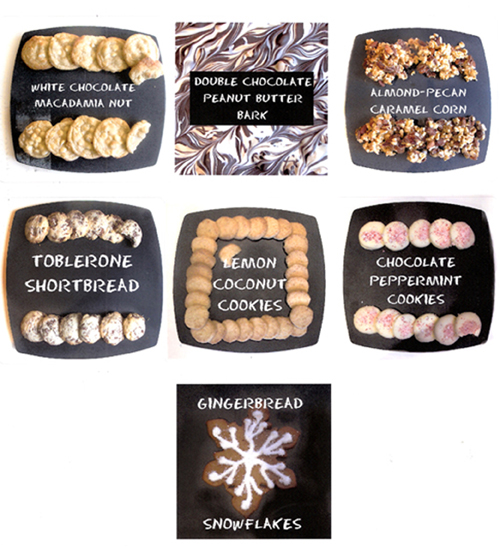
I make my own labels with a program called Print Shop.  I have been using it for years and it is very easy to use and quite versatile.  This year I decided to do square labelsOnlinelabels.com has a huge selection of all sorts of shapes.  My daughter had the brilliant idea of photographing the cookies for the label.  I decided to shoot them on a wooden tray I painted with chalkboard paint several years ago.  I arranged the cookies on the tray and then wrote the name in chalk.   I was not thrilled with how it looked.  I decided to import the photo into my Print Shop program and add text.  I found the perfect font called “Chalk Dust.”  I have a bit of an obsession with fonts. 

Here are the rest of the labels for this year.

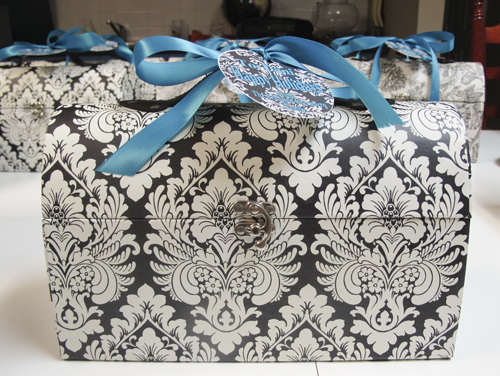
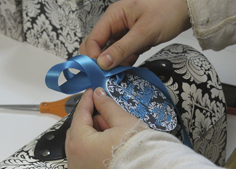
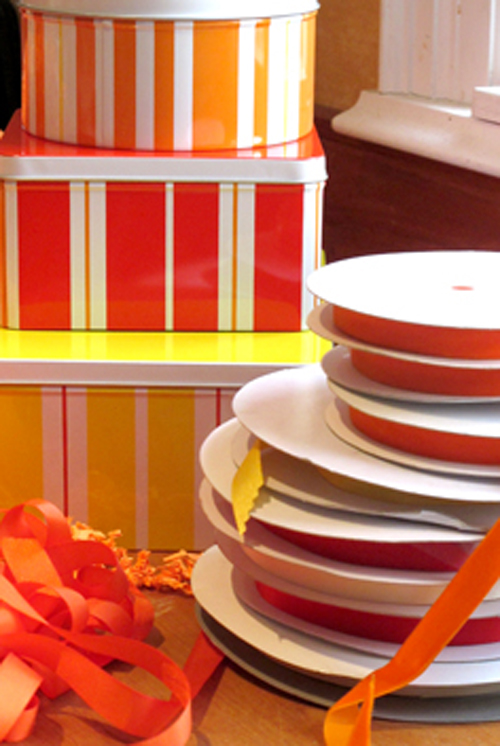
Ribbons and boxes all ready to go.

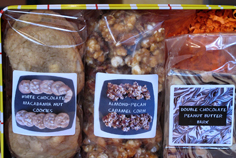
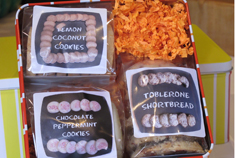
Bottom box held white chocolate macadamia, caramel corn and peanut butter bark.  Middle box held lemon coconut, chocolate peppermint and toblerone.  And the gingerbread snowflakes fit snugly into the top box.

And now, I rest!! 

Day Seven: Chocolate Peppermint Cookies


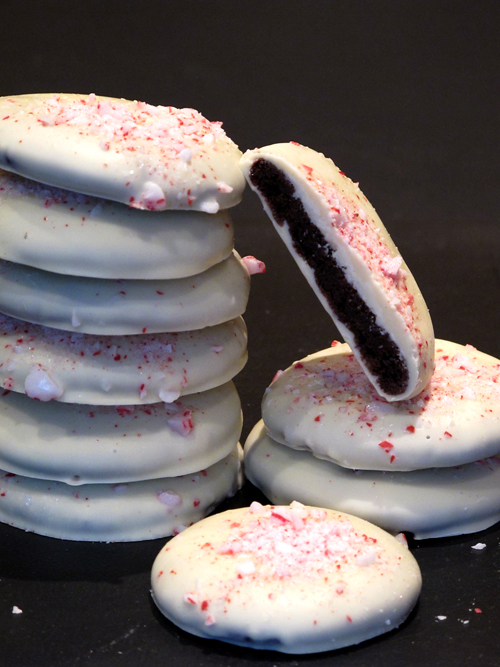
On the seventh day of  holiday baking , my true love brought to me: a heating pad and thermometer. No, I’m not sick with fever and chills.  Those are just some essential tools to temper chocolate.  The recipe for these cookies comes from the December 2008 issue of Martha Stewart Living.  I dreamed about these cookies for over a year, not quite trusting myself to make them without having a clear plan of where to deliver them.  I finally made them for my holiday gifts last December and they were so amazing, I had to bake them again this year.

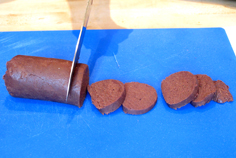
I have adapted this recipe somewhat.  Martha asks you to roll the chocolate dough, chill it, cut out circles, with a 2 inch cookie cutter, chill the cut-out cookies and then bake them.  I simplified things by rolling the dough into a cylinder, freezing it and then slicing and baking.  Faster and easier.  Although Martha does not suggest tempering the chocolate before dipping, I highly recommend it.  It gives the chocolate a beautiful shiny coat and the white chocolate will not melt in your hand when you eat them.  I am warning you, it is a time consuming and highly exacting process, but I think it’s worth it.  Should you decide to forgo the tempering, they will still taste just as delicious but the appearance will not be as spectacular.

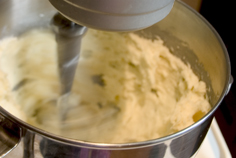
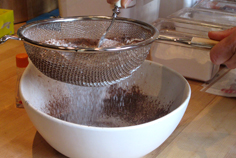
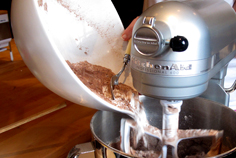
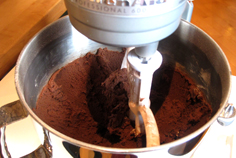
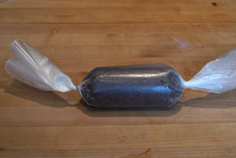
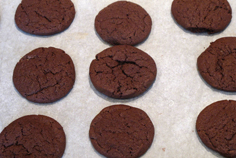
Begin with creaming the butter and sugar.  Sift the dry ingredients.  Usually when a recipe calls for sifting, I just ignore those instructions, but when cocoa powder is involved, it’s a good idea as it always has lumps.  Divide dough into two, roll it into a cylinder, wrap in waxed paper, and freeze.  Then slice and bake.  The bottom of each slice becomes a bit flat when you slice them.  You can reshape them quickly back into a perfect circle with your fingers if you want, and then you will have perfectly round cookies.


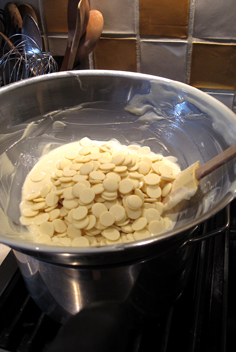
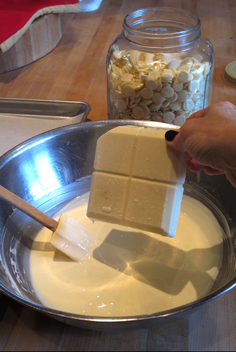
After the cookies have cooled,  get ready to temper the white chocolate.  DO NOT USE CHOCOLATE CHIPS FOR DIPPING!  I can not emphasize this enough.  Chocolate chips are made with certain stabilizers in them to help them hold their shape and not melt completely.  That is not what you want here.  Also, do not buy the pure white stuff at the bulk food store that is labelled white chocolate.  It is not real white chocolate, but rather a coating compound.  It will melt beautiufully, but it will taste like crap.  Real white chocolate is ivory coloured.  Buy good quality white chocolate.  I like Callebaut or Lindt.

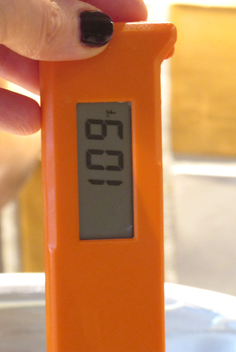
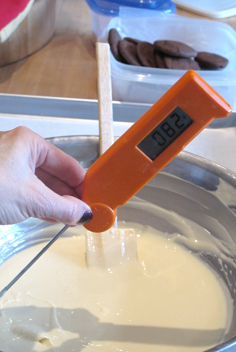
Many chocolate companies are now manufacturing their chocolate in the form of “Callets“.  While they may look like chocolate chips, they are not.  It is the same as buying a block or bar of good chocolate but saving yourself the time and mess of chopping.  A great source for them is www.qzina.com.  For tempering, it is also a good idea to have some solid blocks or bars of chocolate as well.  Those work well to help cool down the chopcolate in the second step of tempering.  A good quality instant read thermometer is helpful for this project.   I have the Thermapen and I love it and use it for everything.  It was recommended by Alton Brown and Cook’s Illustrated.  Can’t get a better recomendation than those two!  I also just heard about a chocolate thermometer , which looks really cool.  haven’t bought it yet, but I am tempted.

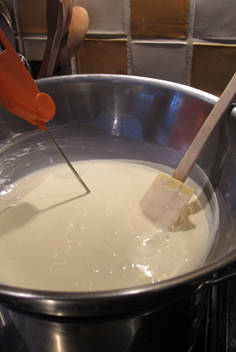
Step 1:  Melt white chocolate over a double boiler of simmering water, to 115º F.

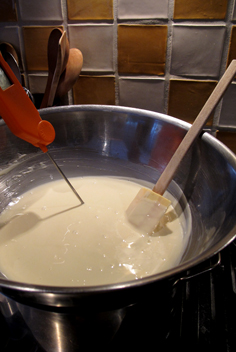
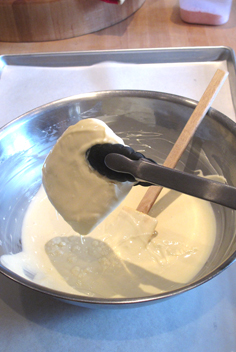
Step 2: Remove from heat and add a block of white chocolate.  Stir to cool chocolate down to 81º (for white and milk chocolate) (86° F for dark chocolate).  This will take about 10-15 minutes.  Be patient.  Remove block of unmelted chocolate.  This unmelted piece can be wrapped up and reused another time once it has cooled.

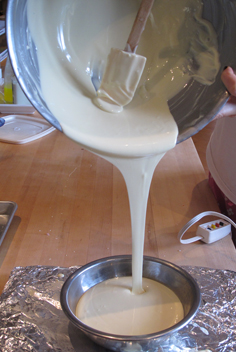
Step 3:  Then briefly place bowl back over the double boiler for just 10-15 seconds, until it warms up to 86º F (for milk and white chocolate) (89° F for dark chocolate). Congratulations!  You have tempered your chocolate.  Now transfer tempered chocolate to a smaller bowl and place on a foil covered heating pad, set on low.

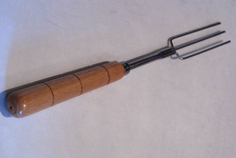
A fork is the best tool for dipping the cookies into the chocolate.  I was given a fancy set of chocolate dipping tools many years ago and they are fun to use, but a regular fork will suffice.  I saw a less extensive set of these tools on amazon, so if you plan to do a lot of chocolate work, they are a worthwhile investment.


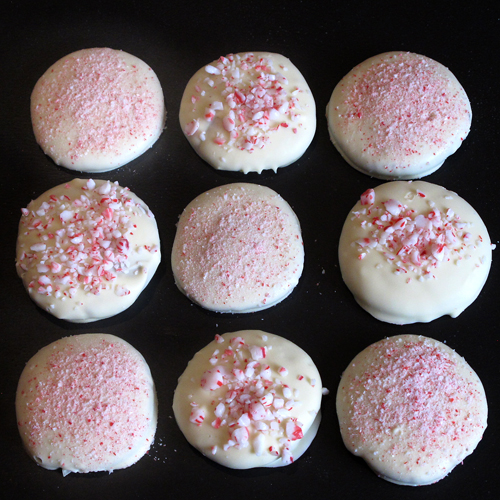
Dip cookies in melted chocolate, and sprinkle with crushed peppermint candies. After you crush the peppermint candies (the Cuisinart does a great job of this), put them through a sieve.  This will separate the finer dust from the crumbs.  It’s nice to sprinkle some of the cookies with the dust and others with the coarser crumbs.  Chill and eat!

To print this recipe, click here.


Day Six: Lemon Coconut Cookies

On the sixth day of holiday baking, my true love brought to me a microplaner to zest lemons.  These lemon coconut cookies may look Plain Jane,  but once you bite into one you will realize they are anything but.  They have a complex depth of flavour.  So tender, they just melt in your mouth.  Betcha can’t eat just one!

This recipe comes from the May 1993 issue of Gourmet magazine.  Gosh every time I even have to type that name I feel bitter.  I am still mourning the loss of that wonderful publication.  I have moved from denial to anger on the grief hierarchy, so I guess that’s progress but I am still a long way off from acceptance.  I am still hoping for a rebirth!

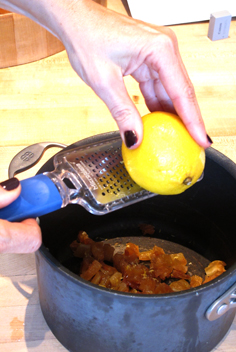
I have adapted the recipe slightly.  The original called for sifting icing sugar on the finished cookies but I found that really took away from the delicate flavour of the lemon and coconut.  The recipe also calls for lemon zest and lemon extract.  I am not a lemon extract fan.  It’s scent reminds me of Lemon Pledge.  However, I have tried it with and without, and in this cookie it adds a zing of flavour that is not overpowering.

It’s a simple slice and bake cookie dough, which I love when I am really strapped for time (like Day 6 of my baking adventure).  They keep well in the freezer for several weeks.

Roll the dough into logs, slice and bake.

To print this recipe, click here.

Day Three: White Chocolate Macadamia Nut Cookies

It seems like only yesterday I was going on about how wonderful it is when a product delivers as promised.  Oh wait, it was yesterday.  Yes people, my wonderful new beater blade has bit the dust.  Serves me right for bragging about it.  On the 10th batch of the Toblerone shortbread I was making, the spout of the bowl I was using to pour the chopped Toblerone into the mixer, accidentally hit the top of the spinning blade and it cracked my wonder blade into several pieces.  All my fault!!  I should have been more careful pouring.  So I had to bake today using my old beater blade and it took way longer than usual because I had to keep stopping the machine to scrape down the sides.  But not to fear, Golda’s Kitchen offers next day delivery so I’ll be back in business again tomorrow.

I got the recipe for these cookies many years ago when I worked at the now defunct David Wood Food Shop, in Toronto.  I was pregnant when I worked there and the pastry chef took pity on me and fed me as many as I could eat. (Which was a considerable amount).  Just knowing these cookies were in the shop made me practically skip to work everyday.  I went through terrible withdrawal when I left to have my baby.

This is an odd recipe as you cream together the butter and brown sugar, but the white sugar gets sifted in with the flour as part of the dry ingredients.  I never really understood why that is and what difference it makes.  But that’s how they made them at David Wood and who am I to mess with perfection?

The recipe instructs you to quarter the macadamia nuts.  Please go ahead and do that if you are that type of person and have the patience.  Truthfully, I just add them whole.  I find that the beater blade breaks them up somewhat and it all works out fine.   I like to use salted macadamia nuts. (I know, what a shock!)

To print the recipe, click here.

The edges get a little bit crunchy and the center is wonderfully chewy.   Macadamia nuts and white chocolate have such a natural affinity for each other.   The little hint of salt from the rich nuts balances the creamy sweetness of the white chocolate.

Day Two: Toblerone Shortbread

On Day two of my holiday baking adventure, I made Toblerone Shortbread.  I got the idea for these cookies from  pastry chef Anna Olson.  She was preparing them on Cityline TV.  She made a basic shortbread and topped each one with a chunk of Toblerone.  I decided to kick it up a notch and mix chunks of Toblerone right into the dough.  Toblerone, for those of you who don’t know, is a triangular-shaped milk chocolate bar filled with honey and almond nougat.  I sometimes play games with myself and bake things I don’t really love, so I won’t eat too much of them.  I thought I was safe here.  I don’t really like honey and nougat, and lately my tastes have shifted to dark chocolate.

I bought 8 jumbo (400 gram size) bars and proceeded to chop them up.  As I was chopping I  took a small taste to see what we were dealing with here.  It had been a long time since I hed tried a Toblerone bar.  I let the chocolate melt in my mouth and then chewed the crunchy almond nougat.  Oh #&@!& !!!! I do like Toblerone!  Good thing I bought extra.

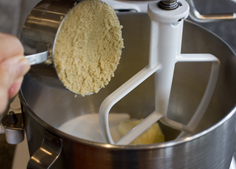
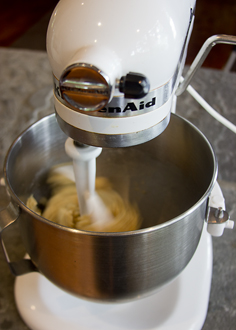
The recipe begins with creaming room temperature unsalted butter and icing sugar together.  Can I just take a moment here to tell you again how much I love my new beater blade!  Nothing makes me happier than when a product delivers as promised.   Every time I use this blade I wonder what took them so long to come up with this idea.  The beater blade is shaped like the regular paddle blade but it has little windshield wipers on the edges of the blade that scrape down the sides of the bowl for you. Mixing the dough is so much faster because you don’t have to stop the machine and scrape down the sides with a spatula.

I am all about saving time.  I have always thought it would be brilliant to be able to get a pedicure and have your teeth cleaned at the same time.  The hygenist could work up top in your mouth, and the esthetician could work down at your feet.  They wouldn’t get in each others way and it would be such a time saver.  I suggested it to my dentist and he looked at me like I was crazy.  If there are any dentists out there, I really think this would be a great way to increase your revenue.

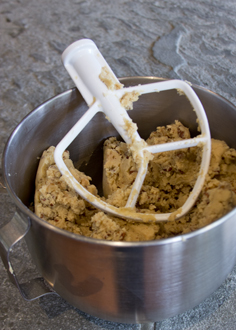
Chop up the Toblerone bars.  Cream icing sugar and room temperature butter together.  Add sifted dry ingredients.  Add Toblerone .

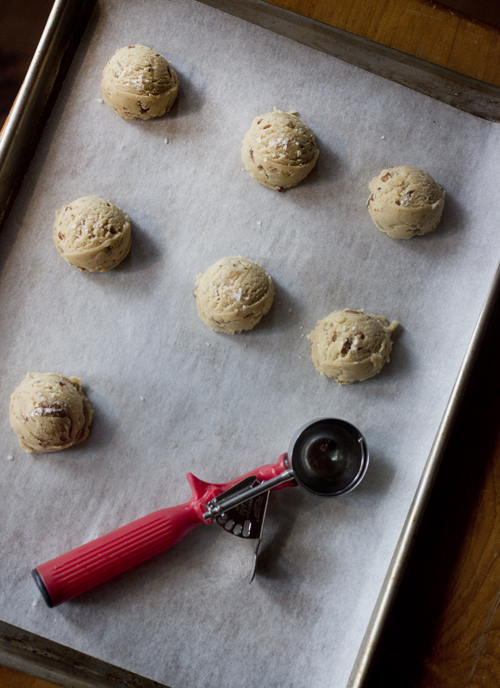
I use an ice cream scoop to form the cookies.  That way, they are all the same size and they bake evenly.

It is not necessary to chill this dough before scooping and baking.  It is necessary to keep your mouth shut while scooping.  This dough is amazing raw.

Click here to print recipe for Toblerone Shortbread Cookies.

The baked cookies are tender, rich and crumbly, all you could ask for in a shortbread cookie.

Breakfast Biscotti (also known as Mrs B’s Mandelbroit)

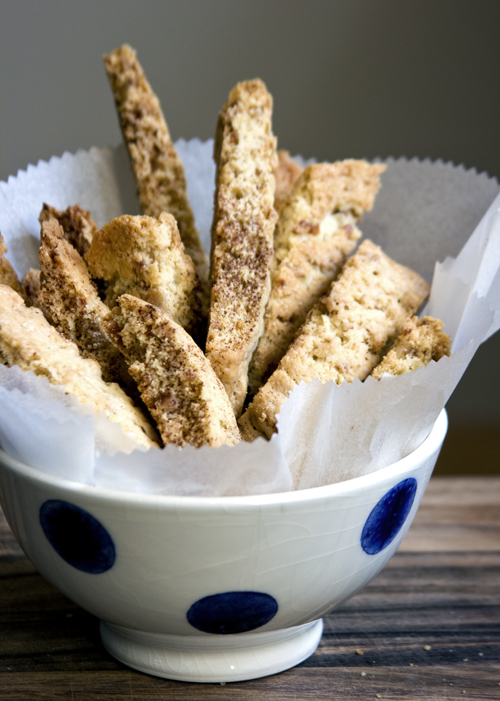
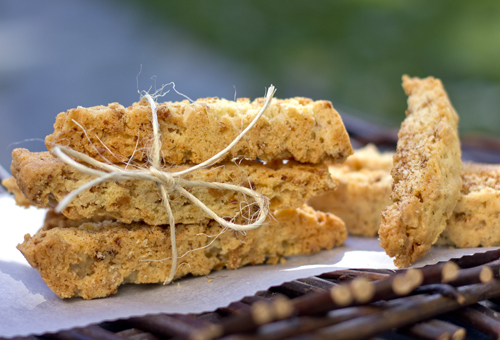
These are a biscotti unlike any other you may have tried.  Traditionally, biscotti are hard, sturdy cookies, made for dunking into coffee or tea.  These biscotti are firm but crisp and quite crunchy and airy all at the same time.  They are delicate and will shatter if you are not careful handling them.  It is a lot like eating a crunchy cloud, if you can imagine that.  I call them breakfast biscotti because they are made with Special K cereal.  That’s what gives them their unique texture.
This recipe comes from a childhood friend’s mother (Mrs .B).  I was friends with the daughter of the family and my sister was friends with the son.  Working as a tag team, we managed to wear Mrs B down until she gave us the recipe.

Biscotti, in Italian, means twice cooked.  The cookies are first formed into a log, cooked until slightly firm, allowed to cool, then sliced into thin cookies and baked a second time until firm.  All cultures around the world have their own form of this cookie.  Jewish bakers haveMandelbroit (meaning almond bread), the English have their “Rusks”, in France they are called “Croquets de Carcassonne”, in Greece, “Paxemadia” and in the Ukraine they are called “Kamishbrot”.

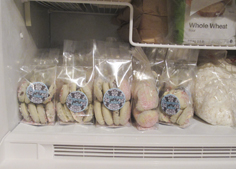
These biscotti keep well in an airtight container for several weeks.  I have almost managed to convince myself that they are a complete and healthy breakfast!

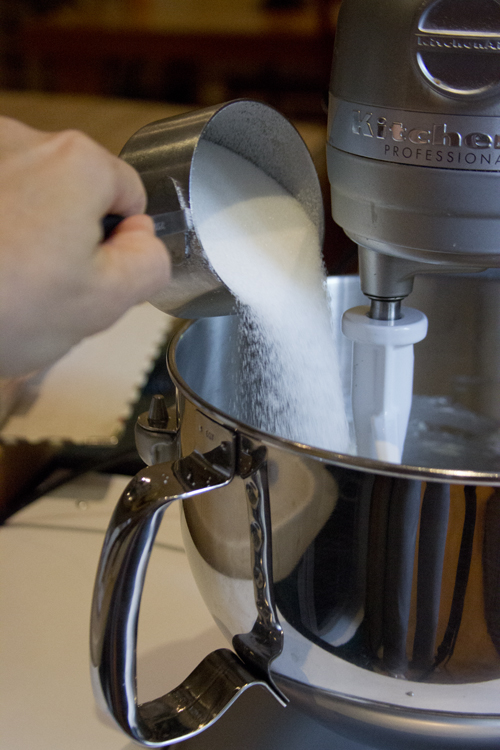
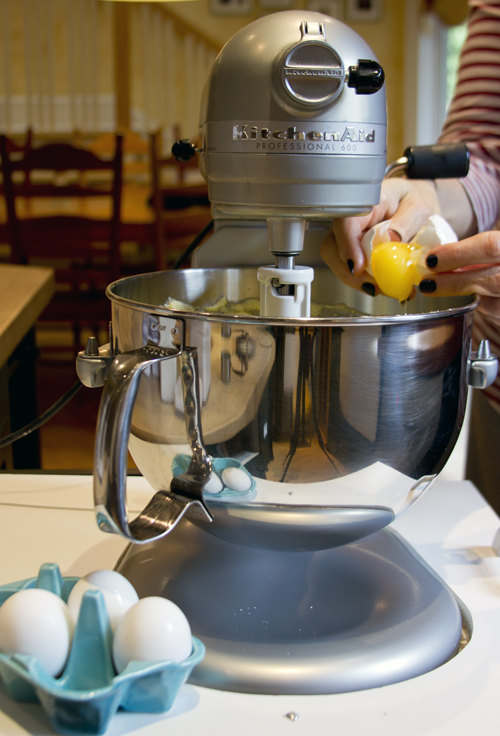
The dough mixes up quickly in the kitchenaid.  Oil and sugar are creamed until light.  Next the eggs are added.  This is followed by the dry ingredients and finally, the Special K.

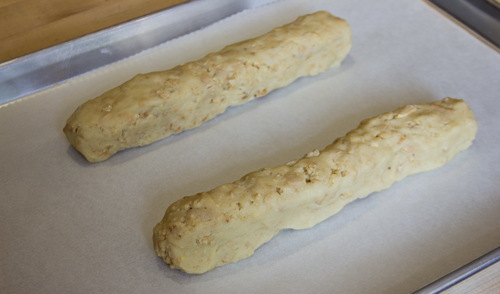
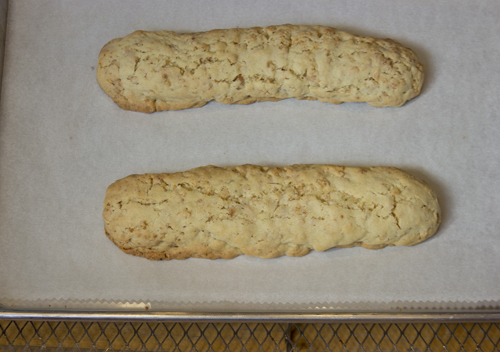
 The dough is quite sticky, but do not be tempted to add more flour.  Scrape out dough onto a heavily floured counter and knead lightly.  Divide dough into 4 and then form logs.  Bake logs for about 30 minutes until slightly firmed up.
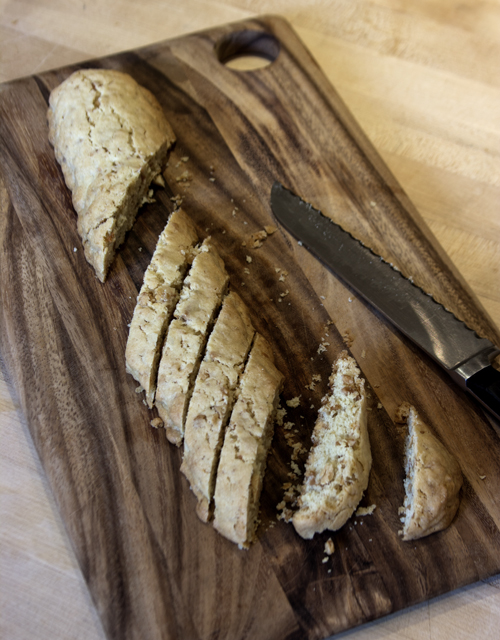
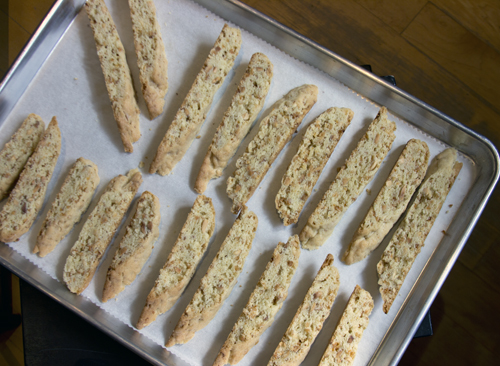
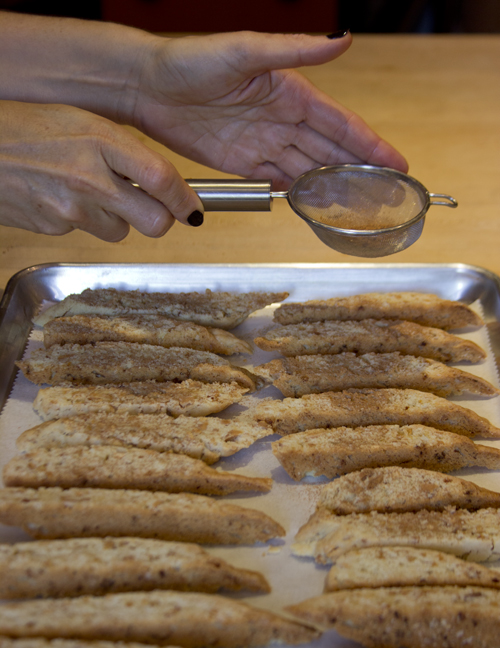
After logs have cooled for at least an hour, slice on the diagonal.  A serrated knife or chinese cleaver works well for this.  Sprinkle with cinnamon, turn slices cut side up and return to the oven for second baking.

Breakfast Biscotti

To print recipe, click here.
makes about 60


3 large eggs
1 cup sugar
½ cup vegetable oil
½ cup shortening
2 ½ cups all-purpose flour
½ teaspoon salt
2 teaspoons baking powder
1 teaspoon vanilla extract
2 cups Special K cereal
¾ cup slivered almonds, toasted and cooled

cinnamon for sprinkling on half-baked cookies

  1. Preheat oven to 300 degrees F.  In an electric mixer, beat together the eggs and sugar until light and fluffy.  Add oil, shortening and vanilla and mix until well blended.  Add salt, flour, baking powder, special K and almonds.  Mix just until blended.
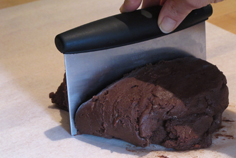
  2. Line two baking sheets with parchment paper.  Divide dough into 4 pieces. The dough will be quite soft and sticky.  Flour your work surface well so that you can handle the dough more easily.  Roll each piece of dough into a log, about 2 inches wide and about 8 inches long.  Place two logs on each baking sheet and brush off any excess flour with a dry pastry brush.  Bake for about 20 minutes, switching pan positions halfway through.
  3. Remove baking sheets from the oven and let logs cool for about 30 minutes.  Reduce oven temperature to 275 degrees F.  Place each of the cooled logs on a cutting board and sprinkle lightly with cinnamon.  Using a serrated knife, cut into ½ inch diagonal slices.  Arrange slices on parchment lined baking sheets, cut side down.   Bake for about another 40-45 minutes, switching pan positions halfway through.  The mandelbroit will be a bit soft when you take them out of the oven, but they will harden upon cooling.  These freeze very well and our family likes them even better frozen.