Tag Archives: Bread

#33. Poilâne-Style Miche

This week in the Bread Baker’s Apprentice Challenge we tackle Poilâine-Style Miche.  When it comes to artisan bread, the name Poilâine is synonomous with excellence.  Bread freaks from all over the world travel to Paris to purchase bread from the Poilâne family.  Pierre Poilâne started a baking business in 1932 in Paris, creating bread using stone-ground flour, natural fermentation and a wood-fired oven. His son, Lionel took over the bakery in 1970, continuing the traditional methods.  Sadly, Lionel died in a plane crash in 2001.  His daughter, Apollonia now runs the business.  Lionel’s brother, Max, branched out on his own and opened his own bakery.  As in all families, there are squabbles about whose bread reigns supreme. 

Poilâine’s most famous bread is a 2 kilogram (about 4.4 pounds) round country sourdough loaf, called Pain Poilâine.  Lionel simply called it a miche.  The bread is made from a sourdough starter, grey stone-ground flour (whole wheat flour with about 10-20% of the bran removed) , water and sea salt from Guérande.  There are about 20 trained bread artisans baking at the family factory in Bievres, outside of Paris.  Although the dough is now machine kneaded, all other aspects of creating the bread are done by hand in the time honored method established by Pierre Poilâne. 

Peter Reinhart gives a wonderful detailed description, in his book, on how the bread is created.  It is indeed a labour of love.  The amazing thing about this bread is that is keeps for about a week, at room temperature.  It is a dense and chewy bread and as Peter Reinhart says, “the flavours change in the mouth with each chew.”  The Poilâne family says that the flavour peaks on day 3. 

If you can’t get to Paris, they will ship you a loaf.  I went to their web site , created an account for myself and put 1 loaf into my shopping basket.  For 37.10 Euros ($52.30 Canadian Dollars) they will send me my very own loaf!  I have not yet clicked on confirm order but I am thinking about it.    If I do go through with it then I really will classify for “Bread Freak ” status.  I’ll keep you posted.

So, onto my attempt at creating this magical miche.  Day 1 we make the firm starter, mixing up some whole wheat flour, some of our sourdough starter and water.  This gets refrigerated overnight.

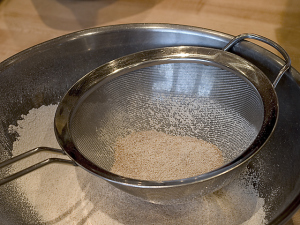
On Day 2, the final dough is made.  In order to replicate the “grey flour” used at Poilane, Peter Reinhart suggests we put our whole wheat flour through a sieve to extract some of the bran. 
 

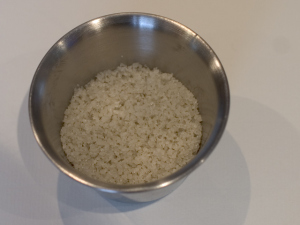
I was very excited to finally open up the jar of Grey Sea salt that has been sitting in my cupboard for over a year now.  I’m not quite sure why I hadn’t used it yet, but here was the perfect opportunity.

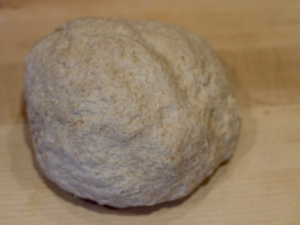
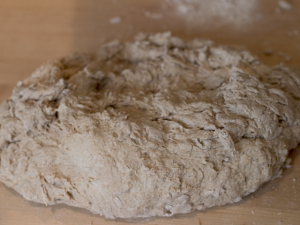
 The starter is mixed up with the sifted whole wheat flour, grey sea salt and more water.  This is a big mass of dough, way too big for the Kitchenaid, so hand kneading was necessary.  Here is the dough just after I began mixing.

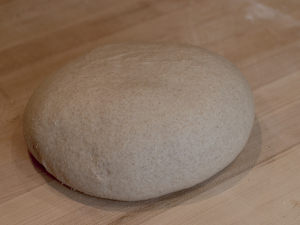
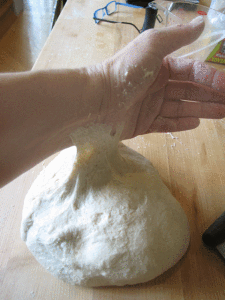
After about 15 minutes of hand kneading, I had a beautiful supple silky dough.

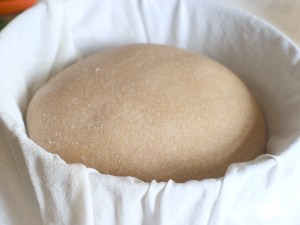
Once the dough is kneaded, it gets placed in an oiled bowl, covered with plastic wrap and ferments at room temperature until it doubles in volume, about 4 hours.  At this point it is formed into a boule and placed into a linen towel lined bowl.  So that the dough will not stick, the towel is sprayed with a bit of oil and then dusted with flour.  The boule should be placed seam side up, then covered with the towel and refrigerated overnight. 

As you can see from the photo below, I screwed up and placed the dough into the bowl, seam side down, so that the smooth side was on top.  You might say, big deal, so what?  The big deal is that the bottom of the dough (where the seam is) becomes the top of the loaf and then your seam turns into some unsightly cracks.


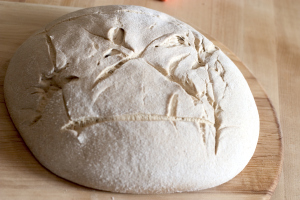
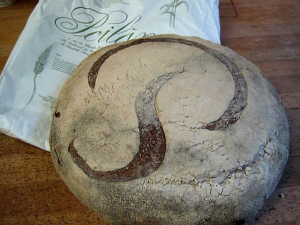
The next morning the dough is removed from the fridge and allowed to sit at room temperature for about 4 hours.  Then the dough is gently turned out onto a baking peel, lined with cornmeal and is scored.  At the Poilaine bakery they score it with the letter P in a gorgeous font.  I wanted to score mine with S&S (for Salt and Serenity) but my fine motor skills are sorely lacking for artistry of that caliber!  I decided to go with a square design with an X in the center.  Unfortunately, I also had the cracks from the seam of the boule to contend with so it looks a bit strange artistic.  But that’s the wonderful thing about Artisan bread – each loaf is hand made and no two are identical. 

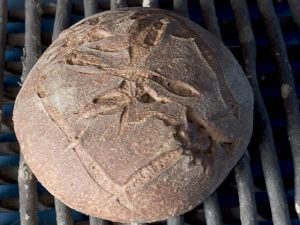
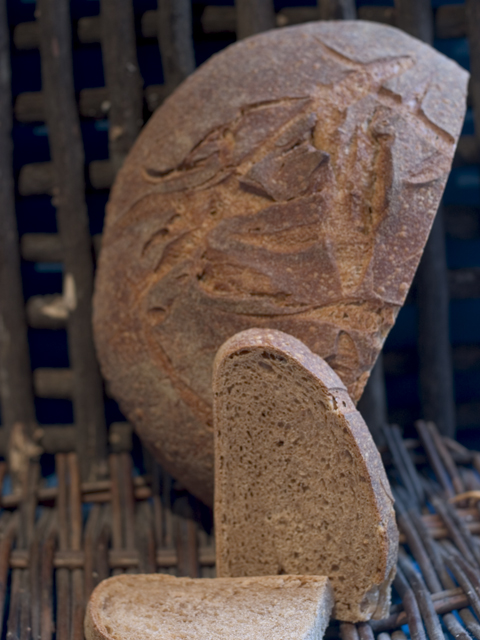
The bread goes onto a baking stone in a hot oven and is baked for about 45 minutes.  Here is is my loaf on and below it the Poilâne loaf.  I can’t tell the difference, can you? (Can you say denial?)

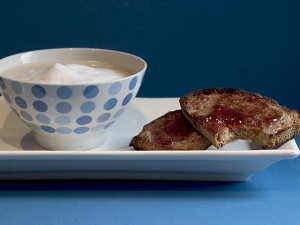
I sliced into the bread after about 2 hours.  I thought the taste was good but a little “whole wheaty”.  I closed my eyes to see if the taste changed with every chew, as Peter Reinhart promised, but I don’t think my palate is that highly developed.   I did notice that I liked the bread a little better on day 2.  It seemed a bit more mellow, and not as earthy.  It lasted very well in a paper bag for almost 5 days and then we sliced what was left and froze it for toast.

I will try this one again, next time using a recipe for Whole Grain Sourdough  passed on to me by Sally of Bewitching Kitchen.  It uses whole wheat flour only in the starter and a mixture of white bread flour, rye flour and spelt in the remainder of the dough.  Sally promises that it is more like the real Poilâne.

#30. Basic Sourdough Bread – My Bread Bat Mitzvah

There is a right of passage in the Jewish religion known as a Bar or Bat Mitzvah.  When a young boy turns 13 he has a Bar Mitzvah and we say “Today you are a man.” For girls the age is 12 and it is called a Bat Mitzvah (we mature faster!).  I feel that making sourdough bread for the first time is a right of passage for a baker.  This was my virgin sourdough.  Although I have created 29 other breads in this challenge, not until I reached the Basic Sourdough did I feel that I had the right to declare myself a bread baker.  However, with my first sourdough under my belt, I am proud to shout, “Today I am a bread baker!”

If your bread knowledge is limited you may be wondering what all the fuss is about?    What exactly is sourdough bread is and what makes it so special?   As Peter Reinhart says, “What we call sourdough bread should more correctly be called wild-yeast breads as it is natural wild yeast that leavens the loaf and not all wild yeast breads taste sour.  By wild yeast we are referring not to commercial yeast that you buy in the supermarket, but a homemade starter, which begins with flour and water.  As this mixture sits at room temperature it picks up natural yeast spores from the air and the mixture begins to ferment and a wild yeast starter is formed.  A portion of this starter is used in the making of sourdough bread and this starter dough acts as the leavener in the dough so you do not have to use any commercial yeast. 

This is a very rudimentary explanation of what sourdough is.  If you are the type that needs a deeper scientific explanation (and you know who you are) check out this web page on the Bread Baker’s Forum.  This wild yeast starter takes about 6 days to make and then you can tuck it in the fridge and basically ignore it, except for a weekly feeding where you add more flour and water to it to refresh it.  When you’re ready to make sourdough bread, just scoop out some starter and go.  Starters can live and thrive for years.  In fact they get better with age (just like women!).  Many people even name their starters. 

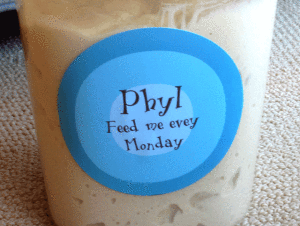
 I have named mine Phyl, in honour of a fellow BBA baker.   With his guidance and detailed instructions, I made my own starter.  He has idiot proof instructions on his web site.  I followed the steps, day by day.  When I arrived at day 4, Phyl said to wait until the starter doubles in volume before proceeding.  He said it may take quite a while.  By the next day mine still had not doubled.  I was convinced it was no good and e-mailed Phyl for advice, asking him if I should chuck it out and start again.  He advised me to goose it with a tablespoon of rye flour and see what happens.  Sure enough it doubled within two hours.  Here is a picture of “Phyl”.  He is 4 months old now.

Be sure to use a large enough container to allow the starter to grow and thrive.  If you don’t you will end up with starter all over the inside walls of your fridge when it outgrows it’s home.

 To make the sourdough bread 2/3 of a cup of the starter are mixed with bread flour and water.  This is then left on the counter for several hours until it doubles.


Once it has doubled it, into the fridge it goes overnight to allow further good flavours to develop.  The next day,  this stage 2 starter is mixed with more flour (I used 1/3 whole wheat flour and 2/3 high gluten bread flour), salt and water.  You will notice that commercial yeast has not been added at any point.  Phyl (my wild yeast starter) is going to do all the heavy leavening.  This is a very sticky dough.

Since today is the day I have declared myself a bread baker, I decided to be even more authentic and knead by hand.  I figured out how to add video to my blog, so here is a short video of me kneading by hand.  Please ignore the  music in the background.  It is my son’s “Jazz and Jam” toy and it is the most annoying toy in the world.

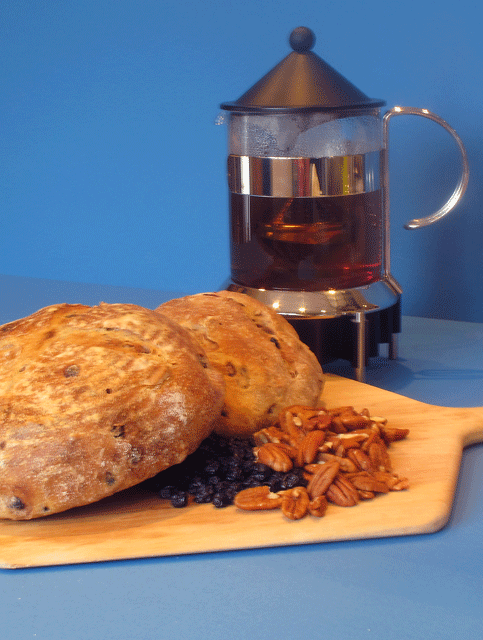
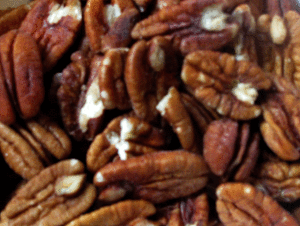
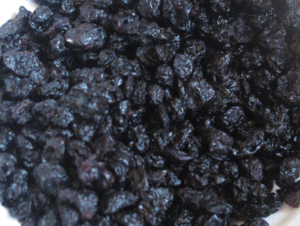
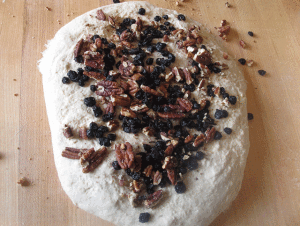
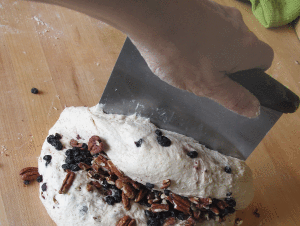
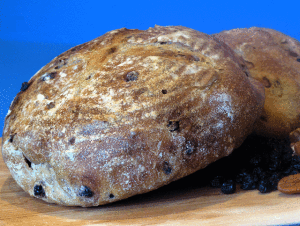
Inspired by a sourdough bread I recently ate on my trip to Jerusalem, I added dried blueberries and toasted pecans to my bread.  Additions are best kneaded in during the last 2 minutes of kneading so that they do not get too crushed.


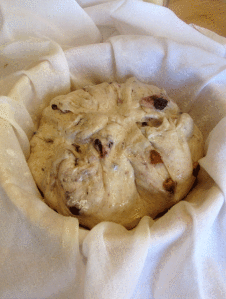
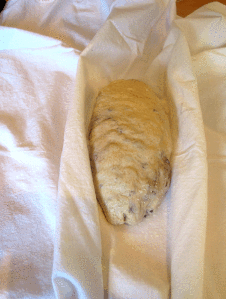
The dough is set aside to rise for about 2 hours until doubled.  Then it is divided in half and shaped into boules (balls) or batards (ovals).  The boules are placed into bannetons (special baskets) or a stainless steel bowl. lined with an oiled and well floured cloth, for their final proofing.  The batards are placed on a stiff cotton or canvas cloth with the sides built up around the dough so that the oval shape holds and does not flatten.  I made one boule and one batard.  After about 3 more hours the loaves had finished their final rise and were ready for the oven.

The loaves are baked on a baking stone in a hot (500 degree F) oven for about 20 minutes.

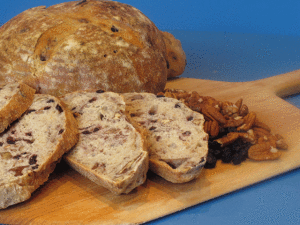
I had to slice into the bread before the recommended 45 minute cooling waiting period was up because someone was impatient.

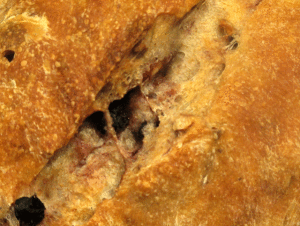
The sliced bread was quite beautiful studded with pecans and blueberries.


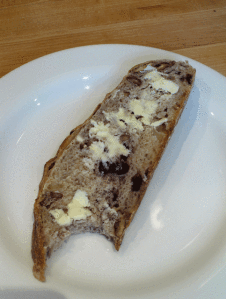
The bread was even better the next day with butter for breakfast .

#10. Girl’s Week Cornbread

slice

I have to admit, I didn’t go into this week’s challenge with high expectations.  I have been making the same cornbread recipe since 1987, when my friend Pam shared her recipe with me.  I love her cornbread.  It combines cornmeal and corn flour and makes for a very tender cornbread.  I add canned corn to it which enhances the sweetness and finely diced jalapeno which helps to temper the sweetness.  All in all a wonderful recipe.  I was never tempted to stray from this perfection.  However, the Bread Bakers Apprentice Challenge called for making Peter Reinhart’s cornbread recipe this week.

This is the only bread recipe in the book that does not call for yeast.  In baking terminology, it’s what is known as a “quick bread” which relies on chemical leavening, typically baking soda and/or baking powder.  While classified as  a quick bread, this version of cornbread takes 2 days to make.  However, day 1 just consists of 5 minutes of time to make the cornmeal soaker.  Coarse cornmeal (also known as polenta) is given an overnight bath in buttermilk.  I did not have any buttermilk, and as I am at the lake at my cottage, I did not feel like driving 20 minutes to the store, so I just added a bit of lemon juice to the milk to sour it.

The next day assembling the rest of the bread is simple.  Sift flour, baking powder, baking soda and salt into a mixing bowl.  Stir in brown and white sugar.  In a separate bowl, the eggs are beaten and honey and melted butter are mixed into the eggs.  This whole mixture then gets combined with the buttermilk soaked polenta.  Dry and wet ingredients are combined and some frozen corn is mixed in.  I also added a finely diced jalapeno.

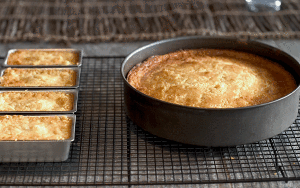
The cornbread is baked in a 10 inch pan.  I only had a 9 inch pan so I also used some mini loaf pans.  The baking dishes are coated in bacon grease and heated in the oven for 5 minutes before the cornbread batter is added.  This gives the cornbread a crisp crust.  I was not using bacon so I just brushed the pans with vegetable oil and heated them.

I was a bit distracted as I baked the cornbread and did not take my usual step by step photos.  For this you can blame my friends Lynnie and Paula.  They came up to my cottage to spend a few days with me and we were very busy laughing and drinking wine while I made this.  Lest you think I totally slacked off, I did make them cheddar jalapeno bagels on day two of their visit, cornbread on day three and for a final send off on day four I rolled them out the door with tummies full of sticky buns.  We also collaborated on an amazing spinach, watermelon, strawberry and halloumi cheese salad.  Halloumi cheese is a delicious cheese from Cyprus, somewhat like feta but it is served fried.

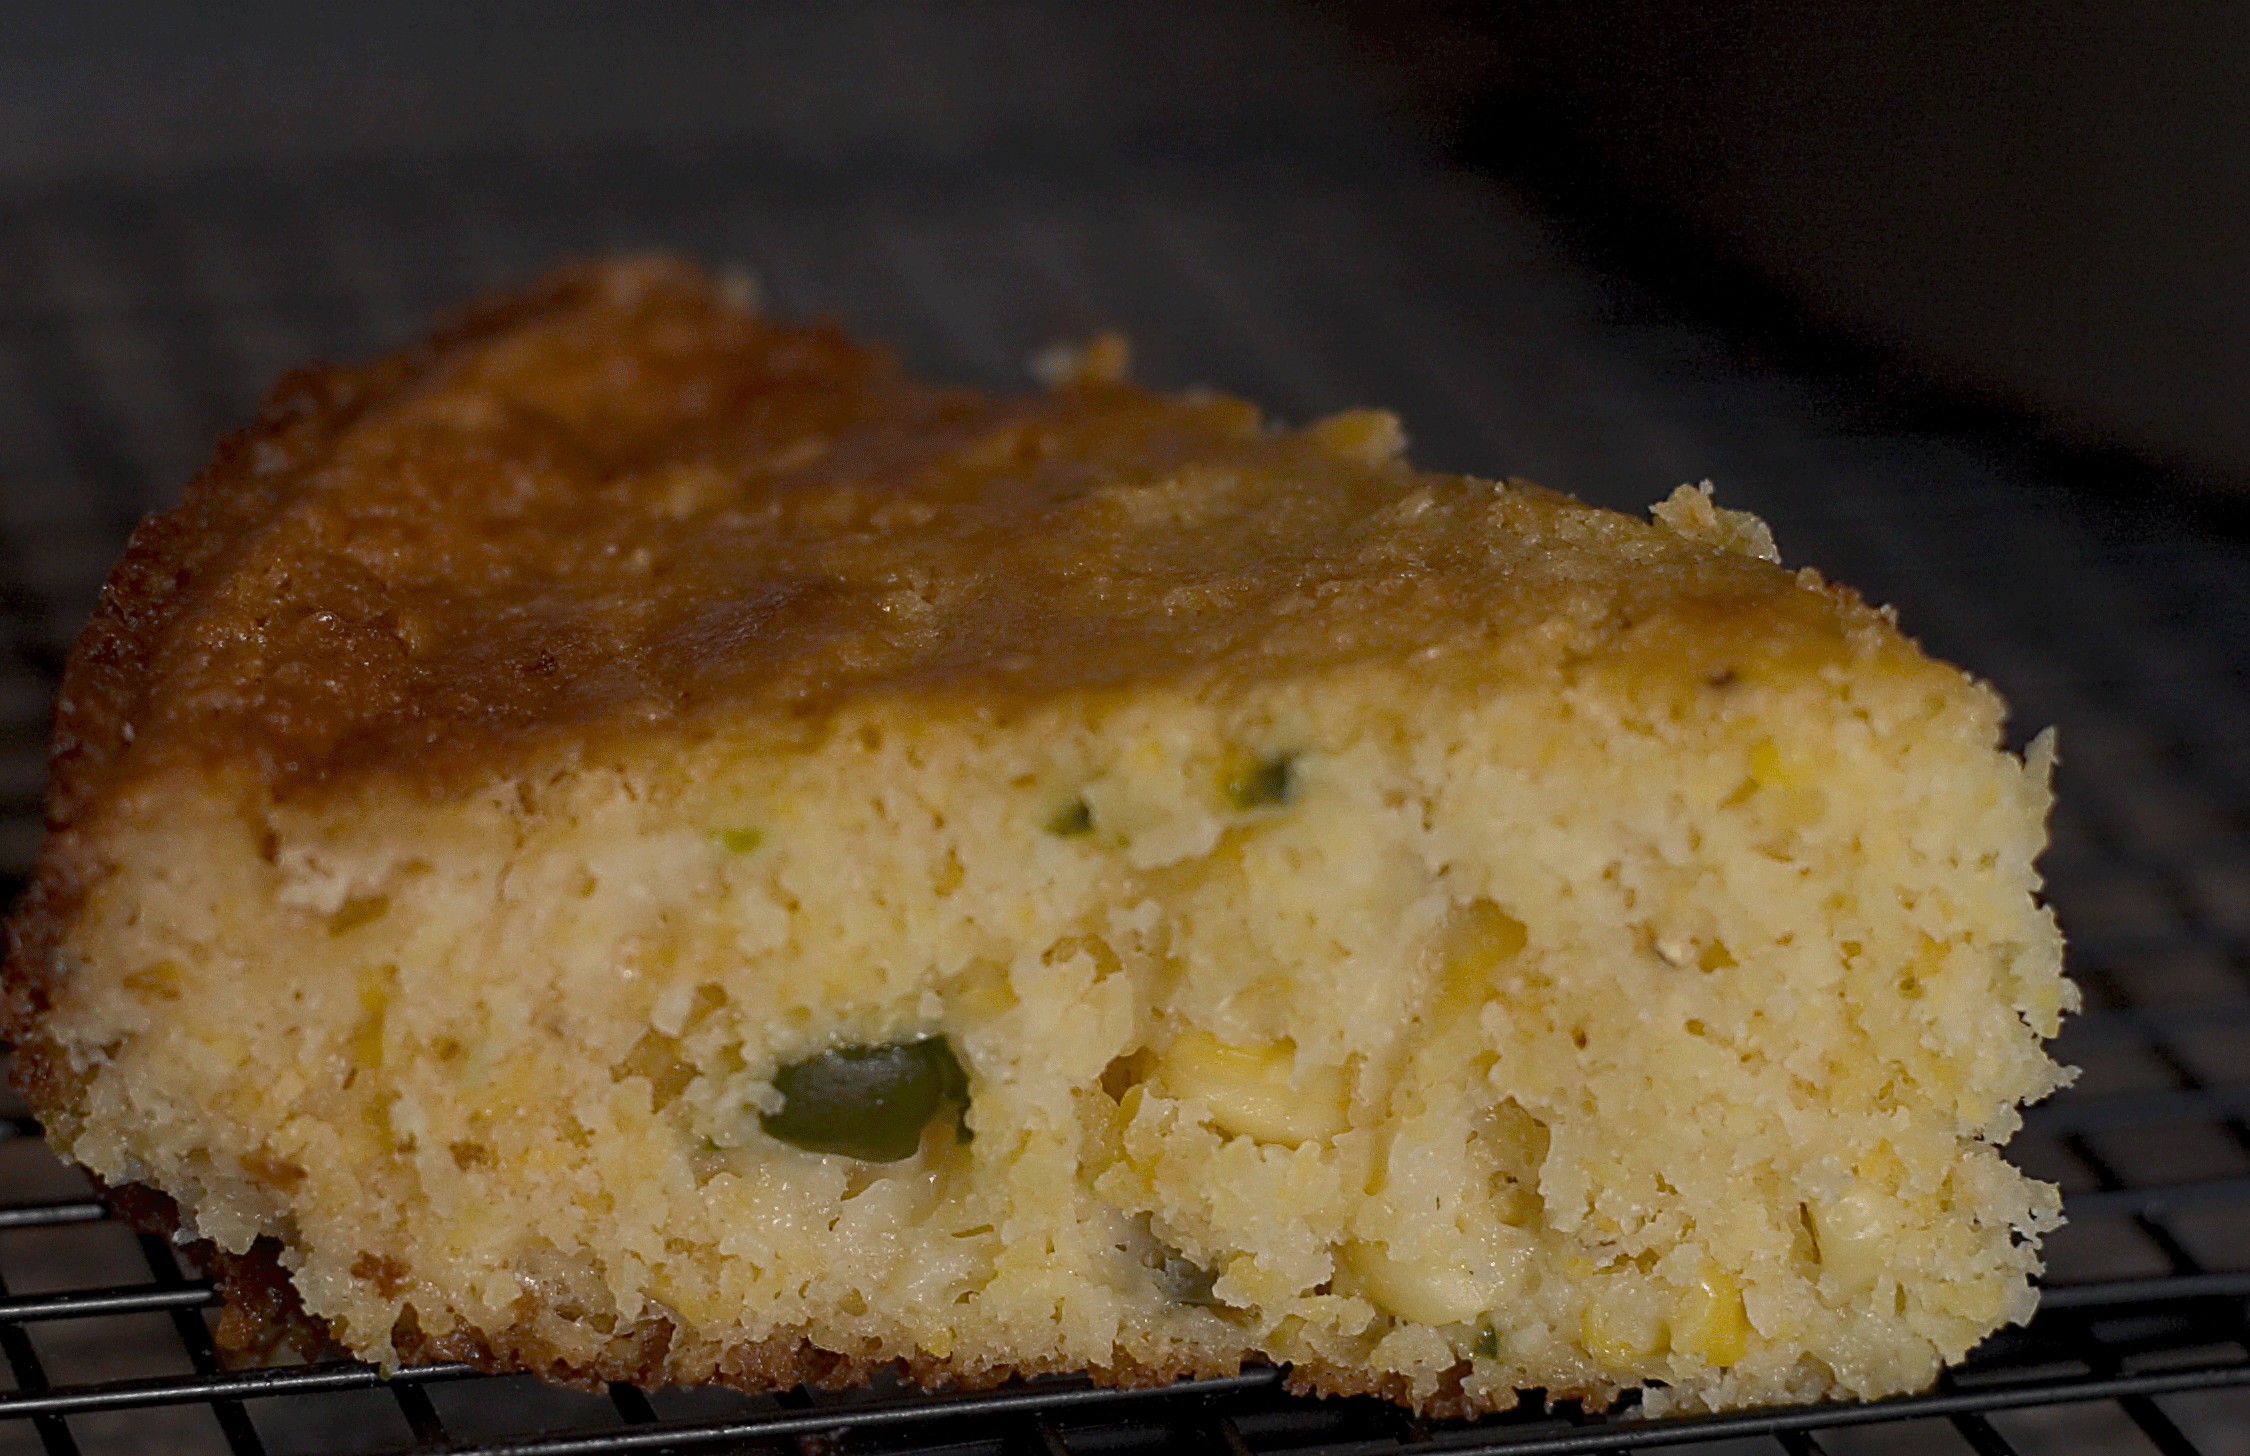
The finished cornbread was delicious.  I was surprised at how much I loved it.  It had a coarse crumb and crunchy crust and was denser than the cornbread I usually make.  I will be revisiting this cornbread again, but not too soon.  I’m still coming down from my carb loading week with my friends.

cornbread-in-pans

I won’t be publishing the cornbread recipe from the Bread Baker’s Apprentice Cookbook as all the challengers have agreed that out of respect to Peter Reinhart, we will only promote his wonderful book and not give away his recipes for free.  For an equally delicious cornbread, try my friend Pam’s recipe.