My husband’s frame of reference for Babka is a Seinfeld episode. Jerry and Elaine debate which babka, cinnamon or chocolate, is the lesser babka. In case you’re curious, my husband believes that chocolate is the lesser babka and cinnamon reigns supreme.
When I told him I was developing a recipe for a savoury babka, filled with figs, olives and halloumi cheese, he said, “that sounds interesting”, but we have been married for almost 39 years and I knew exactly what he was thinking. “Why would you mess with perfection?”
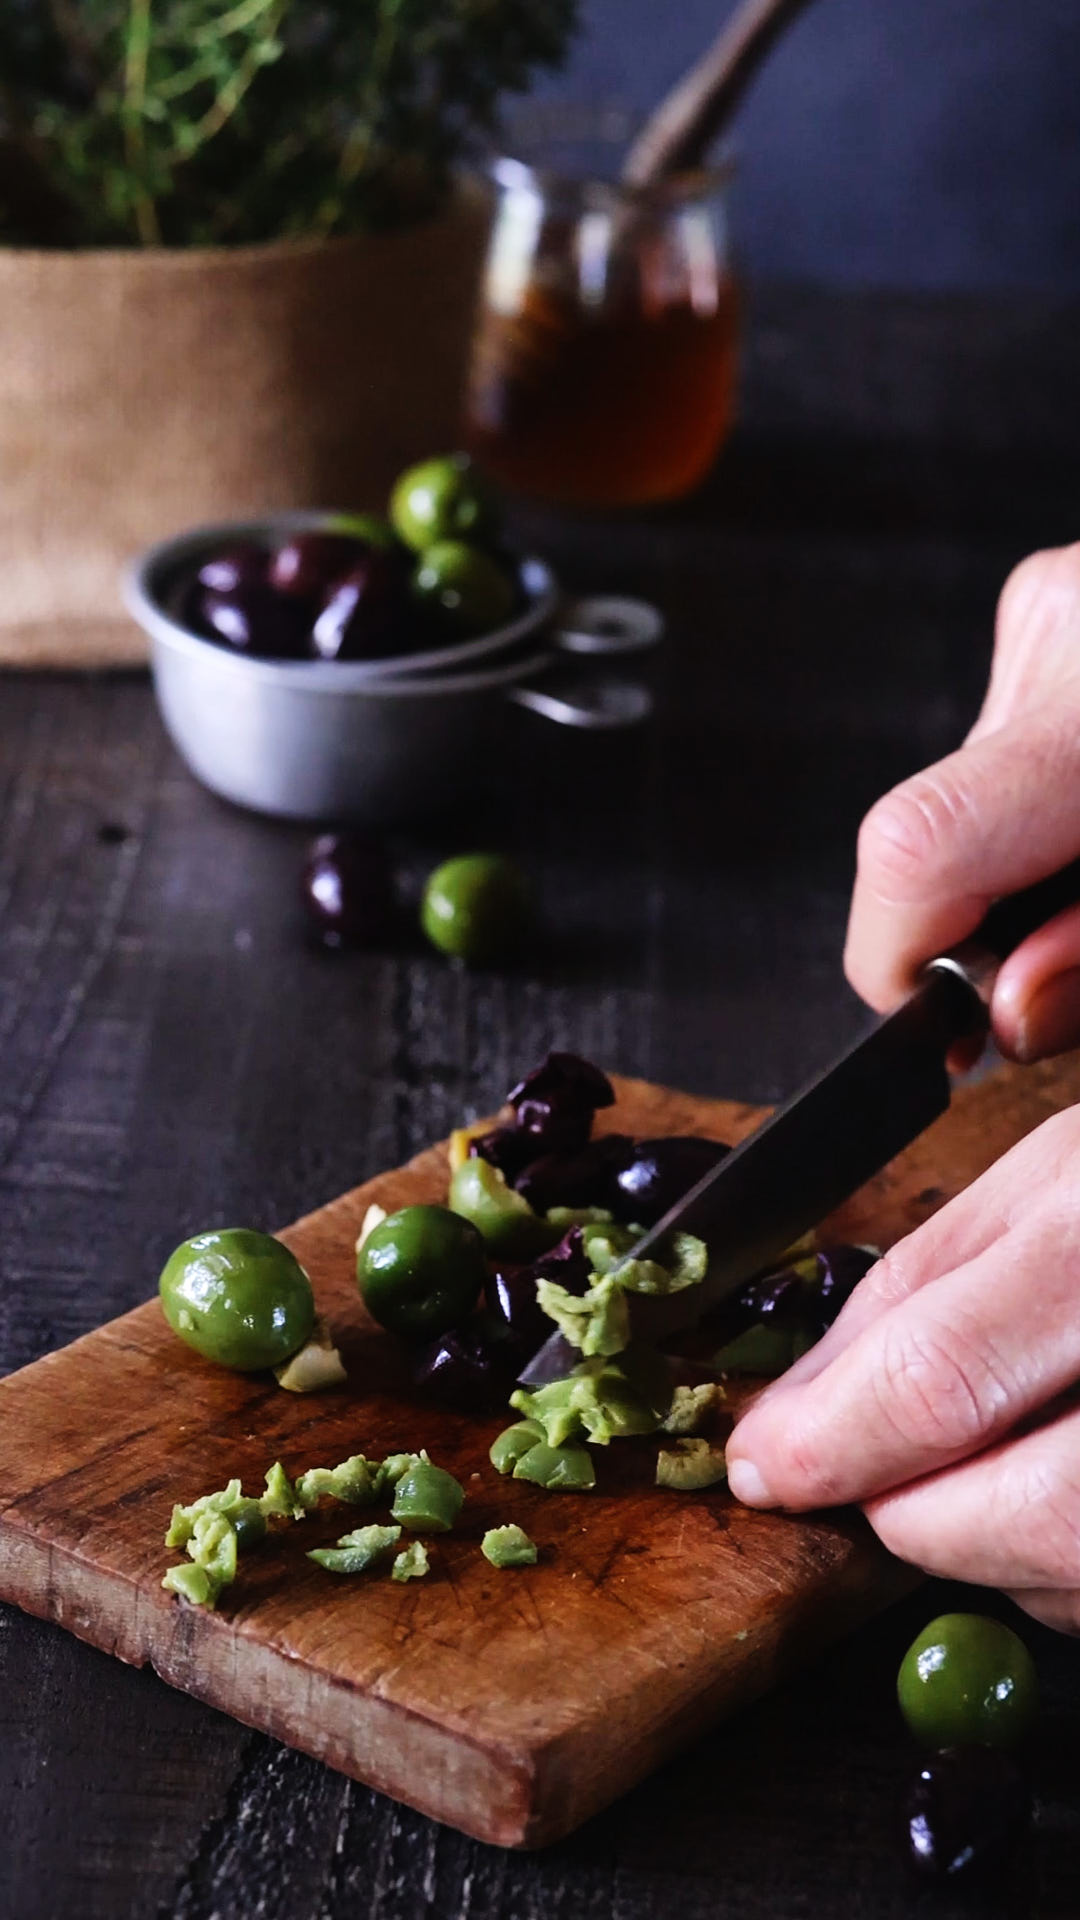
Olives and halloumi cheese add a salty note and dried figs and a drizzle of honey add a touch of sweetness. A generous dusting of za’atar takes the Babka fully into Mediterranean territory.
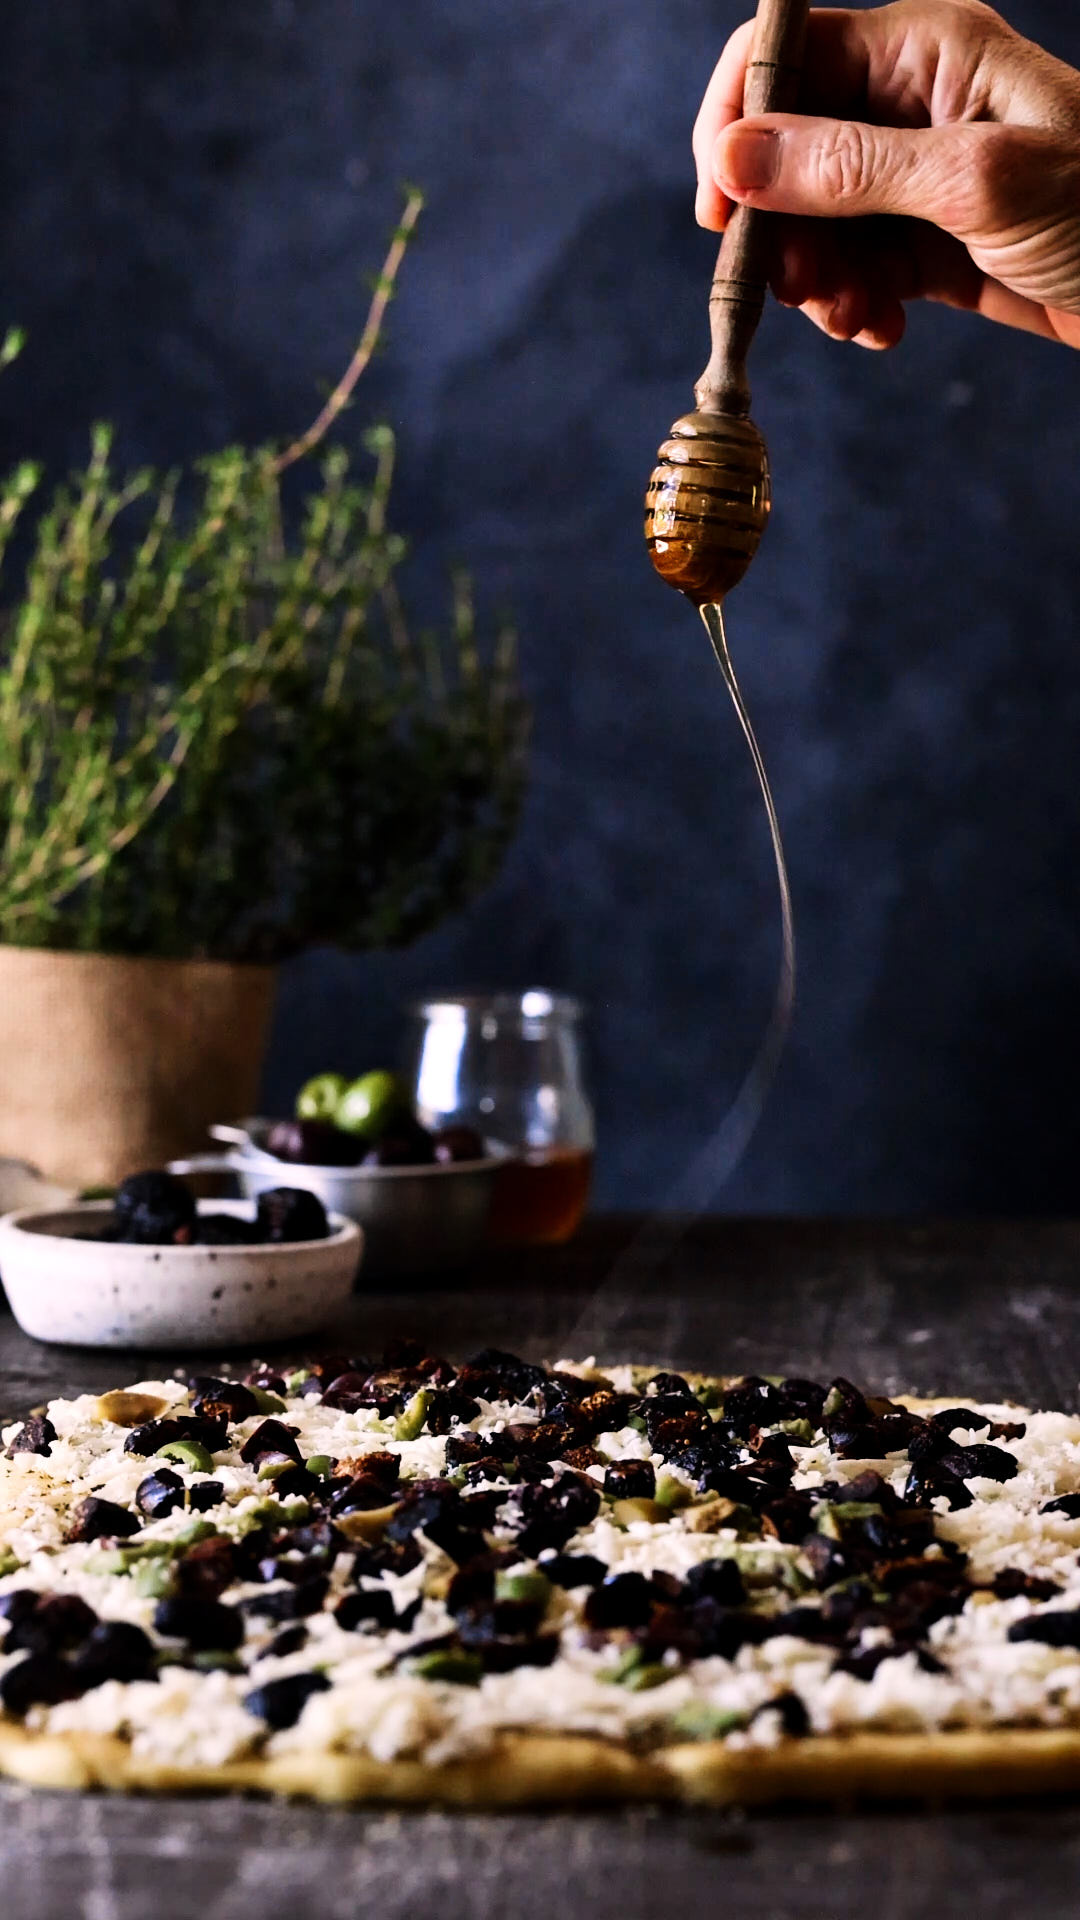
The finished loaf was so yummy. The buttery brioche dough baked up soft and tender. Little pockets of salty melted cheese combined with honey-sweet dried figs and briny olives to create the perfect bite. I served this with drinks one night for aperitivo and then toasted the leftover slices the next day to serve with a fruit and cheese plate for lunch. It freezes beautifully.
My husband ate his slice very quietly and then suggested that while it was delicious, he couldn’t wrap his mind around the fact that it was savoury and contained no sugar or cinnamon. He suggested that I just name it Fig, Olive and Halloumi Loaf, so that those with a similar mindset wouldn’t be disappointed when you promise Babka. I guess you have to know your audience. Whatever you call it, it’s just plain delicious.
Click here to print recipe for Fig, Olive and Halloumi Babka.