Greek Farro Salad

composed 625 sq 1a
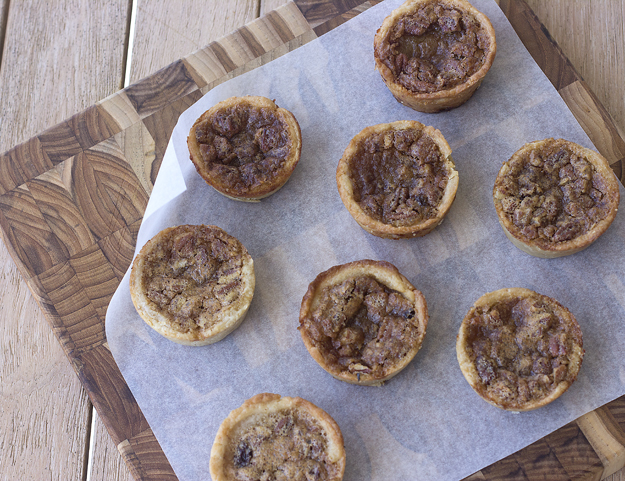
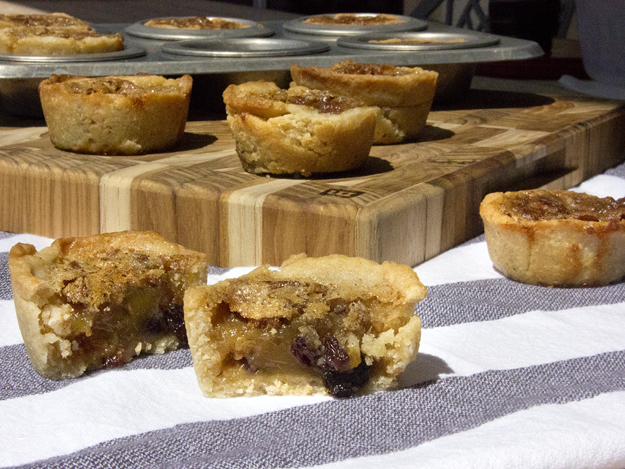
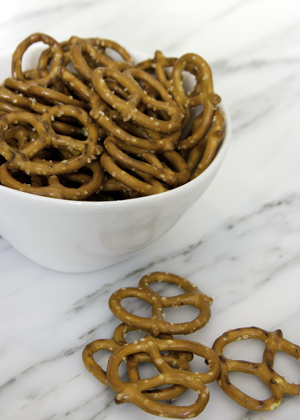
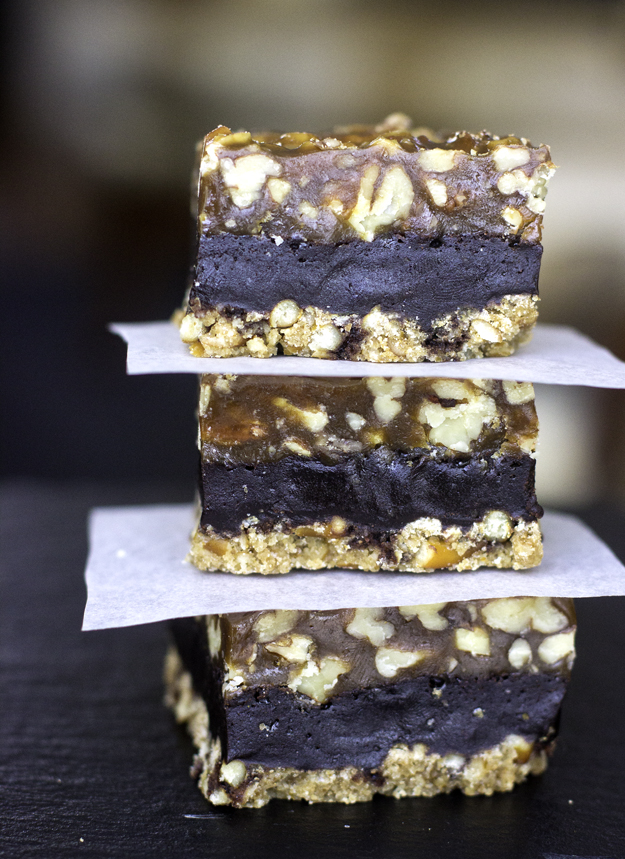
Savvy contemporary chefs have a secret ingredient in their cuinary tool box. If you remember this treat from your childhood, you might guess what this mystery ingredient is.Lik-m-aid packages
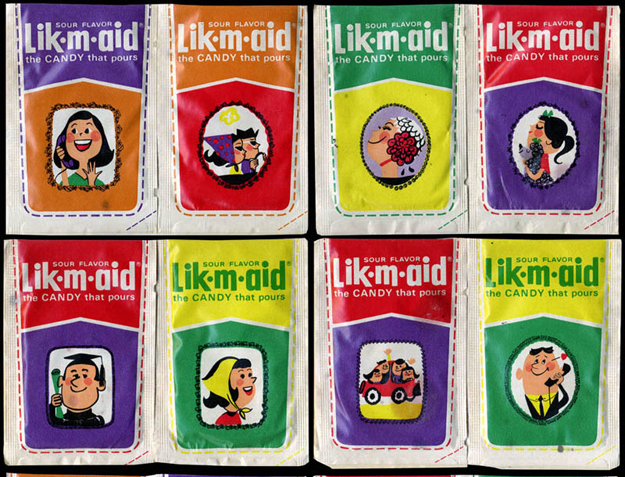
Lik-m-aid, a sweet-sour treat was eaten by licking your finger, sticking it into the little envelope and coating your wet finger with the crystal-like powder inside. Then you would lick your finger to eat the tart-sweet goodness. It came in several fruit flavours; lemon, lime, strawberry, raspberry, grape and orange, but a quick look at the ingredient list (dextrose and citric acid) revealed that this treat contained no actual fruit. Today Lik-m-aid is sold under the name of Fun Dip and it comes with a candy dipping stick so modern kids do not have to use their fingers. I hope that kids today appreciate how good they have it. fun Dip
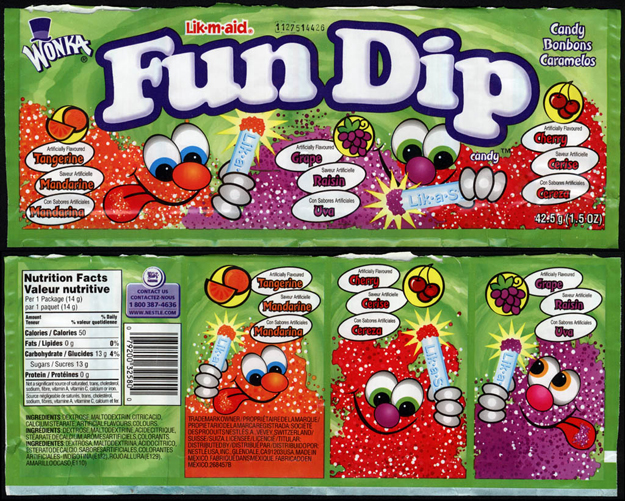
Chefs in the know are using citric acid to create pucker-inducing flavours that consumers are starting to embrace. Sour is no longer a four letter word.  Sour beers are gaining in popularity, and the pickling craze is not about to die down any time soon. I fully expect Carla Hall to introduce “Can you Pickle it?” based on her wildly amusing (well, amusing certainly to my sisters and I ) game, “Can you Blend it?

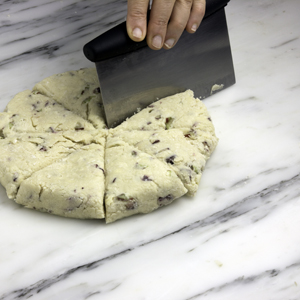
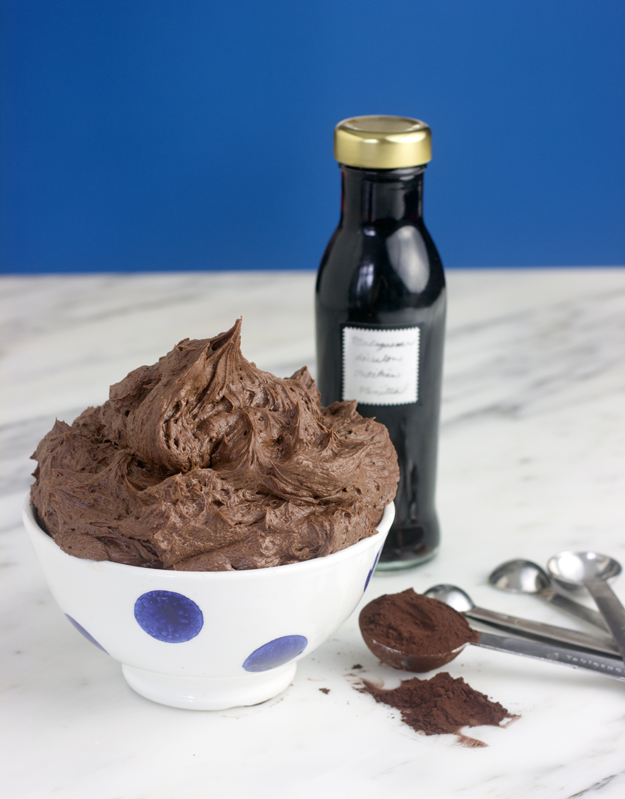
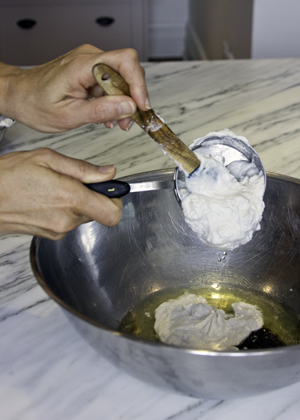
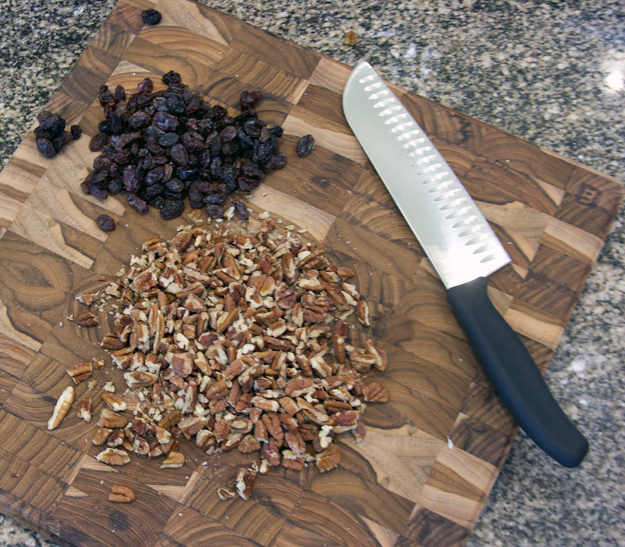
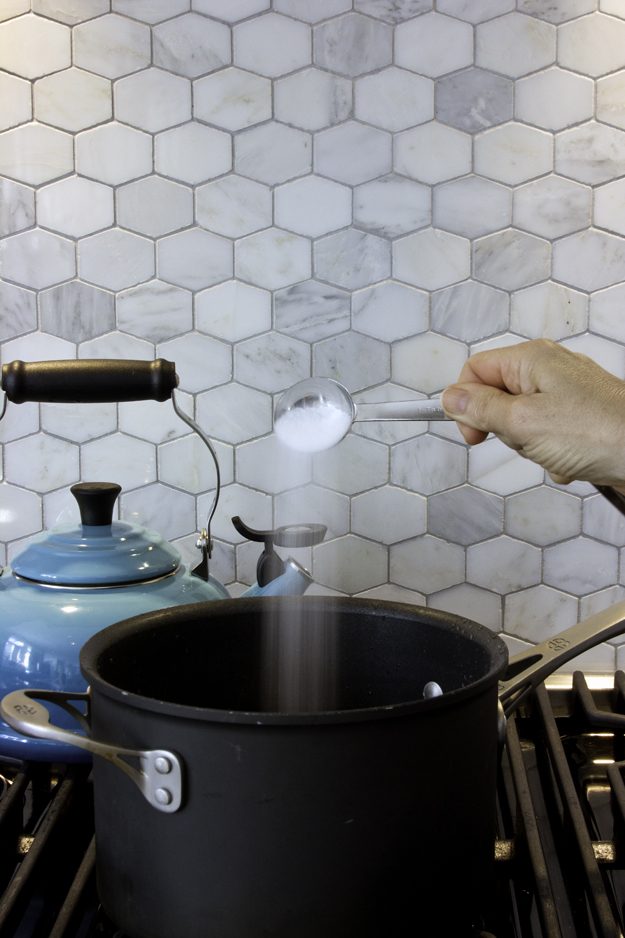
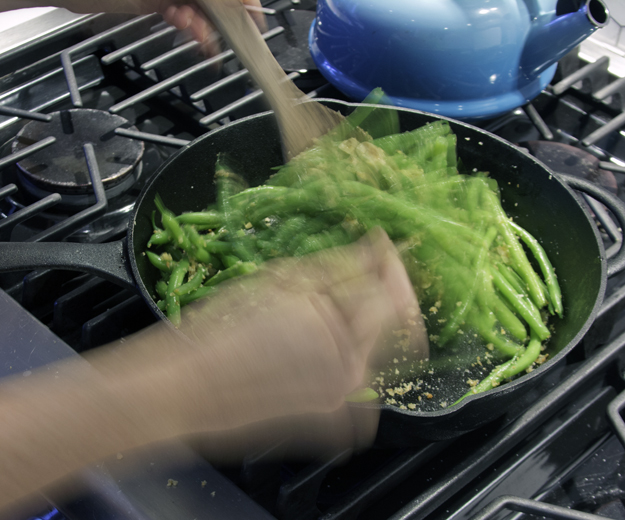
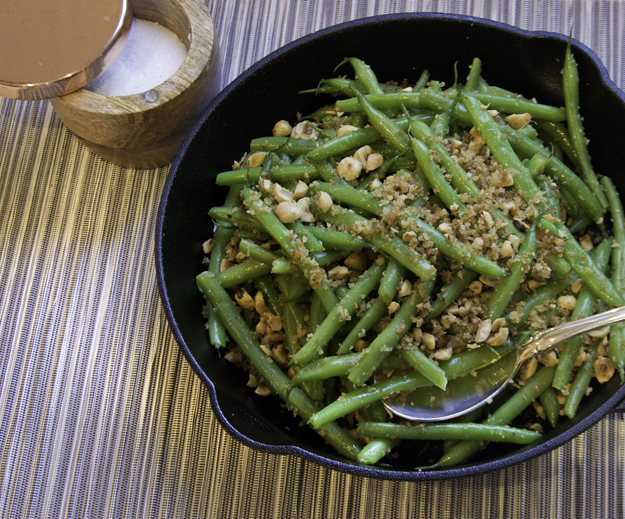
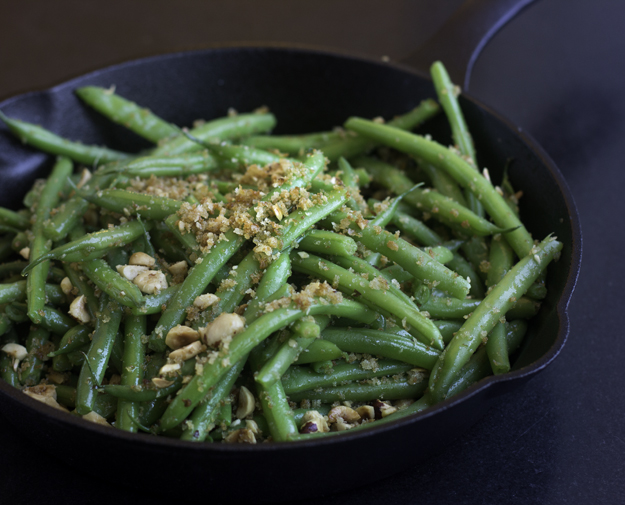
Citric acid occurs naturally in lemons, limes and other citrus fruits. It is also manufactured in a dry powder form by adding a special mould to glucose and letting it ferment. The dry powdered stuff is the one that chefs are using to elevate flavours and bring harmony and balance to a finished dish. It is easily available in small bags at most bulk food or health food stores. Food writer Shawna Wagman calls it the “fairy dust of flavour amplification.”

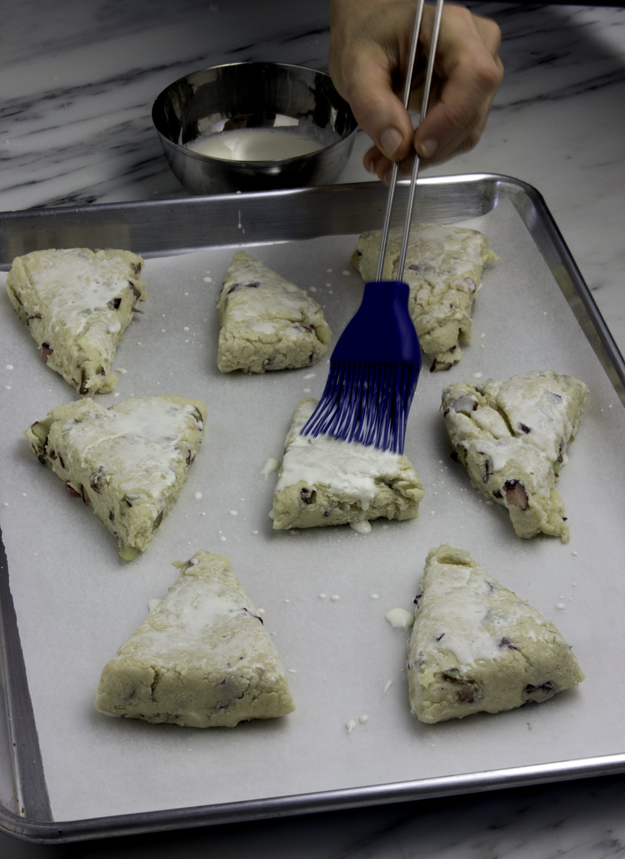
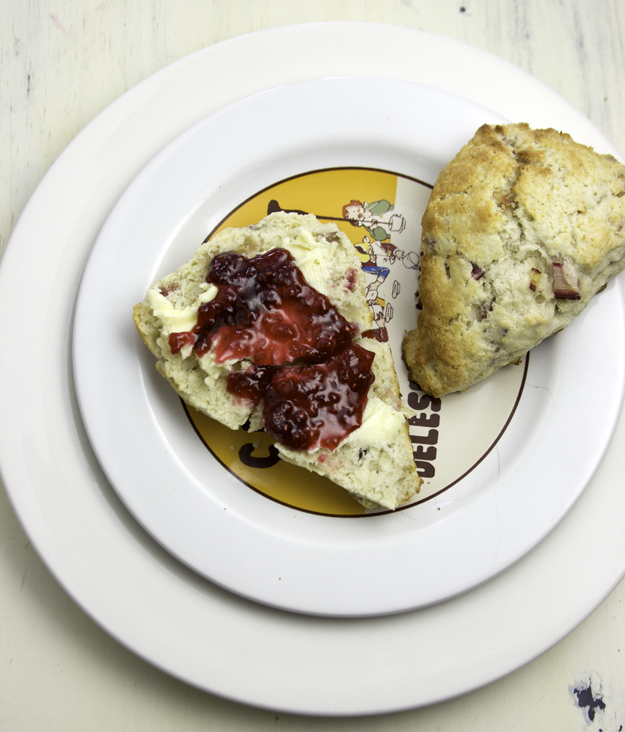
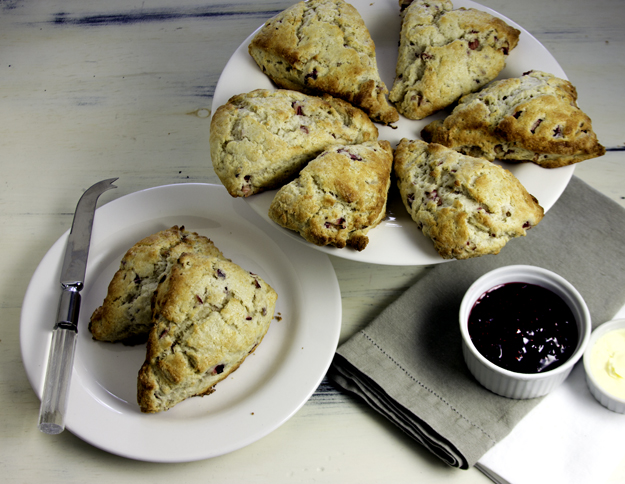
Here in Ottawa, Chef Kevin Mathieson, founder of Art is In Bakery, is creating magic with it. He sprinkles a touch of citric acid and confectioners sugar on citrus peel or wild Quebec blueberries and lets it dry out for a week. Then he grinds it all up in a coffee grinder and adds it to jellies for filling house-made chocolate truffles and marmalade that gets thickly spread on their buttermilk multi-seed bread for Sunday brunch.

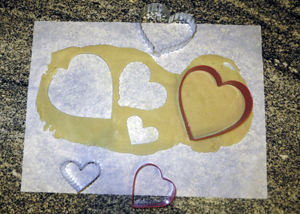
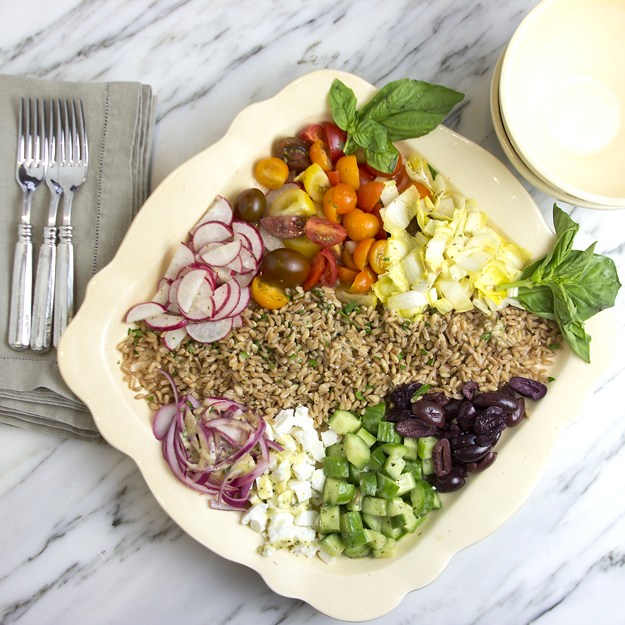
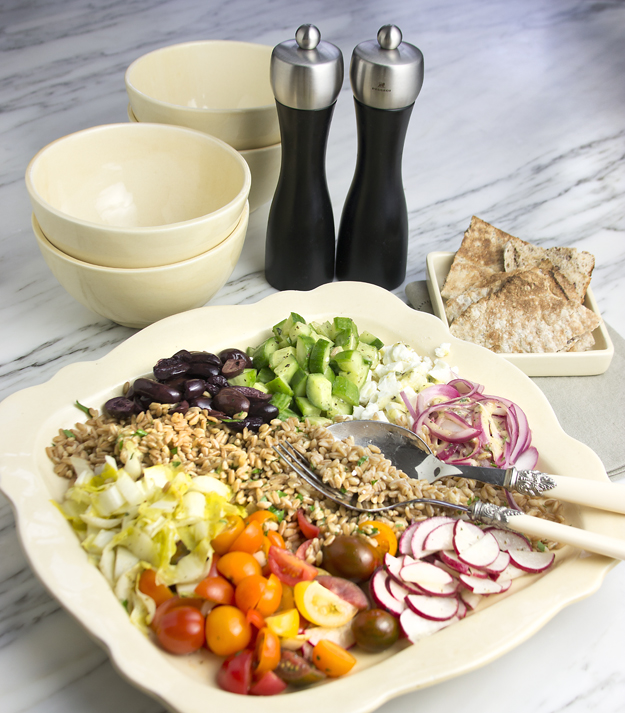
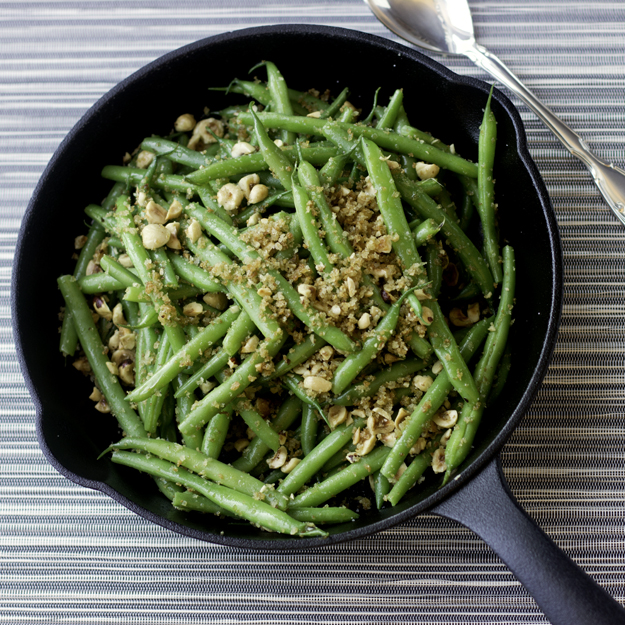
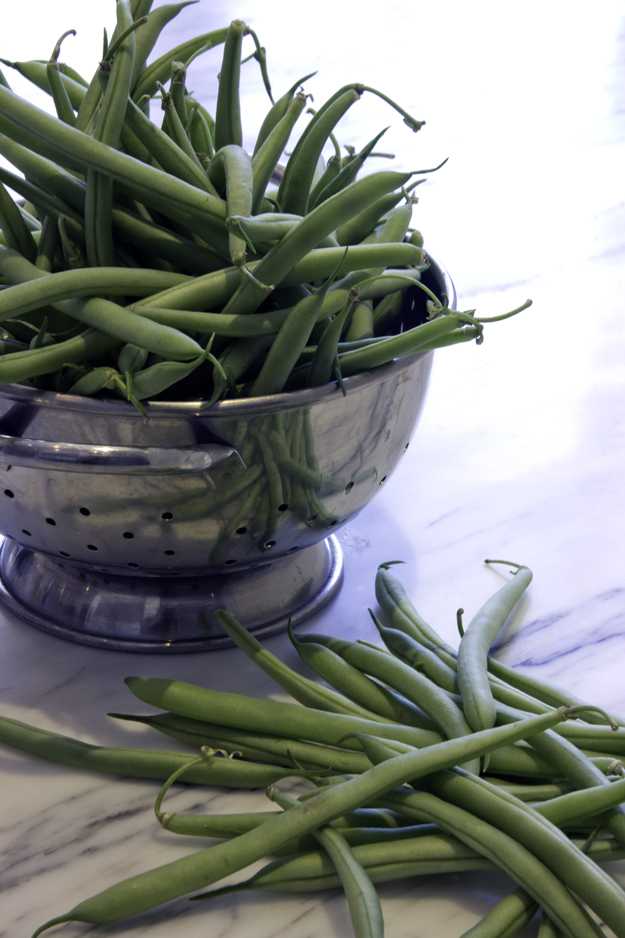
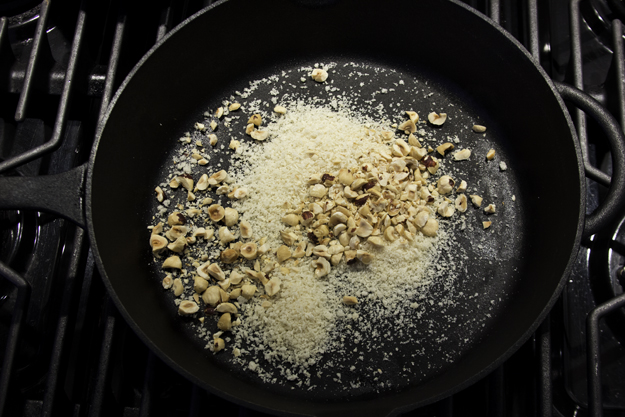
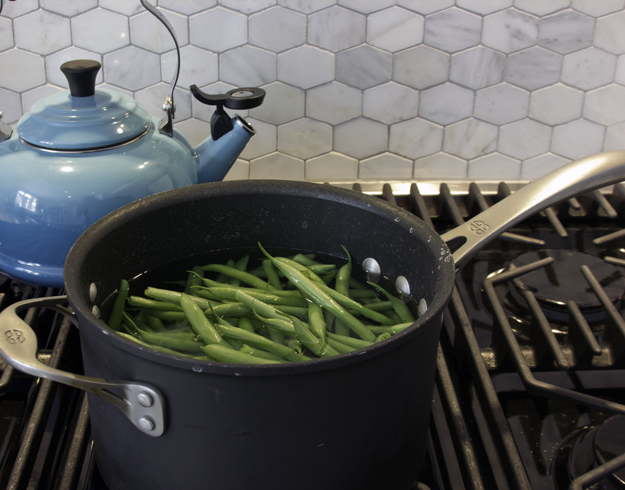
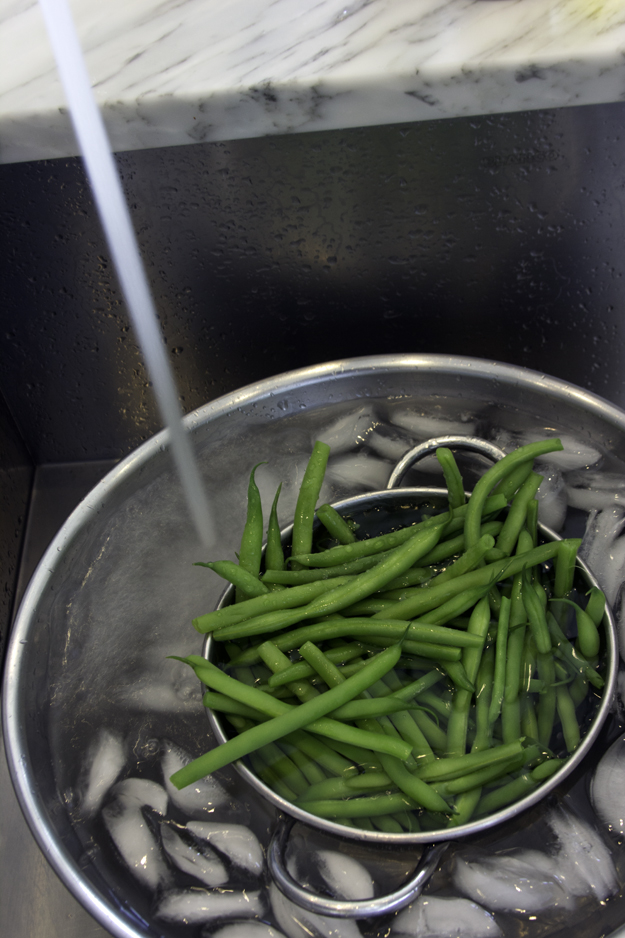
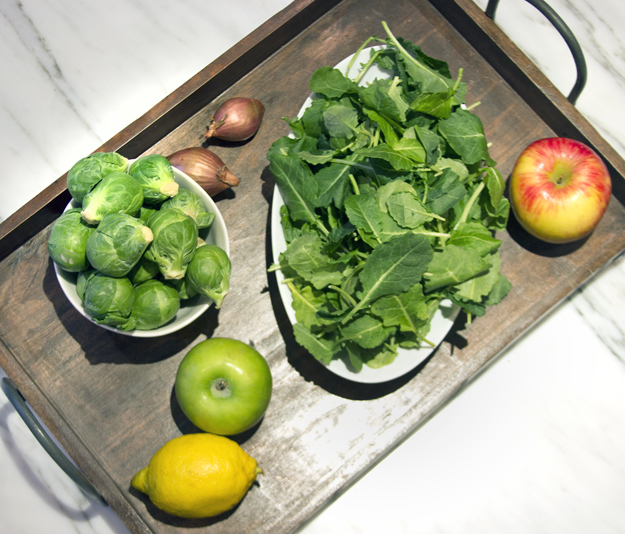
The Food Section of the April 9 2014 Globe and Mail featured a recipe for a Greek salad dressing using citric acid. Chef Carlotte Langley learned to make this from the  French-Lebanese mom of the very first chef she worked for. I decided to creat a Farro Greek Salad to showcase this fantastic dressing. Tart and full of bright zingy flavour it plays very well with the nutty, chewy farro and all the fresh crunchy vegetables. mise en place 2 
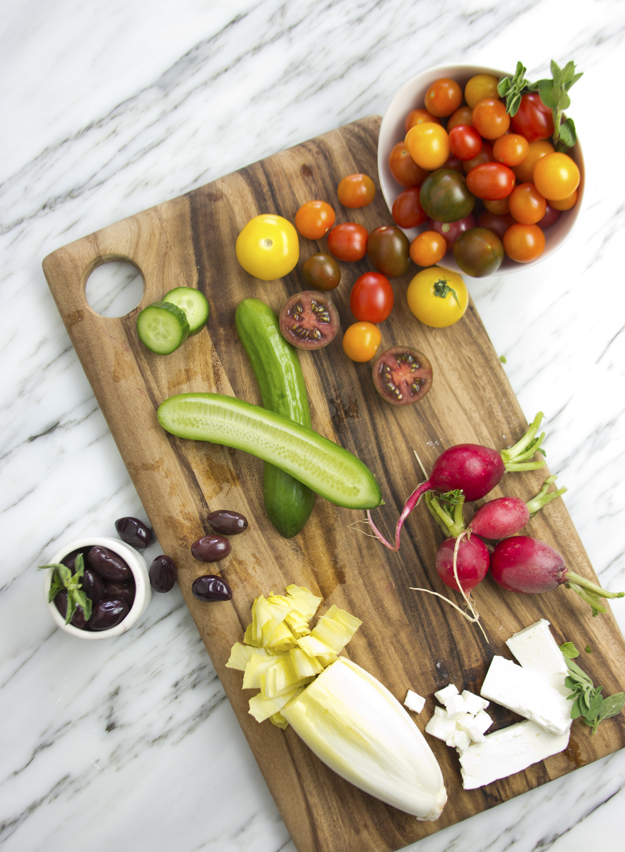
I usually just cook farro in boiling water, but I learned a great method over at Food52. I added half a red onion, a clove of garlic, parsley and salt to the water to infuse the farro with more flavour. flavouring farro
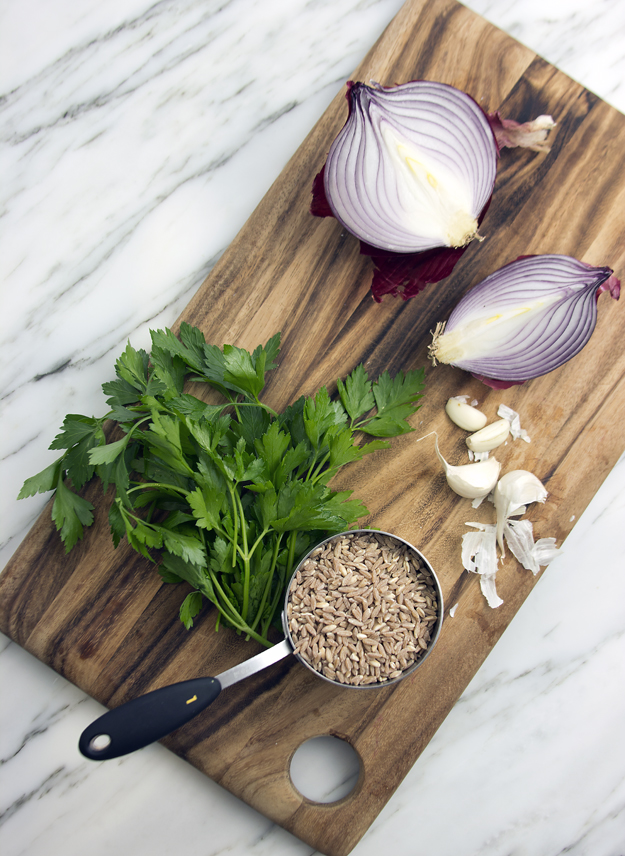
I am not a huge fan of raw red onion, so I thinly sliced and pickled it. A short 20 minute bath in red wine vinegar, water, salt and sugar are all that’s needed to tame the harshness.pickling onions

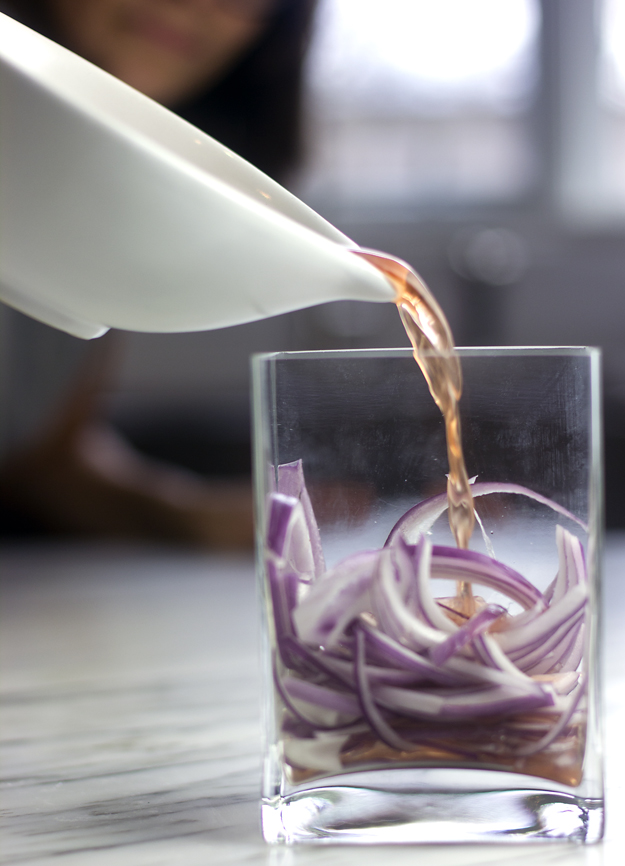
Click here to print recipe for Greek Farro Salad.

composed 3

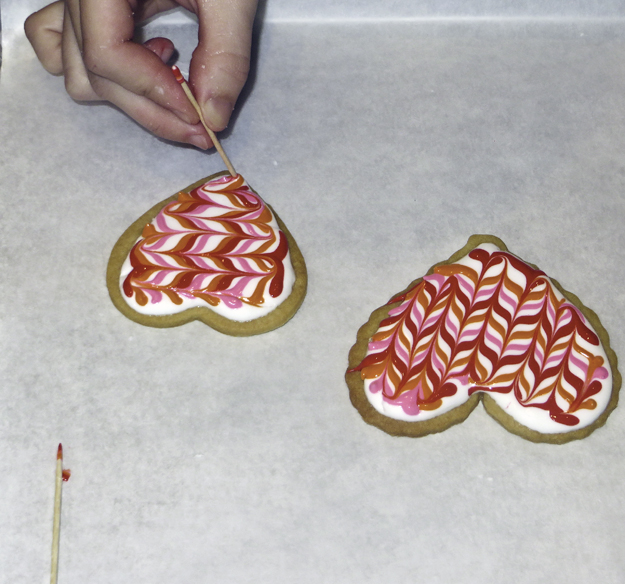
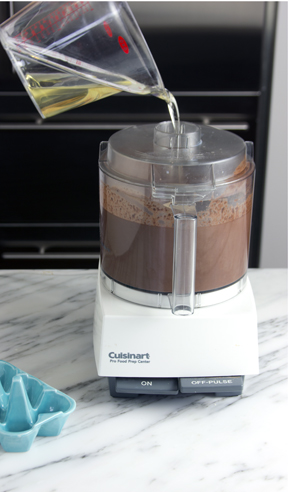
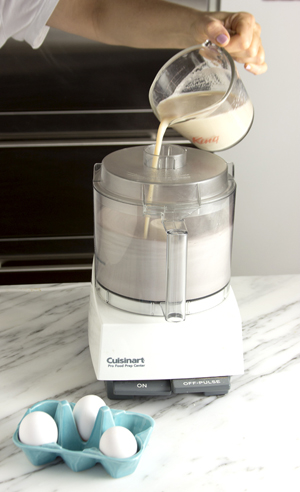
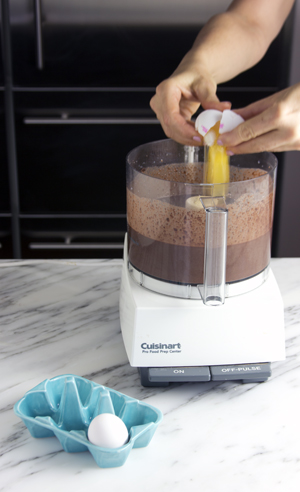
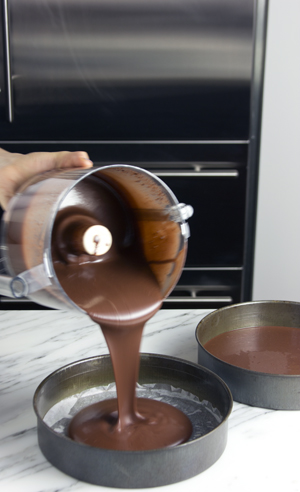
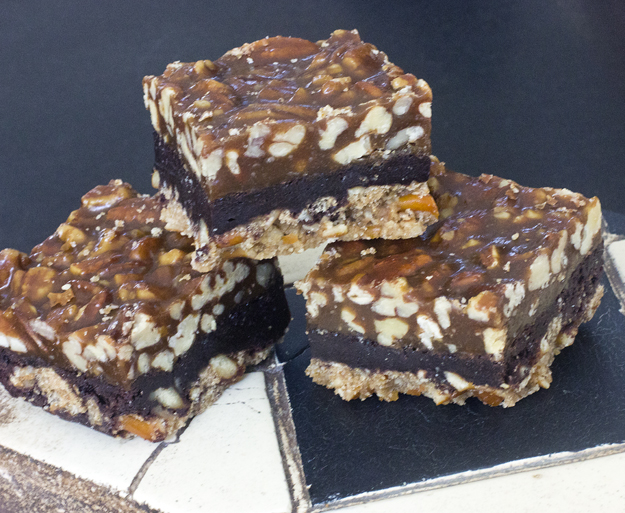
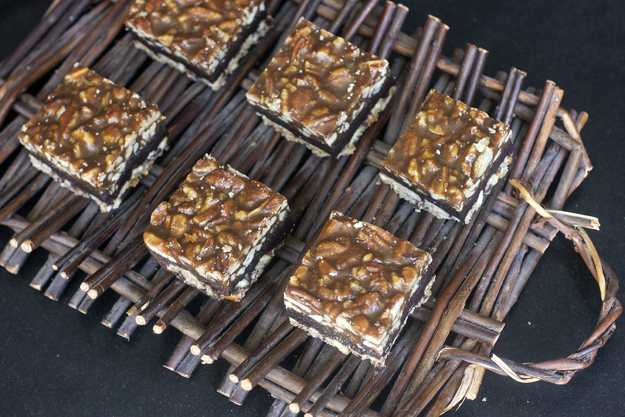
Check out what Lindsay over at Love and Olive Oil made using citric acid! 


Three Pea Coconut Rice and Chicken

in pan 625 sq 1Just did a quick check and discovered that coconut has been featured 15 times on my blog.  To  the coconut haters out there, “I’m sorry”, and to the rest of you lovely folks I say, “you’re welcome”.

When I saw this dish on serious eats last month I bookmarked it immediately. This recipe checked all the boxes for me; one pot complete dinner, flavourful moist chicken thighs, coconut milk and jasmine rice. Since we are trying to limit our intake of white carbs, white rice has been scarce around here lately. But every so often, I get a craving for Basmati or Jasmine rice. The nutty, popcorny aroma that envelopes my kitchen makes me believe that all is right with the world and that I am very loved.

Yasmin Fahr, creator of this recipe asked “Why I don’t cook everything in coconut milk is beyond me.” Well Yasmin, in answer to your question, I would bathe in coconut milk if I could, but if I cooked everything in it, I would surely weigh 200 pounds. The sweet luxurious coconut milk in this recipe  is saved from a cloying fate by the addition of cumin and a strong hint of cayenne. The finishing touches of lime and cilantro produces a dinner that packs a wallop of flavour.

You must exercise great patience when browning the chicken thighs. Put the pan on high, add the thighs, skin down and leave them alone for a good 8-10 minutes. The brown caramelized bits and pieces of chicken that get stuck to the pan, known in French as “fond” should not be thrown out.  The chicken stock and coconut milk  will help you to to scrape up all those flavourful dark bits. They will dissolve and become the foundation for the luxurious sauce that the chicken and rice are cooked in.browning chicken

zesting limesdicing onionsThe original recipe called for adding snow peas during the last few minutes of cooking for some crunch and gorgeous colour. I went with a triple pea crunch and added snow peas, sugar snaps and some frozen green peas, because that’s how I was raised. I come from a home where more is better. When my mom made banana bread, if the recipe called for 3 bananas, my mom added 5.  It produced a loaf with the heft of a brick, but heck, that’s just  how mom rolled. sugar snaps

Click here to print recipe for Three Pea Coconut Rice and Chicken.

Rhubarb Coconut Scones

with butter and jam 2f

on lace 625 sq 1Upon waking each morning, I peek through the drapes to see if any buds have appeared on the  bare limbs of the Norway maple tree outside my bedroom window. Seeing none, I am overcome with the urge to burrow right back into my hole (or under my covers). Mother nature has a perverse sense of humour this year. This long cruel “polar vortex” winter seems to have segued into a particularly nasty spring.

When I finally saw the first buds materialize, followed by a thatch of chives popping through through the earth, I knew that local rhubarb was not far behind. I’m not a rhubarb fanatic, but I do like to create with it at least once a year to celebrate the season. Last year it was this gorgeous tart. This year, I had had my heart set on rhubarb scones. I was inspired by Midge over at Food 52. When I told my husband about my plans, he frowned and grumbled, “What a way to ruin scones.” Clearly I am married to a Spring Grinch. Blueberry scones would make him purr, but those come in July. Get with the program honey.rhubarbMy favourite scone recipe is from the bible Baking Illustrated, created by the same geniuses over at Cook’s Illustrated. These scones use heavy cream which contributes to a rich and tender crumb that  buttermilk or whole milk would never achieve. They are not overly sweet, just 3 tablespoons of sugar are called for in the recipe. Knowing that rhubarb is super tart, I decided to add an additional few tablespoons of sugar to macerate with the sliced rhubarb, before adding it to the dough. adding sugarWhen I went to make them, I discovered that I didn’t have quite enough heavy cream. Feeling too lazy to run to the store, I topped up the measuring cup with a bit of coconut milk.  To ramp up the coconut flavour I added about 1/4 cup of unsweetened shredded coconut. butter in food processorin bowlkneadingThe dough gets pressed into an 8 inch cake pan to give you a perfectly round circle for dividing into triangular scones. A bench scraper or sharp knife work well for cutting the scones.pat into round pancuttingA final brush of heavy cream before they hit the oven gives the finished scones a lovely glossy surface. brushing with creamThey were the height of scone perfection. Moist and flaky with a lightly crisped exterior. Even the Spring Grinch enjoyed one with butter and jam.sliced 1

Click here to print recipe for Rhubarb Coconut Scones.with butter and jam 1


Smarties Rainbow Chocolate Cake

625 2 sqMy baby will be turning 21 this week. I wanted to make him a very special cake, but he is not exactly co-operative that way. Every year he wants the exact same cake; chocolate cake with chocolate buttercream icing. For a food blogger that is quite sad. How am I supposed to have new things to blog about if he requests the same cake every year?

I was dying to create a rainbow cake like this one, or this stunning jellybean cake from one of my favourite bloggers, the amazingly talented Steph at raspberricupcakes. However, I knew that if I showed up without a chocolate cake, disapointment would surely ensue. Steph’s jellybean cake got me thinking and I decided to decorate the outside of the cake in Smarties. When my son was 2 years old, I was a bit concerned that he might be colour blind. Every time I quizzed him about the colour of something was he always answered green. He said it with a little glint in his eye and then laughed, so I just wasn’t sure. His dad is colour blind, so it was a distinct possibility.

I decided to test him. I bought a box of Smarties, put a pink one in my hand and dangled it in front of him. As he went to grab it i snatched my hand back and said, “Tell mommy what colour this is and you can have it.” “Pink” he squealed. He named every colour in the box correctly. Turns out he just liked to play mind games with his mom. So in honour of his 21st birthday I made him this cake.with flags top viewThe cake and icing are simple to make. This is a quick chocolate cake recipe (adapted from Noreen Gilletz’s chocolate cake recipe in Pleasures of Your Food Processor) that comes together in minutes in the food processor. Vegetable oil in the batter makes it super moist. I add about a 1/4 cup of espresso to the milk because coffee and chocolate are a supreme combo. The icing is a simple buttercream made with cocoa powder, butter, icing sugar, a bit of espresso and a hit of vanilla extract. I just discovered Cacao Barry’s extra brut cocoa powder and it is deep, dark and intensely chocolatey. The vanilla extract in the photo below is homemade by my neighbour Holly. She made it using Madagascar vanilla beans steeped in bourbon. Who knew you could do that?
adding oiladding espresso and milkadding eggspouring batter into pans

chocolate buttercream 2The most time consuming part of making this cake was sorting the Smarties by colour (I used 6 200 gram bags) and getting them on the cake in nice straight (well almost straight) lines. It’s times like this that I really miss my sister Jody and wish we still lived in the same city. Her rows would have been perfect!smarties sorted

decorating 2I made a double recipe of the cake (each recipe makes 2 layers), and used 3 layers, since this was the perfect height to get one row of each colour of the rainbow. I froze the extra 4th layer. I also made a double recipe of the icing. The flags, stick on letters and straws were from Michaels.

Jamie was thrilled with the cake, so thrilled that he asked if I would make another one exactly like it, for when his friends come over this weekend. I told him I’d think about it!

Click here to print recipe for Jamie’s Chocolate Birthday Cake.a slice


Triple Coconut Macaroons

Jump to Recipe

pyramid 2 625 sqThese are my absolute favourite macaroons. That’s macaroon, with 2 o’s – the coconut variety, not the pain-in-the-ass Diva, ground almond and meringue variety, which are macarons, with one o. This recipe for Triple Coconut Macaroons, comes from Cook’s Illustrated Magazine. I have been making these since the recipe first came out in 2000. Why I have waited so long to share with you is a mystery to me. I promise you, I’m reallly not a petty person.

Although I could make them any time of year, I always associate coconut macaroons with Passover. As a child we bought our macaroons from Open Window Bakery in Toronto. They made both vanilla and chocolate coconut macaroons. I preferred the simplicity of the vanilla ones. I found the chocolate ones too chocolatey for me. The cocoa powder masked the flavour of the coconut, which is exactly the point of coconut macaroons. I always felt sorry for those families that had to get their macaroon fix from the can. They were gummy and chewy, in short, just awful.
00091_chocolatemacaroons_10coconut macaroons in can
The quintessential coconut macaroon is slightly crunchy on the outside and chewy in the middle, without being gluey. They should be sweet, but not cloyingly so, and they should be bursting with shreds of sweetened coconut. A final dip in a melted chocolate bath, to cover the lower third of the macaroon would not be a bad thing.
in polka dot bowl
Cook’s Illustrated’s test kitchen discovered that the choice of coconut in the macaroon makes a big difference in both taste and texture. Unsweetened shredded coconut, which is drier than sweetened, solved the gluey texture issue.  Sweetened shredded coconut packed more flavor than unsweetened, and together they worked very well. To add one more layer of coconut flavor, they tried cream of coconut and cracked the coconut macaroon code.

Cream of coconut, is not to be confused with coconut cream or coconut milk. Here is a little coconut product primer:
coconut milkcream of coconutKTC-Creamed-Coconut-Big
Coconut cream is very similar to coconut milk but contains less water. Coconut cream is made by simmering equal parts of shredded coconut and water until frothy,  then straining the mixture through a cheesecloth, squeezing out as much liquid as possible; this is coconut milk. The coconut milk is refrigerated and allowed to set. Coconut cream is the thick non-liquid part that separates and rises to the top of the coconut milk.

Cream of coconut is coconut cream that has been sweetened. It is used most commonly in piña coladas. This is the one you want for this recipe. I usually find it in Asian supermarkets, although some larger stores carry it in the drinks aisle.

Creamed coconut is a compressed block of coconut flesh which has been slightly dehydrated and sold in a waxy lump.

This recipe does contain corn syrup, so if you keep strictly Kosher for Passover, here is a recipe for a corn syrup alternative.

Lately, there has been much written about the evils of high fructose corn syrup. This is not the same as the regular corn syrup you buy for baking. If you are at all concerned and want to know more about the science behind it, this article clears up the confusion.

The canned cream of coconut has liquid at the bottom, so it is best to empty it out into a bowl and mix it up with a spoon before measuring and adding to the batter.
Adding cream of coconutadding coconut
The batter should be chilled for about 15 minutes before shaping macaroons. here is a video demonstrating how to shape them.


The chocolate should be chopped fairly fine. I melt about 3/4 of it in the microwave on medium power. When it is totally melted, stir in the remaining 1/4 of chocolate. This is a quick and dirty tempering method but it works quite well.chopping milk chocolatemelting milk chocolateadding second amount of chocolate
I like to dip the bottom third of the cookies in chocolate.
dippingput on parchment

dipped


in polka dot bowl


Triple Coconut Macaroons

Servings 24 cookies
Calories 240 kcal

Equipment

  • 1 #30 cookie scoop 1 ounce (2 Tablespoons) capacity

Ingredients
  

  • 284 grams cream of coconut
  • 40 grams light corn syrup
  • 120 grams egg whites, about 4 large egg whites
  • 2 teaspoons vanilla bean paste or vanilla extract
  • 1/2 teaspoon Diamond Crystal Kosher salt, or 1/4 teaspoon Morton's Kosher salt
  • 227 grams unsweetened desiccated coconut,
  • 227 grams sweetened shredded coconut
  • 283 grams bittersweet or milk chocolate, chopped

Instructions
 

  • Adjust oven racks to upper-middle and lower-middle positions and heat oven to 350°F. Line two cookie sheets with parchment paper.
  • Whisk together cream of coconut, corn syrup, egg whites, vanilla, and salt in small bowl; set aside. Combine unsweetened and sweetened coconuts in large bowl; toss together, breaking up clumps with fingertips. Pour liquid ingredients into coconut and mix with rubber spatula until evenly moistened. Chill dough for 15 minutes.
  • Scoop dough using a one ounce (2 tablespoon) size cookie scoop, spacing them about 1 inch apart on parchment lined baking sheet. Form cookies into loose haystacks with fingertips, moistening hands with water as necessary to prevent sticking. Bake until light golden brown, about 18-20 minutes, turning cookie sheets from front to back and switching from top to bottom racks halfway.
  • Cool cookies on cookie sheets, set over wire cooling racks.
  • Line two cookie sheets with parchment paper. Melt about 3/4 of the chocolate (212 grams) in small heatproof bowl set over pan of almost-simmering water, stirring once or twice, until smooth. (To melt chocolate in microwave, heat at 50 percent power for 2 minutes and stir. If chocolate is not yet entirely melted, heat an additional 30 seconds at 50 percent power.) Remove from heat; stir in remaining 1/4 of the chocolate (71 grams) until smooth. Holding macaroon by pointed top, dip bottom and ½ inch up sides of each cookie in chocolate, scrape off excess with finger, and place on cookie sheet. Refrigerate until chocolate sets, about 15 minutes.

Nutrition

Calories: 240kcalCarbohydrates: 22gProtein: 2gFat: 16gSaturated Fat: 13gPolyunsaturated Fat: 0.3gMonounsaturated Fat: 2gTrans Fat: 0.003gCholesterol: 0.4mgSodium: 94mgPotassium: 176mgFiber: 4gSugar: 17gVitamin A: 5IUVitamin C: 0.2mgCalcium: 13mgIron: 2mg
Tried this recipe?Let us know how it was!
Jump to Recipe

Tears and Sap: Maple Pecan Brown Butter Tarts

9 tarts 2I very rarely cry, so when I found myself sobbing, twice in a span of less than a month, I had to take a step back and examine what exactly was going on here.

The first time I cried, I was halfway through the book  “The Fault in Our Stars” by John Green.  I noticed a slow tricking of tears sliding down my cheeks. Within an hour, there was full on gushing. No question about it, I was sobbing. I went through a full box of Kleenex. For those not familiar with this book, I don’t want to give too much away in case you plan to read it. Let me just say that it is raw, genuine, alternately sad and funny and honestly all-out poignantly heartbreaking.

The book falls under the category of “YA (young adult) Literature.” At their core, YA books are for and about teenagers and pre-teens, usually between 12 and 18 years old. Full disclosure here, I am not in that age category. I will, however, admit that I am a sucker for this genre of writing. I have read the Harry Potter series (All seven books. TWICE!), the Twilight series (Team Jacob all the way!), and the Hunger Games series. The thing about these books is that good writing is good writing. If the characters are believable and the plot is compelling, its appeal will span a wide age range.

The second incidence of tears occurred this week, as I was binge watching “The Big C”, late at night when sleep eluded me. It was during the third episode of season 4 when again I noticed the quiet dribble of tears making their way, ever so slowly, down my cheeks. The main character, Cathy (brilliantly played by Laura Linney) has terminal melanoma. To ease the burden for her husband and son, she selflessly checks herself into a hospice to die. Her 17 year old son feels totally helpless and wants to do something for his mom. He sneaks into the hospice at 5:00 am and while his mom is deep in a morphine-drip induced slumber, he covers the ceiling above her bed in a huge collage of family pictures. When she wakes up and sees what he has done, it is all I can do to hold it together.

If my children are reading this,  you now know what to do with those thousands of pictures I tortured you by taking as you were growing up.

As I thought about my tears, specifically how they began as a leisurely crawl and progressed to a full on waterfall, I couldn’t help but make the maple syrup analogy. (Even in my deepest sorrow, food is not far from my thoughts. I must have a well developed right cerebral cortex!) When maple trees are tapped for their sap, the initial flow is just a mere dribble. As the weather warms up, the flow increases.

Our friend, Harold, who lives close to our cottage has a sugar bush. Every spring he gives us a 2 litre jug of maple syrup. Last summer I baked some raspberry tarts for him. He asked me if I had ever made maple tarts. He said they are just like butter tarts, but instead of corn syrup to sweeten them, you use maple syrup.

Butter tarts are the quintessential Canadian treat. Sadly, my experience with butter tarts does not come from a tattered recipe handed down from generation to generation. For me, butter tarts will always be associated with the summers I worked as a counsellor at an overnight camp. On our day off, my friends and I would hitch hike from camp into the nearby town of Haliburton Ontario. When I think about some of the rides we accepted, climbing into the back of pick up trucks with strange men, I shudder. But, in our defence, we were young and the part of our brain that deals in common sense was not yet fully formed.

When we arrived in town our first stop was the laundromat. Then, while our clothes were spinning, we shopped at Foodland, for a picnic lunch and treats to keep us fed until our next day off, as camp food was less than stellar. We would park ourselves on the beach by the lake and eat our feast. We always finished with a huge box of butter tarts. They were tooth achingly sweet but we craved that sugar rush. The main source of sugar came from high fructose corn syrup. We had no idea what an evil thing it was in those days.

So when Harold told me that you could substitute maple syrup for the corn syrup, I felt my insides do a little flip! Could it possibly be true? He brought me a recipe and I tucked it away, vowing to try them as soon as the sap began running again in the spring. It just seemed wrong to make maple tarts in the summer. Well, I am thrilled to report to you that, yes, maple tarts are real, and they’re spectacular!4 tarts square 625I fiddled a little bit with Harold’s recipe and added some whole-wheat flour. I like the earthy depth of flavour that it contributes. I also browned the butter in the filling. Browned butter has an intense aroma and nutty flavour that really complements the maple syrup in the filling. These tarts are undeniably sweet, but the flavour profile is layered, with the molasses in the brown sugar contributing an assertive acidic sweetness, while the maple syrup adds a deep, caramelized toasty sweetness. There is a touch of cider vinegar and salt in the filling, to help balance all the sweetness. ingredientsThe dough comes together fairly quickly. No food processor is needed. I used Michael Smith’s dough recipe. His method involves grating frozen butter into the flour and then using your hands to gently knead it.grating butter 

cutting rounds of dough

muffin tin lined with doughI added toasted chopped pecans and raisins to mine, but feel free to leave them out if you like.raisins and pecansraisins and pecans in tart shellsWhen you brown the butter for the filling, stay by the stove and watch closely. It can turn from brown to black in the blink of an eye. Transfer it to a measuring cup when it reaches the perfect shade of brown. This will stop the cooking process instantly. It will smell nutty and toasty. brown butterResist the urge to sample as soon as they come out of the oven. Let them cool completely before you try to remove them from the muffin pan.baked tartstarts on parchment paper

Click here to print recipe for Maple Pecan Brown Butter Tarts.

broken in half 4

Crunchy Green Beans

625 sqIf the view outside your window is anything like mine, you may be wondering if winter will ever end.icicles 2Hey, don’t get me wrong. I love fall root vegetables as much as or even more than the average joe out there. I mean, they really are the unsung superstars of winter produce. There is no end to the culinary magic that you can perform with carrots, parsnips, squash and potatoes. But seriously, I am sick of roasting, mashing, sauteeing and frying those suckers.

I am longing for something fresh and green and crunchy. I am craving baby green peas. Those tiny swollen little pods that, when shucked, give birth to tiny green peas. I miss that satisfying little pop when you bite into them. I am longing for local asparagus. Those grassy sweet spears that tell me spring is here. Sadly, those first green shoots of asparagus have yet to spring forth from the frozen ground and there are no fresh peas ready to pop anywhere near where I am any time soon .

So, it’s green beans to the rescue. Although they are not local , they will stand in as a green crunchy substitute until I can get my hands on the first produce of spring.Green beans in colanderThis green bean recipe is called Crunchy Green Beans2, because the beans get added crunch from two different sources. The first is from toasted hazelnuts. I just love that slightly bitter tanic zing you get when you first crunch a toasted hazelnut between your teeth. Then there is a follow up flavour of slightly browned butter. So complex for such a little nut.

The second crunch source is Panko breadcrumbs. Panko breadcrumbs, if you are not familiar with them are special Japanese breadcrumbs. The biggest difference between panko and regular breadcrumbs is that panko is made from bread without crusts. The crustless bread is coarsely ground into airy, large flakes that give fried foods a light, crunchy coating. The flakes tend to stay crispier longer than standard breadcrumbs because they don’t absorb as much grease.toasting panko and hazelnutsPlease, take the time to salt the water before boiling your green beans. I added about 2 tablepoons of kosher salt to the water. This does not make the beans overly salty, it just seasons them perfectly so they do not taste bland. You can not get the same effect from salting after cooking. Please salt the waterboiling beansAfter boiling for several minutes, give your beans an ice water bath. I just place the colander of drained beans right into a large bowl of ice water. Once they have cooled, just lift the colander up and leave all the ice cubes behind in the bowl.  No need to fish ice cubes out of your green beans.chill in ice bathSome butter or olive oil, or a little of both is added to the toasted crumbs and nuts and the blanched beans get a toss in all that crunchy goodness until they are heated through. tossingHot or at room temperature, these are a little bit salty, a lot crunchy and so satisfying.ready 1

Click here to print recipe for Crunchy Green Beans2

ready 2


Virtuous Green Slaw

625 sq 1In my last post I mentioned a Baby Kale and Brussels Sprouts salad that somehow became tossed aside in favour of Pretzel Crusted Turtle Bars. These things happen, it’s understandable, but today we get down to business with that very virtuous slaw.

If you are a regular reader of my blog, you may already know that there is not much love lost between me and kale (or Brussels sprouts, for that matter). I have made friends with cooked kale in a Kale Chicken Sausage and White Bean Soup and I have come to a détente of sorts with maple syrup roasted Brussels sprouts. Kale continues to reign supreme in the nutrition battlefield and I really want to join the troops and benefit from all its goodness.

My main problem with raw kale is the itch factor. It scratches my throat on the way down. But what if I removed the fibrous ribs of the kale and then sliced the leaves thin, like a slaw? I came across a raw kale and Brussels sprouts salad, created by Sue Riedl in her “month of salads” feature in the  Globe and Mail newspaper, and was inspired to give raw kale a chance.mise en placeI was excited when I found some very tender baby kale at the market. I sliced it thinly. I julienned some Brussels sprouts and one large Honeycrisp apple.shredded sproutsjulienning Brussels Sprouts

julienned applesSome toasted chopped hazelnuts added a wonderful crunch. hazelnutsDressed with a honey lemon mustard vinaigrette, the kale and Brussels sprouts really sing! I gilded the lily with some shavings of Parmesan cheese. Everything is better with cheese.shaving parmI made this for dinner for my husband and oldest (23 year old) son. Neither was enthusiastic when I told them what was in the slaw. My son said, “nope, not gonna eat it.” With some cajoling, they both tried it. My husband declared it “blogworthy” and my son had a second helping. High praise indeed.

The lemon dressing is quite acidic, but it pairs beautifully with the raw kale and Brussels sprouts. The julienned Honey crisp apples add sweetness and the chopped hazelnuts add an amazing textural contrast with their crunch. Finishing the salad off with shaved Parmesan adds a wonderful grace note of umami.

Click here to print recipe for Virtuous Green Slaw.

in bowl on square wood plates 1

Pretzel Crusted Turtle Bars

Hot on the heels of posting about Challah Monkey Bread and Brown Sugar Valentines Heart Cookies, I had every intention of sharing with you the recipe for a delicious Baby Kale and Brussels Sprouts salad this week. But somehow, here we are with Pretzel Crusted Turtle Bars.with text 2F 625 sqTo be honest, it’s not entirely my fault. I have been noticing quite a few pretzel crusted treats floating around cyberspace recently. Naomi of Baker’s Royale made these to satisfy her pregnancy cravings.  Averie of Averiecooks did a top crust of pretzels on her treats.

I started thinking about what I would love to combine with pretzels and the answer came to me instantly…Turtle Bars. If you have never heard of Turtle Bars, let me enlighten you.  Imagine a chocolate base topped with a pecan caramel layer, reminiscent of Turtles Candies. Adding a crushed pretzel layer is a really inspired idea.
whole pretzelscrushing pretzelsadding melted butter to crustcrust ready for ovenThe thing is, you would imagine that Pretzel Crusted Turtle bars would be pretty damn good. But something kind of astonishing happens when you combine these three layers. Alone, each layer sounds yummy. But the synergy that occurs when these three layers combine is something akin to a culinary explosion. The whole somehow becomes so much more than the sum of its parts.stacked 1
Essentially what we have here is a crunch sandwich, with the bottom layer providing salty crunch from the pretzels, and the top layer providing sweet crunch, from the pecans and caramel. Sandwiched in between these two awesome layers of crunch is a chewy fudgy chocolate layer. it doesn’t get better than this.
cracking eggchocolate layer 1candy thermometer in caramelspreading on pecan caramel layerAfter photographing these, I realized that these bars needed to find a good home, other than mine. I took half to my Yoga class and I do believe I heard a few “oohs” and “aahs” mixed in with the “ommmmm” chanting! The other half disappeared quite quickly at my hairdresser’s.3 bars on tile

Click here to print recipe for Pretzel Crusted Turtle Bars.

on twig tray


Valentines Day Marbled Heart Brown Sugar Cookies

assortment of hearts 625 sqI would not describe myself as an overly affectionate person. (OK, all those who know me can stop choking with laughter now) Neither my husband or I are big on PDA’s . We don’t really celebrate Valentines Day, certainly not in a traditional cards, flowers or a box of drugstore chocolates (shudder) kind of way. My husband knows better than to show up with a bouquet of roses for me. I hate roses, especially red ones. Their aroma conjures up images of death and decay in my mind.  However, if a big bunch of tulips were to come my way, I would never refuse them!

That being said, there is something about heart shaped cookies for Valentines Day that is just so sweet and endearing, especially if they are home made. I could not resist making these this year. I love to decorate sugar cookies with royal icing. I am not a huge lover of the overly sweet taste of royal icing, but I am a frustrated artist and the canvas of a cookie fills my soul with such joy when I hold a piping bag and begin creating.Red and White heardsI had a few extra hands on deck last week to help me make these. My mom, who is very creative, was visiting. As well, my old babysitter, Sarah, who is a whiz with a piping bag, was also visiting. She was so excited when I told her what we would be making. She runs a dance school and bakes beautiful decorated cookies for all her students for any and every occasion. When I had tendonitis in my elbow, from a repetitive strain injuty (piping too many gingerbread snowflake cookies), she filled in as my designated piper.

Marbling royal icing is probably one of the easiest ways to create some spectacular looking cookies. There is no right or wrong way. You just have to let your creative freak flag fly here. The marbling technique basically boils down to using contrasting colours of wet royal icing. You pipe lines or dots or whatever you fancy, and just use a toothpick to swirl the lines or connect the dots. It couldn’t be simpler.Heart ZigzagsYou can use any sturdy cookie recipe, like gingerbread or a sugar cookie. I used my favourite sugar cookie recipe, which calls for brown sugar, instead of the usual white sugar. It adds a real depth of flavour. Adter making the dough, I divide the soft dough into 4 pieces and roll out each piece of dough between 2 pieces of parchment paper. Then I chill the sheets of rolled out dough before cutting. It is much easier to do this rather than chill the dough first and then roll it out.

dough mixeddivide dough

rolling between parchmentcutting out hearts  I found the cutest set of cookie cutters at Michael’s.Wilton CuttersYou will need some disposable piping bags, piping tips (#2 and #3 size) and couplers,  some paste or gel food colouring and toothpicks. If you are planning to buy red food colouring, make sure it is the “no taste” red. In order to get a vivid red, you need to use a lot of the food colouring, and the regular red departs a very bitter taste.

It is best to make the cookies and royal icing the day before (or even several days) you plan to decorate them. Set aside a few quiet hours to allow your creative decorating juices to flow. 

[/video

Click here to print recipe for Sugar Cookies with Brown Sugar.

Click here to print recipe for Royal Icing.

Red and White hearts on felt heart placemats

Hearts lines

For further inspiration check out these very talented bloggers:

Julia Usher

Colleen of Royal Icing Diaries

Sweetopia