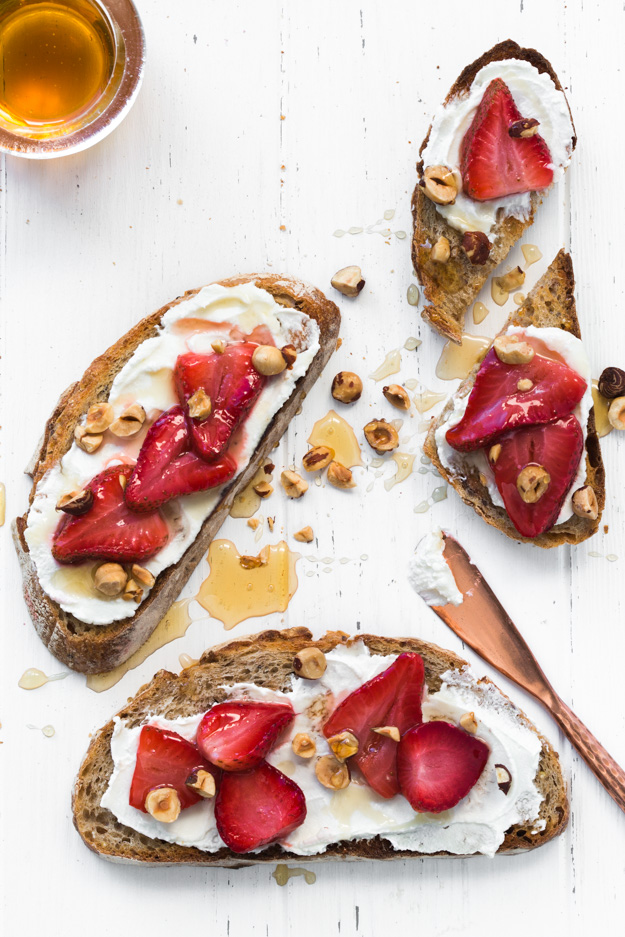
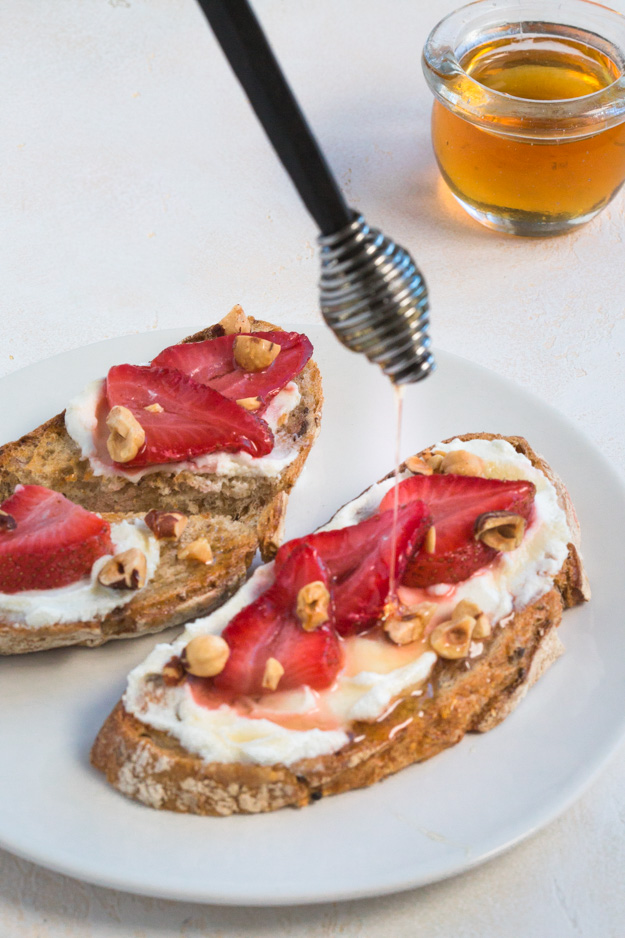
 If my sweet version of breakfast labne toast with strawberries and honey didn’t convince you to bust out the cheesecloth and make some labne, perhaps this savory version will.
Labne, also known as yogurt cheese, is simple to make. Mix plain yogurt (greek or regular, your choice) with a bit of lemon juice and salt. Put it in a cheesecloth lined strainer, set over a bowl. Leave it in the fridge for 24-28 hours, depending on how thick you like it. You can feed the whey drippings to your pet pig, if you happen to have one. If not, just discard.
Homemade labne will keep in the fridge for 2 weeks, so make a big batch and shake up your morning breakfast routine.
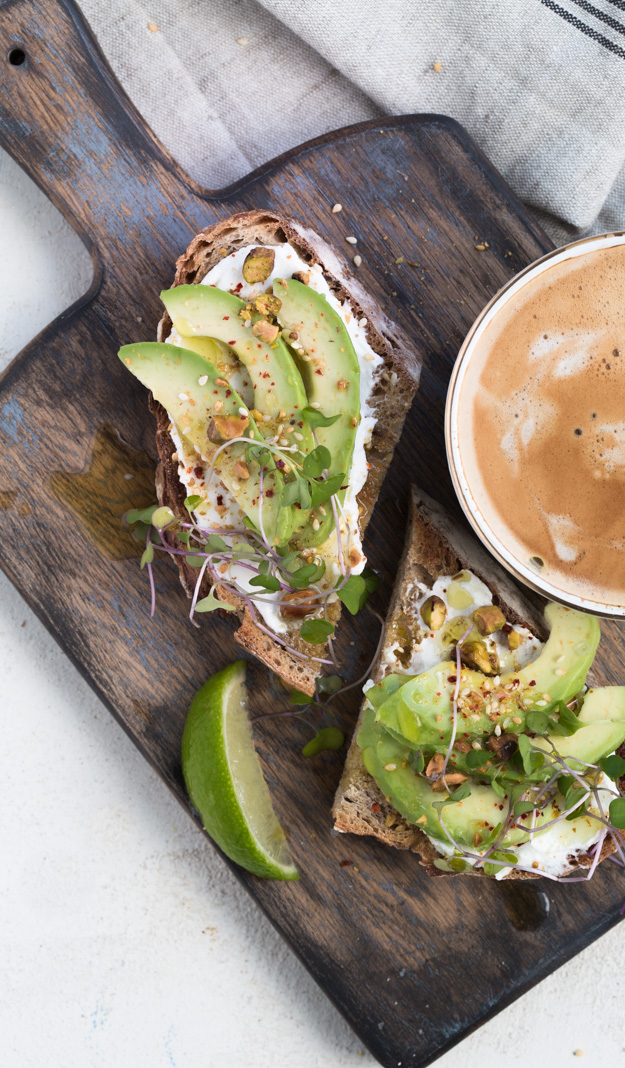
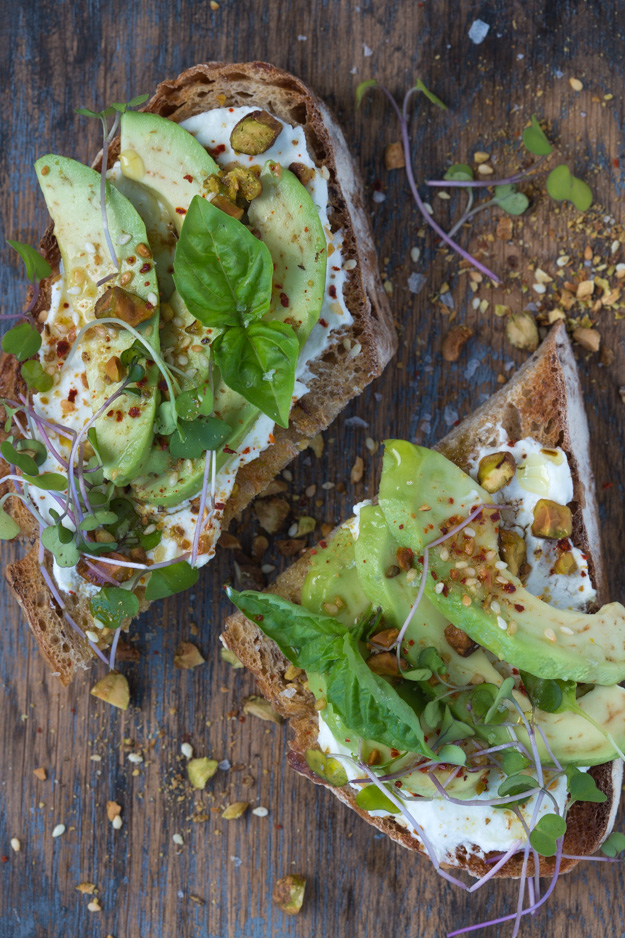
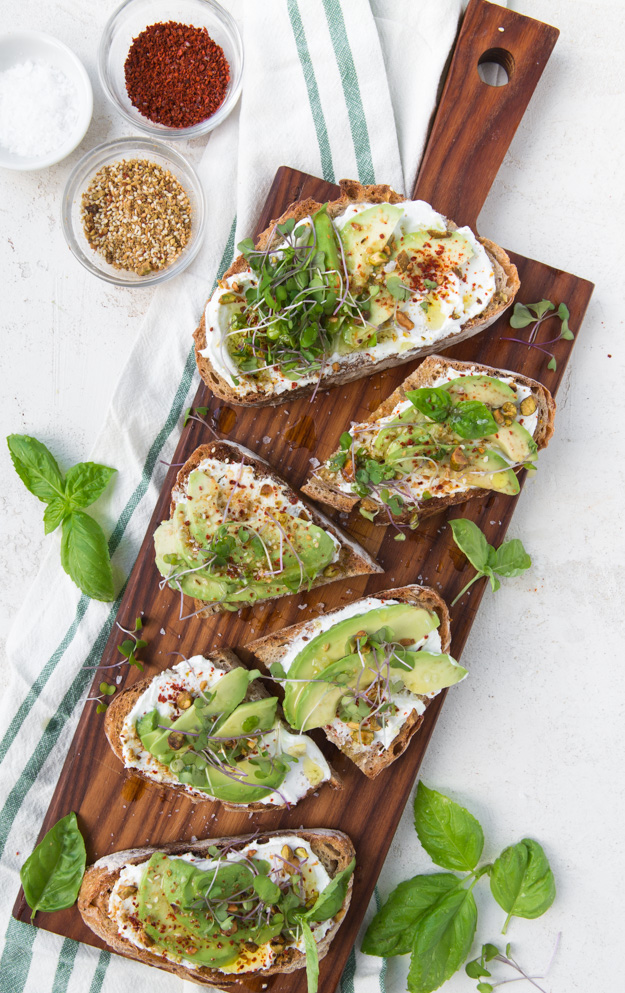
Start with good bread. A hearty artisnal loaf, something substantial, maybe one loaded with seeds and nuts. Please remember to deeply toast your bread, otherwise the labne will soak into the bread like a sponge, and that would be sad.
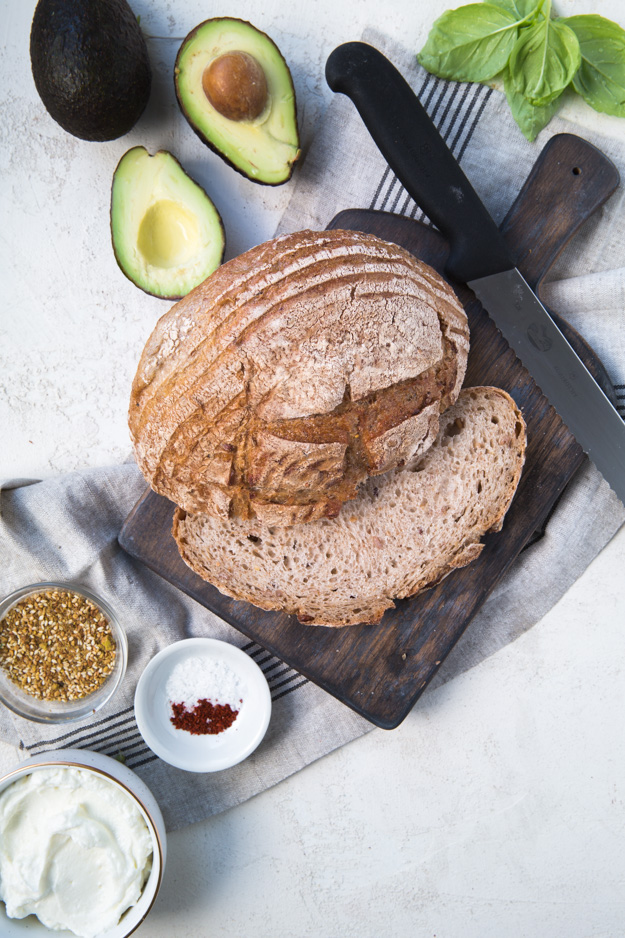 Plain avocadoes are bland. They need to be treated with the magic trifecta of acid, salt and heat. In this case, I used lime juice, flaky sea salt and maras red pepper. If you don’t know about maras pepper, you need to learn about it and get yourself a bag. They are sun-dried Turkish peppers with a slow, subtle heat. They instantly add a hit of brightness to everything you put them on. If you have a Mid-East grocery in your city, they will likely stock it.
Add some toasted pistachios for a little crunch. And if you happen to have a jar of dukkah in the pantry, a sprinkle of that will really take this breakfast to the next level deliciousness.
Click here to print recipe for Avocado and Labne Breakfast Toast.