Is it just me, or does January feel like the longest month ever? It feels like we’ve been in January for 4 months now! When the nights are dark and endless, a cozy, satisfying meal makes all the difference—and this Mushroom, Sausage, and Kale Pasta delivers.
Over the years, my taste buds have changed. I never used to love mushrooms, but now I crave their deep, earthy flavour. Kale? I once avoided it, but now I appreciate that peppery, slightly bitter bite that balances rich dishes like this one.
Keys to Success for Mushroom Sausage and Kale Pasta:
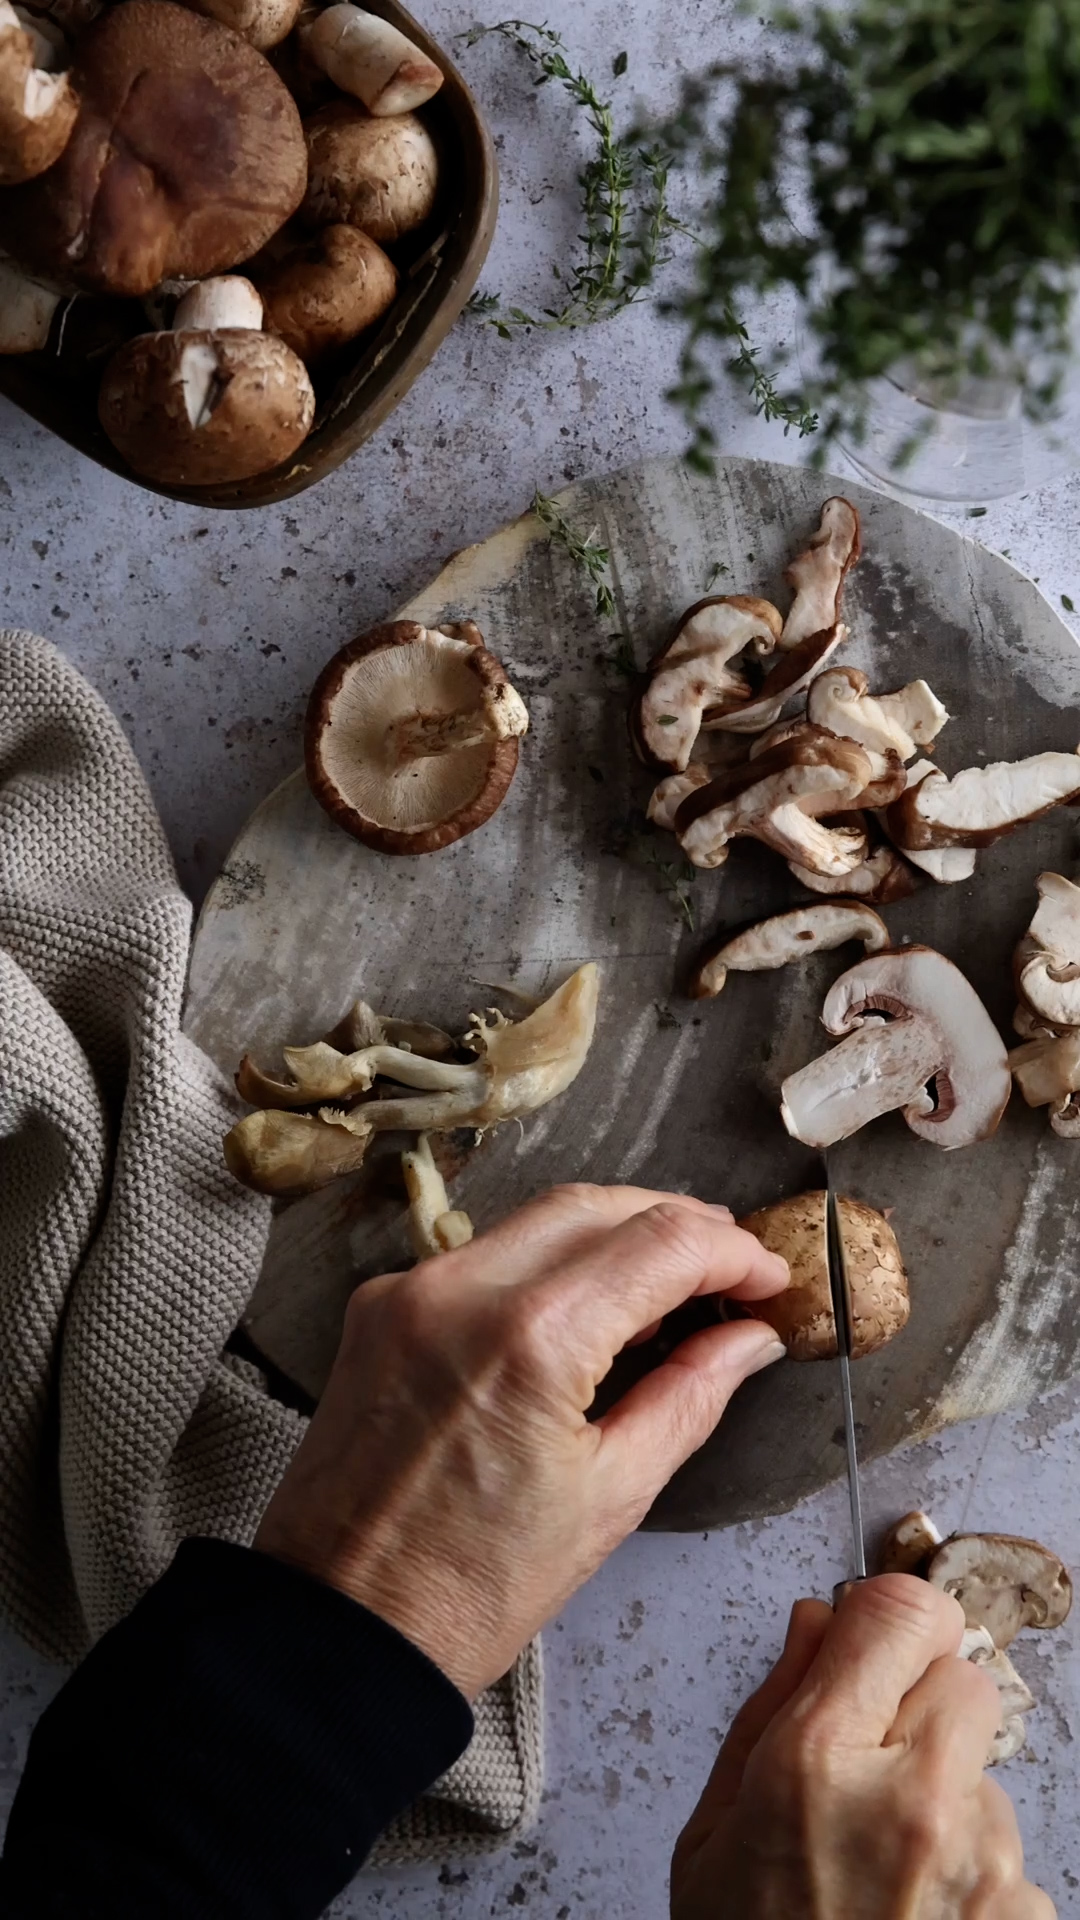
- Go big on mushrooms. This recipe calls for a full pound, and using a mix of varieties adds depth. I used oyster, cremini (brown button mushrooms), and shiitake, but any combination will work.
- Hold off on the salt. Don’t salt the mushrooms right away—wait until they’re golden brown and caramelized. Salt draws out moisture too soon, preventing them from developing that deep, savory flavor.
- Use a potato masher. It’s the best tool for breaking up sausage as it browns, giving you the perfect bite-sized texture.
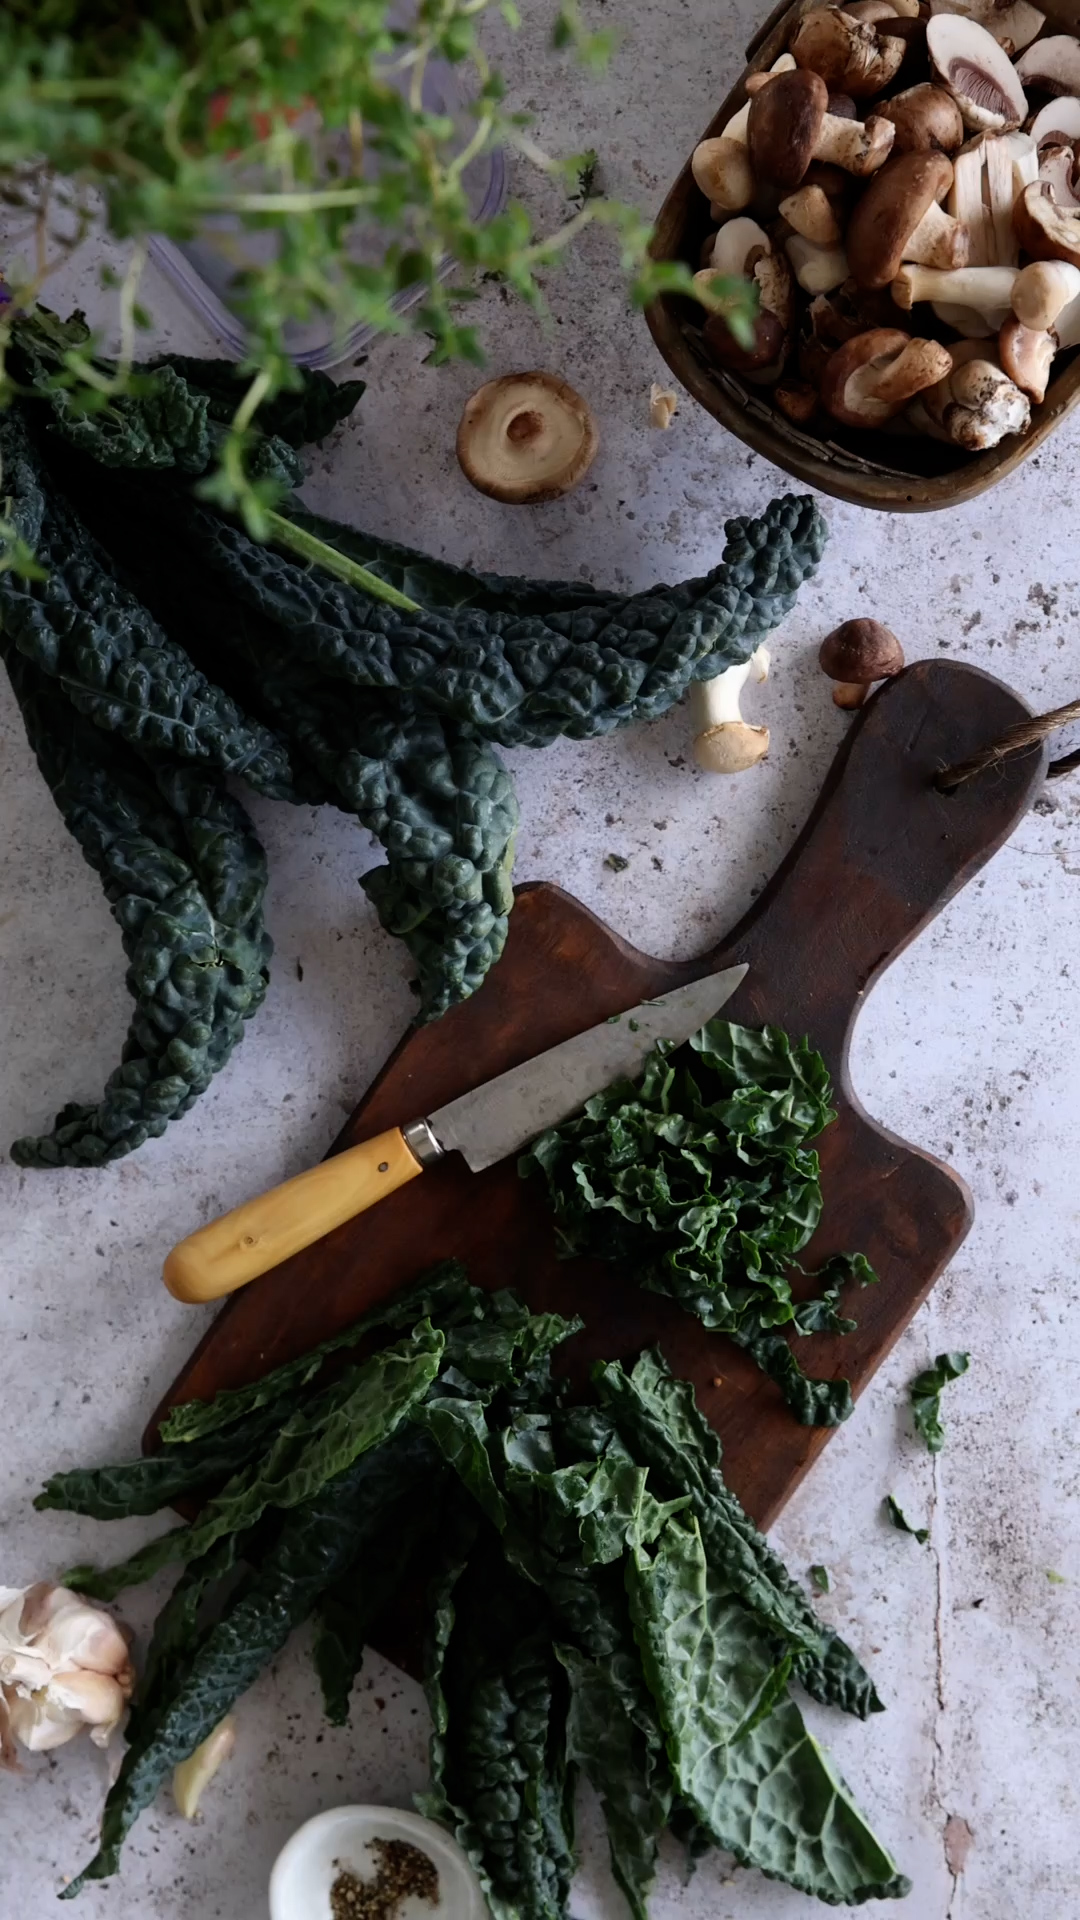
- Choose the right kale. Black kale (also called Tuscan, dinosaur, or lacinato kale) is my favorite for this dish. It’s slightly sweet, delicate, and less bitter than curly kale.
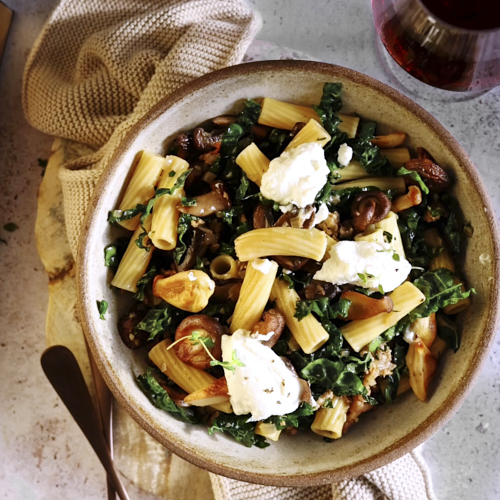
- Finish with whipped ricotta. A generous dollop at the end adds a creamy, fresh contrast to the earthy mushrooms and spicy sausage. It takes this dish to the next level.
- Pick the right pasta. Any tubular shape works well here—I used rigatoni. The key is choosing something that will catch all the little bits of flavour in every bite.

Mushroom, Sausage and Kale Pasta
Ingredients
- 175 grams ricotta cheese
- 45 grams 2% milk
- 1 Tablespoon Diamond Crystal Kosher salt, or 1 1/2 teaspoons Morton's Kosher salt
- 350 grams Lacinato kale (also called Tuscan kale or black kale), about 2 small bunches
- 340 grams dried pasta, penne or rigatoni
- `1 tablespoon olive oil
- 400 grams plant based spicy or sweet Italian sausage, removed from casing
- 1 Tablespoon olive oil
- 454 grams mushrooms, cut into 1/2 inch slices or pieces, a mix of crimini, shitake, button and oyster is nice
- 2 large sprigs fresh thyme
- 1 teaspoon Diamond Crystal Kosher salt or 1/2 teaspoon Morton's Kosher salt
- 4 medium shallots, peeled and finely diced
- 2 cloves garlic, grated or finely minced
- 250 millilitres dry white wine
- 50 grams Parmesan cheese grated or shaved for garnish
- 10 large basil leaves, for garnish
Instructions
- Place ricotta and milk in a medium bowl. Using a wire whisk, whisk until creamy and smooth. Store in fridge until ready to serve finished pasta.
- Wash kale leaves. Strip kale leaves from stem. I find the tip of a paring knife is the best job for separating the leaf from the stem. Discard stems. Pile the leaves up and use a sharp chef's knife to slice across into 1/4 inch strips.
- Bring a large pot of water to a boil. Add 1 Tablespoon salt and dried pasta. Cook pasta according to package directions for al dente. Reserve 1 cup pasta water before draining. Drain pasta.
- While pasta is cooking, heat a large saute pan over medium heat and add 1 Tablespoon olive oil. Add sausage and use a potato masher or wooden spoon to break sausage into small crumbles. Continue cooking and stirring until sausage is browned and cooked through, about 4-5 minutes. Transfer cooked sausage to large bowl or plate.
- Put pan back on medium heat and add 1 tablespoon olive oil to pan. Add mushrooms and cook, stirring occasionally, until just slightly softened, about 2 minutes. As the mushrooms release their water, use a wooden spoon to scrape up all the browned bits at the bottom of the pan. Add thyme sprigs and 1 teaspoon salt and continue cooking, stirring occasionally until liquid is evaporated and mushrooms are browned. This will take about 6-7 minutes. Remove thyme stems. Transfer mushrooms to bowl with sausage.
- Add shallots and 1/4 cup water and cook over medium heat for 2-3 minutes until softened. Add garlic and cook for another minute or two. Add white wine and cook over high heat for 2-3 minutes until liquid is reduced by about half. Add kale and stir for another 2 minutes until kale starts to wilt.
- Add drained pasta and 1/2 cup reserved pasta water to pan. Mix well over medium heat until most of liquid has evaporated. Add reserved sausage and mushrooms and mix well.
- Transfer pasta to serving platter. Garnish with shaved parmesan, little scoops of whipped ricotta and fresh basil leaves.
Nutrition
Calories: 814kcalCarbohydrates: 87gProtein: 48gFat: 26gSaturated Fat: 8gPolyunsaturated Fat: 6gMonounsaturated Fat: 10gTrans Fat: 0.01gCholesterol: 32mgSodium: 3298mgPotassium: 1180mgFiber: 13gSugar: 9gVitamin A: 9123IUVitamin C: 88mgCalcium: 519mgIron: 26mg
Tried this recipe?Let us know how it was!
This dish is hearty without being heavy, packed with bold flavors, and exactly what I want on a chilly January night. Hope you love it as much as I do!