I’m passionate about apple cake, so when my Instagram friend Dee, boasted that her apple cake was the BEST ever, you can bet that got my attention. Of course, I had to go over to her blog and check it out. I had a sneaky feeling I knew exactly which recipe she used, and I was right. The recipe came from her mother-in-law, who got it from the Second Helpings Please! Cookbook. Every Jewish mother, worth her salt, cooked from this book in the 1970’s. I don’t recall my mom using this book though. We ate mostly frozen foods in the 70’s.
I first learned about this apple cake at one of my very first professional cooking jobs. I was working in an upscale take-out food shop in Toronto’s Yorkville area called Dinah’s Cupboard. I learned so much from Dinah Koo, the shop’s owner. She demanded perfection and precision. She cooked with big flavours and was a master at presentation. I am forever grateful to her for teaching me so much. It was my job to make 4 of these cakes every day. We baked them in 9×13 inch rectangular cake pans and cut the cakes into large squares to sell in the shop.
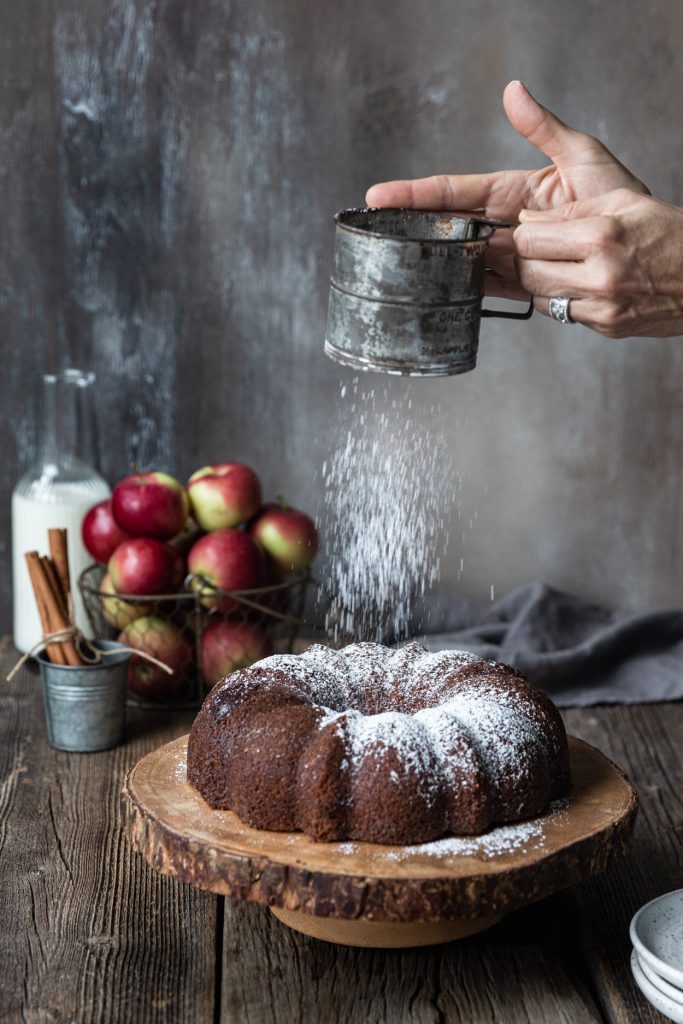
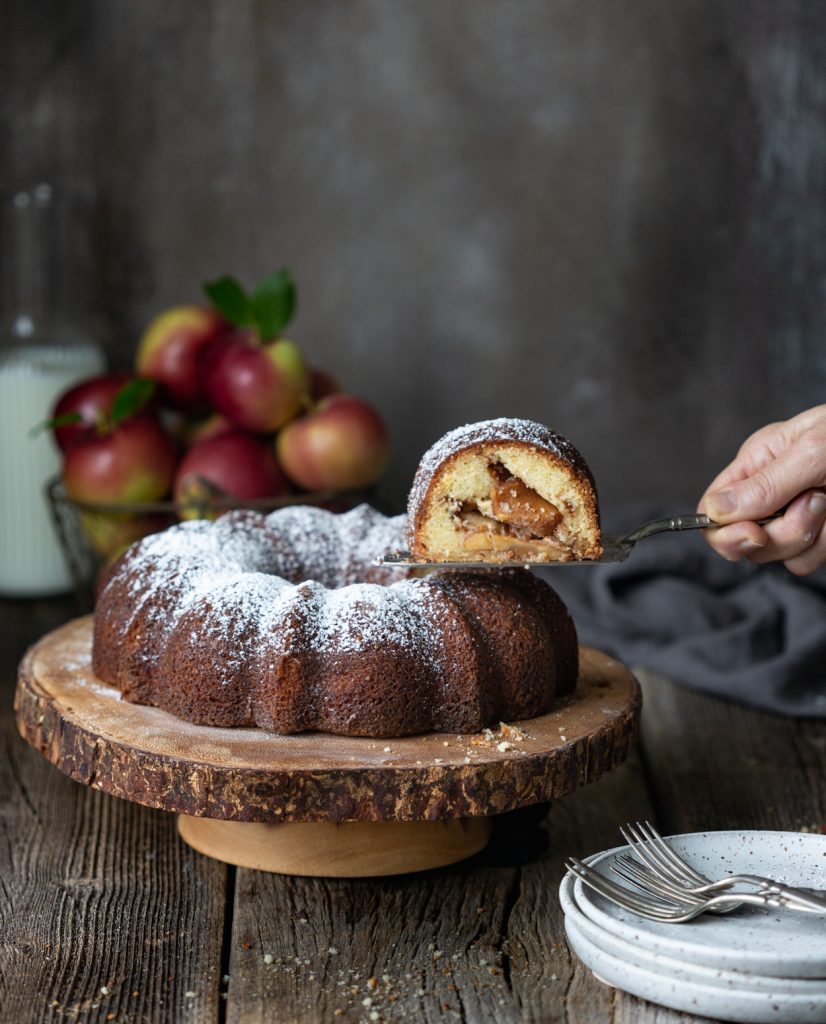
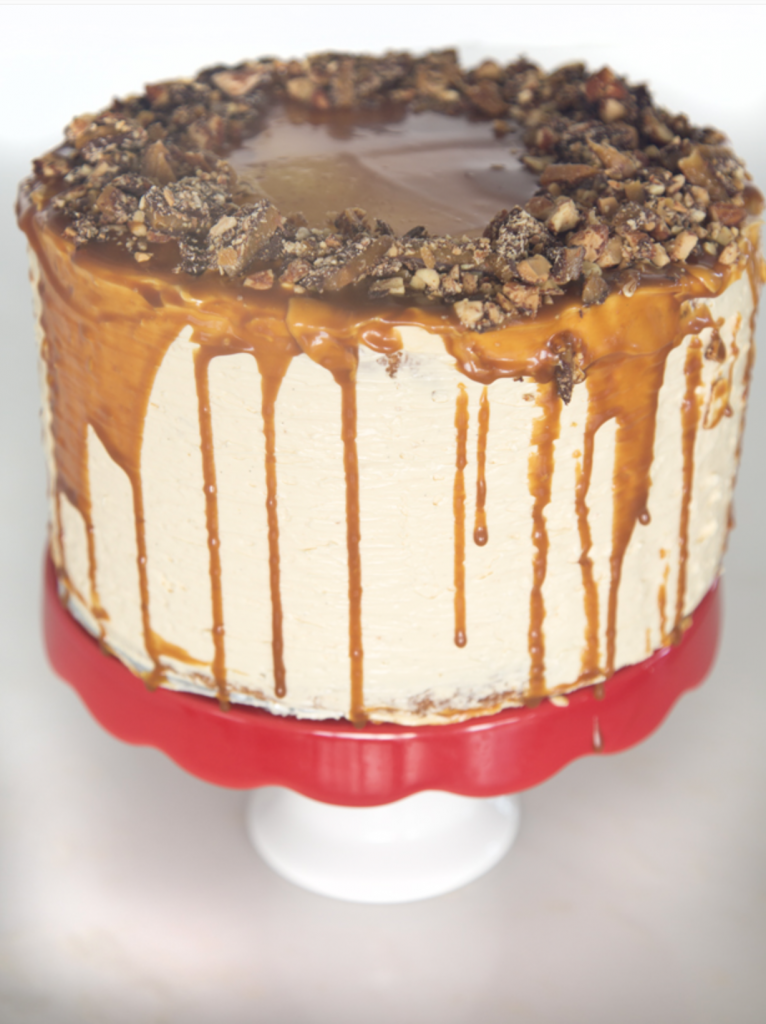
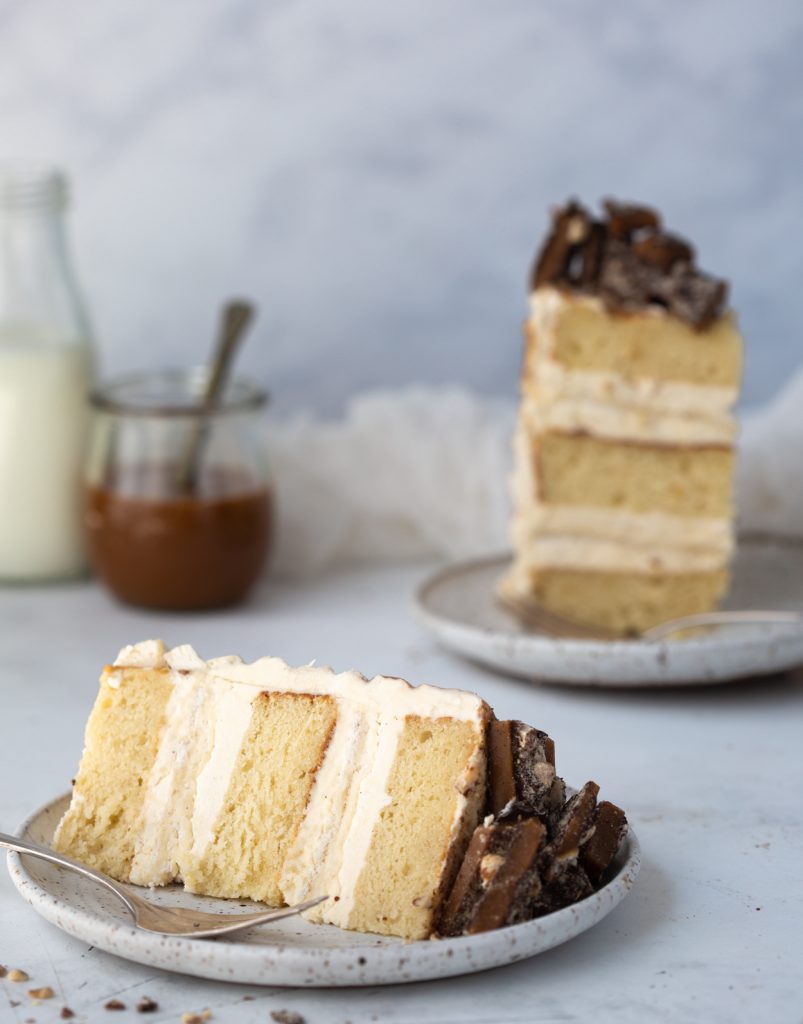
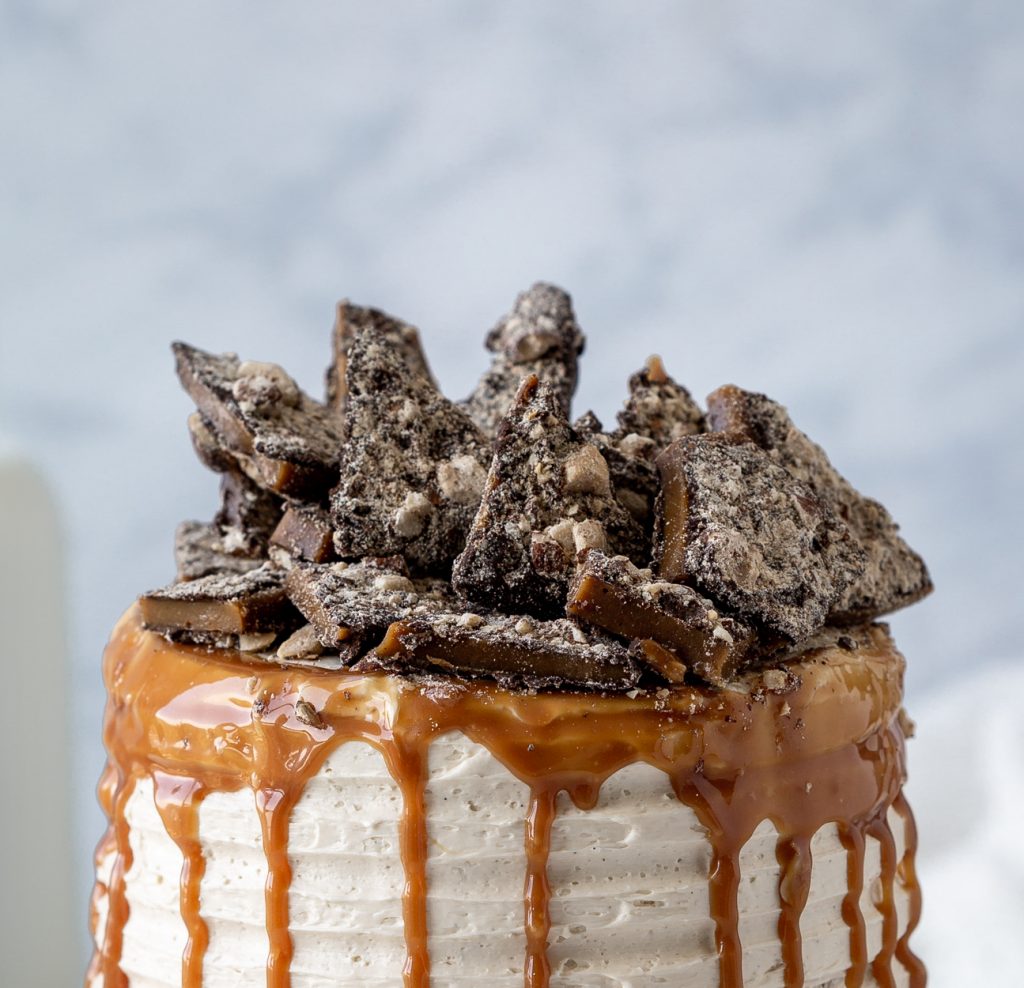
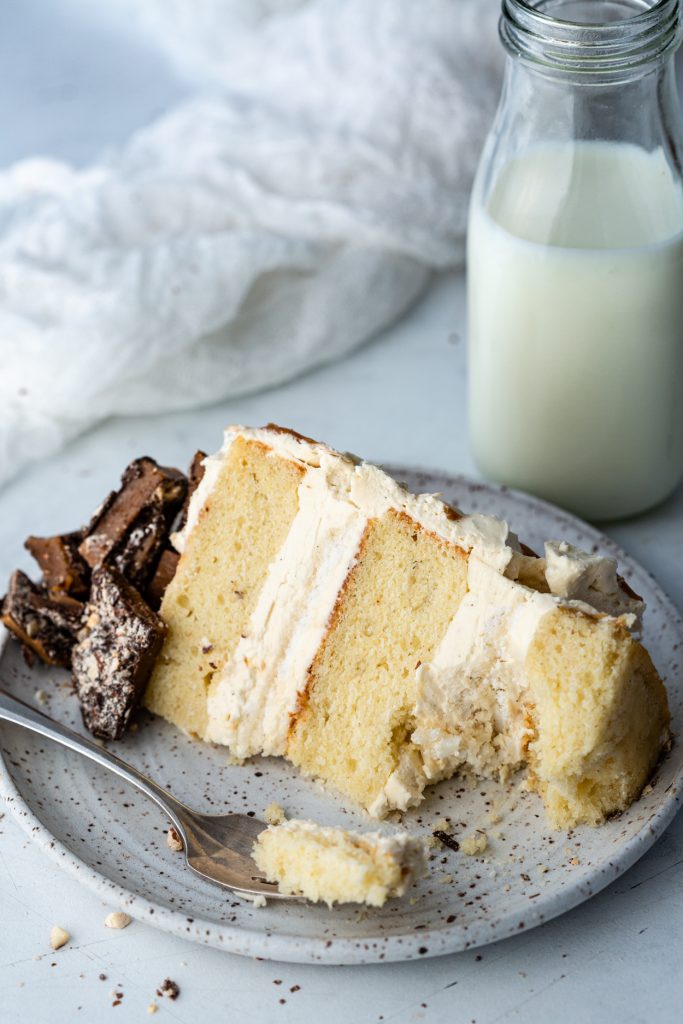
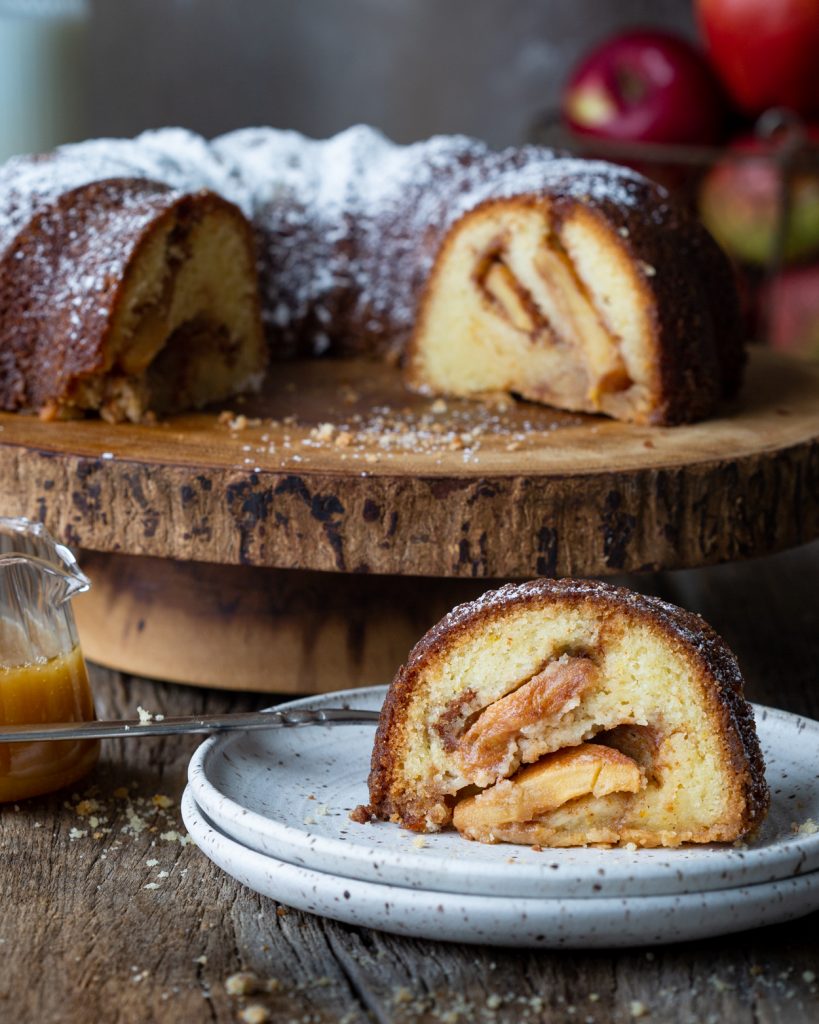
Dinah’s twist on the Second Helpings classic was to soak the just baked cake in a caramel sauce. How bad could that be? As soon as it comes out of the oven, poke holes all over the cake and pour on caramel sauce so it has an opportunity to soak in. This is a moist, dense, intensely flavourful cake. Because I’m fancy, I baked mine in a Bundt pan with 2 layers of apples sandwiched between 3 layers of batter. Watch how it all comes together.