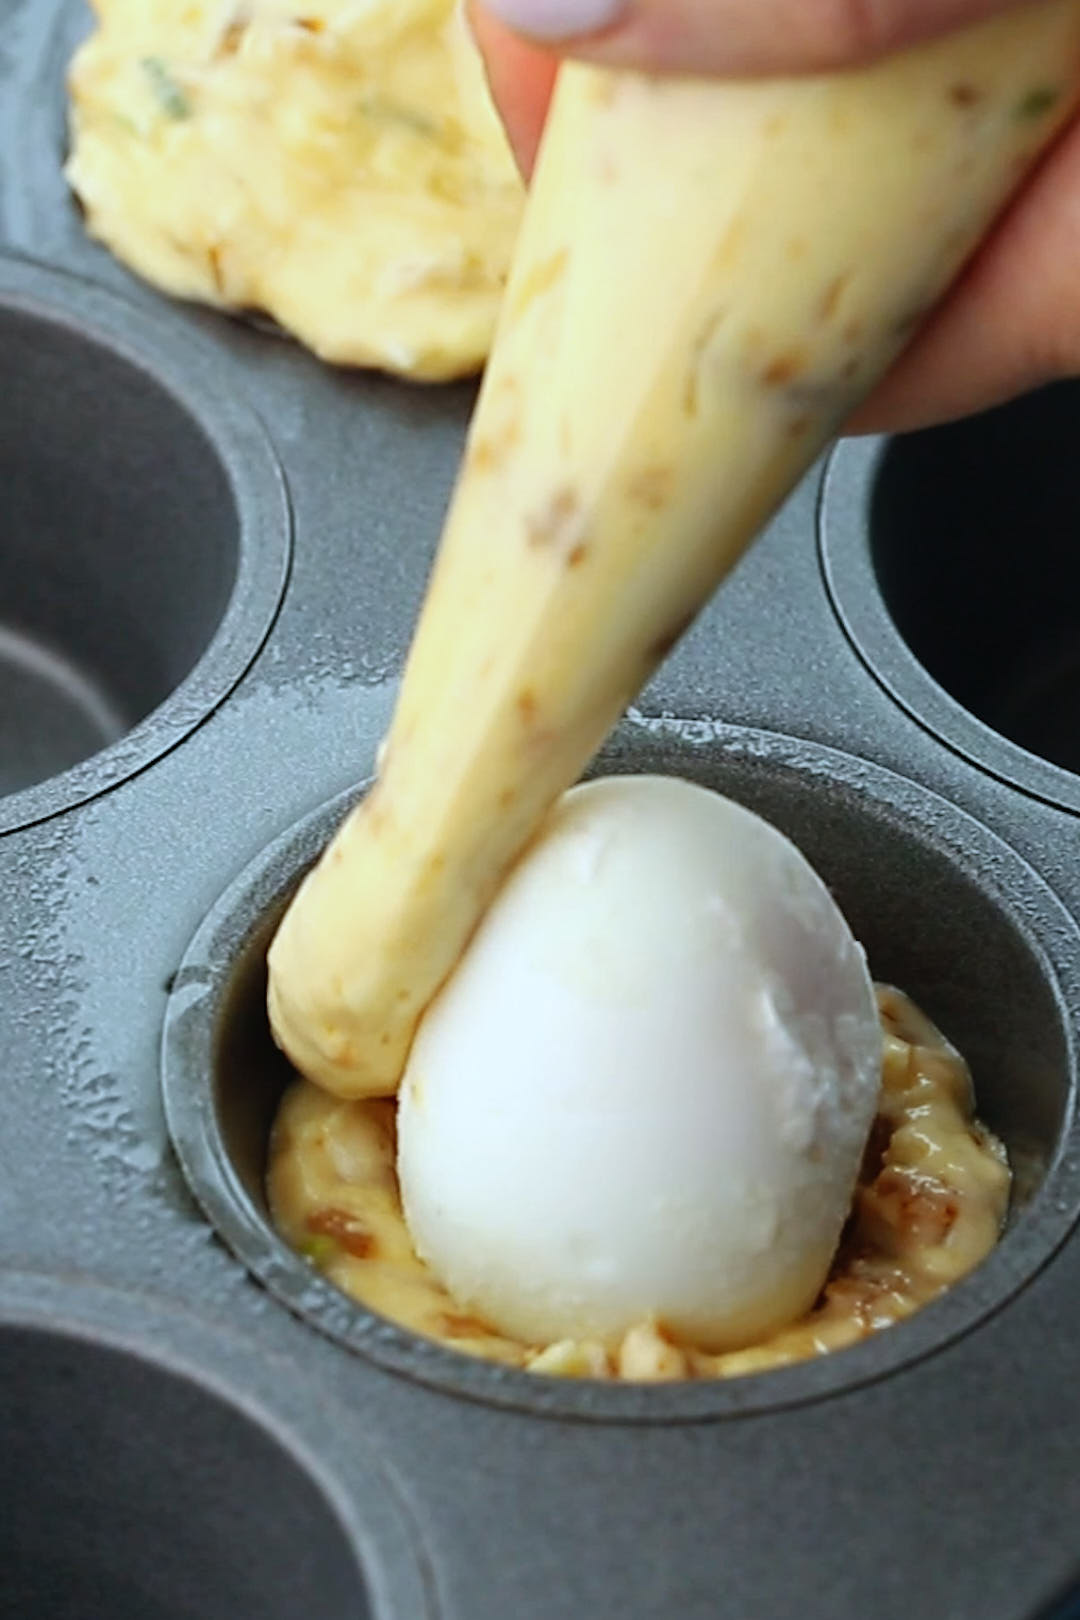
At this point in my life, I should know better than to fall for lines from cute guys with a twinkle in their eye. I’m talking about you Jamie Oliver. Through my TV screen, you smized at me, with those baby blues and told me that it was possible to use mashed avocado instead of butter in pastry dough.
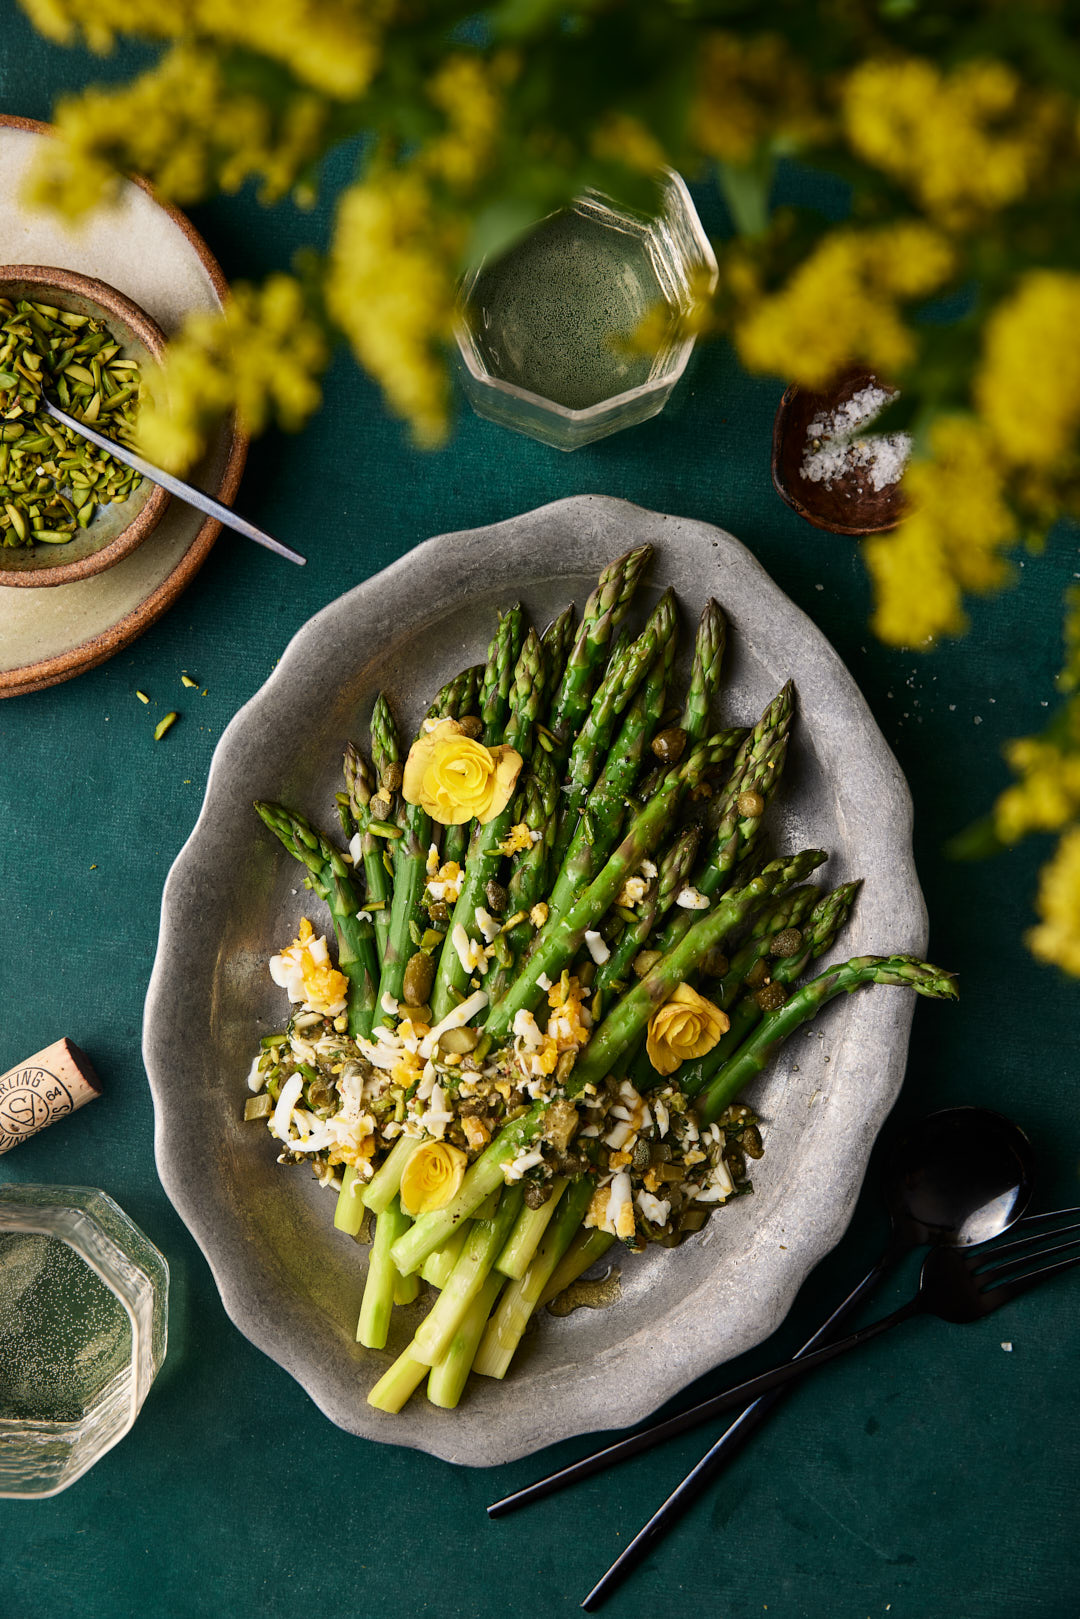
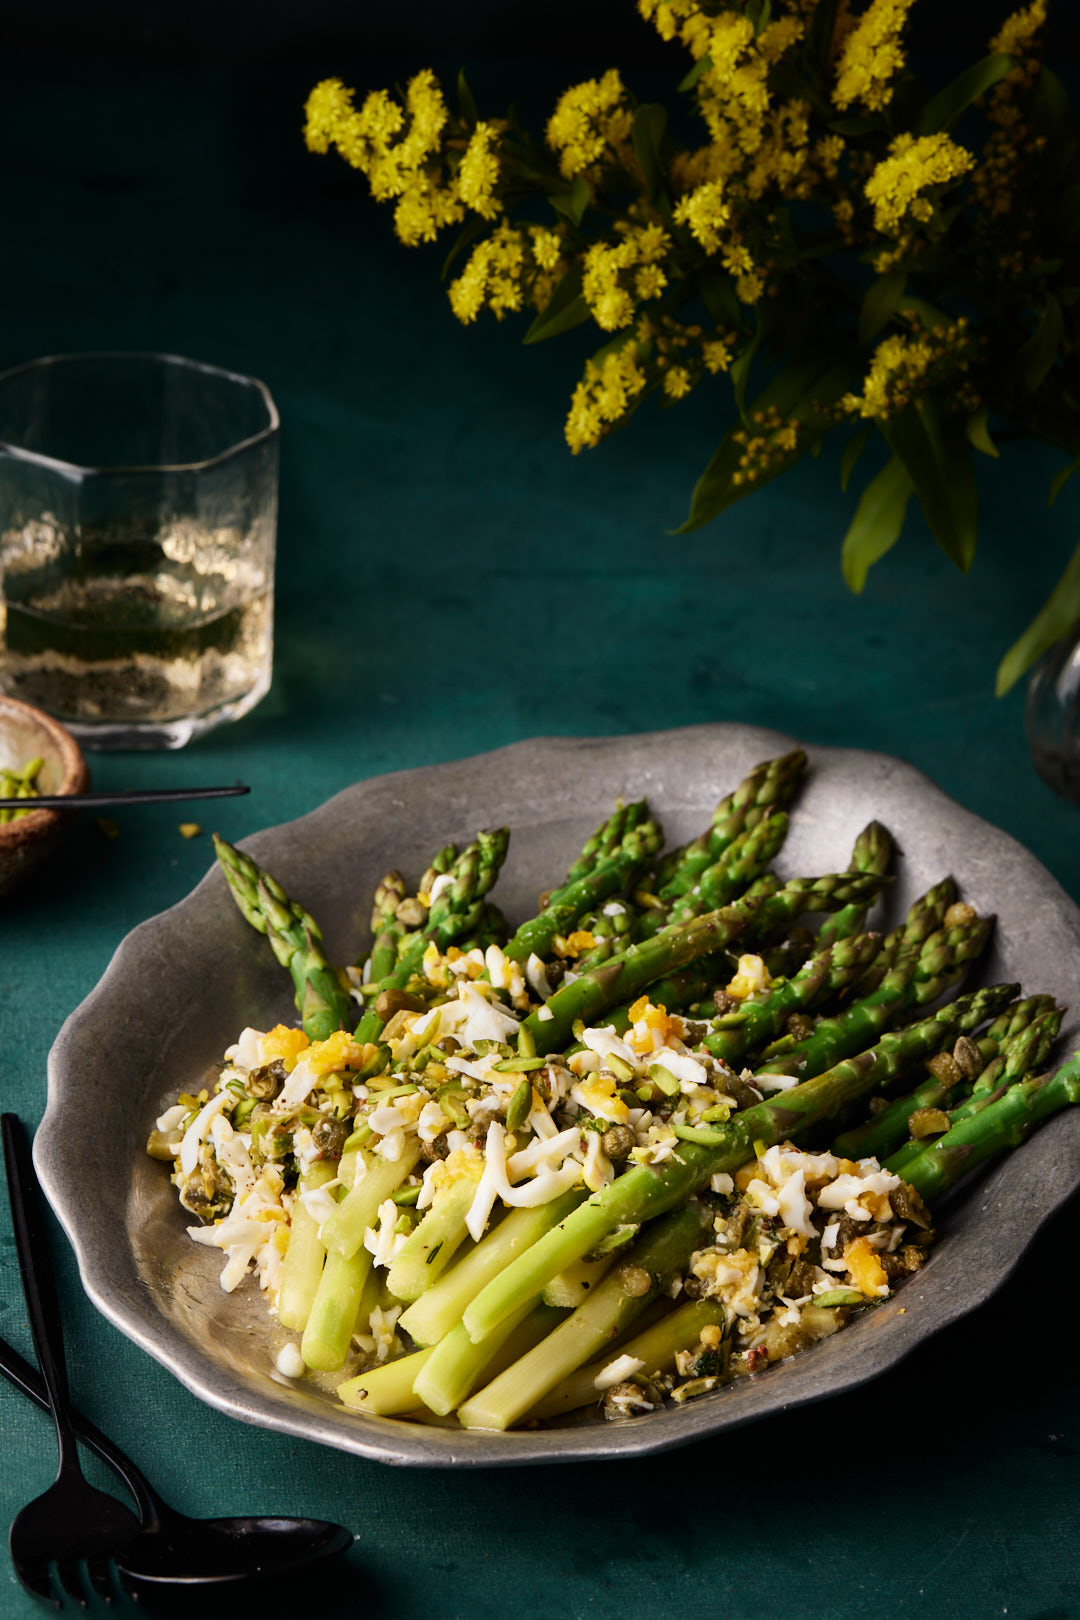
I was fascinated. Could it really be true? Avocado, like butter, has a high fat and moisture content, so it seemed plausible. Jamie made a green pea and cheddar quiche using his avocado dough. I settled on leeks, asparagus and gruyere cheese for my version.
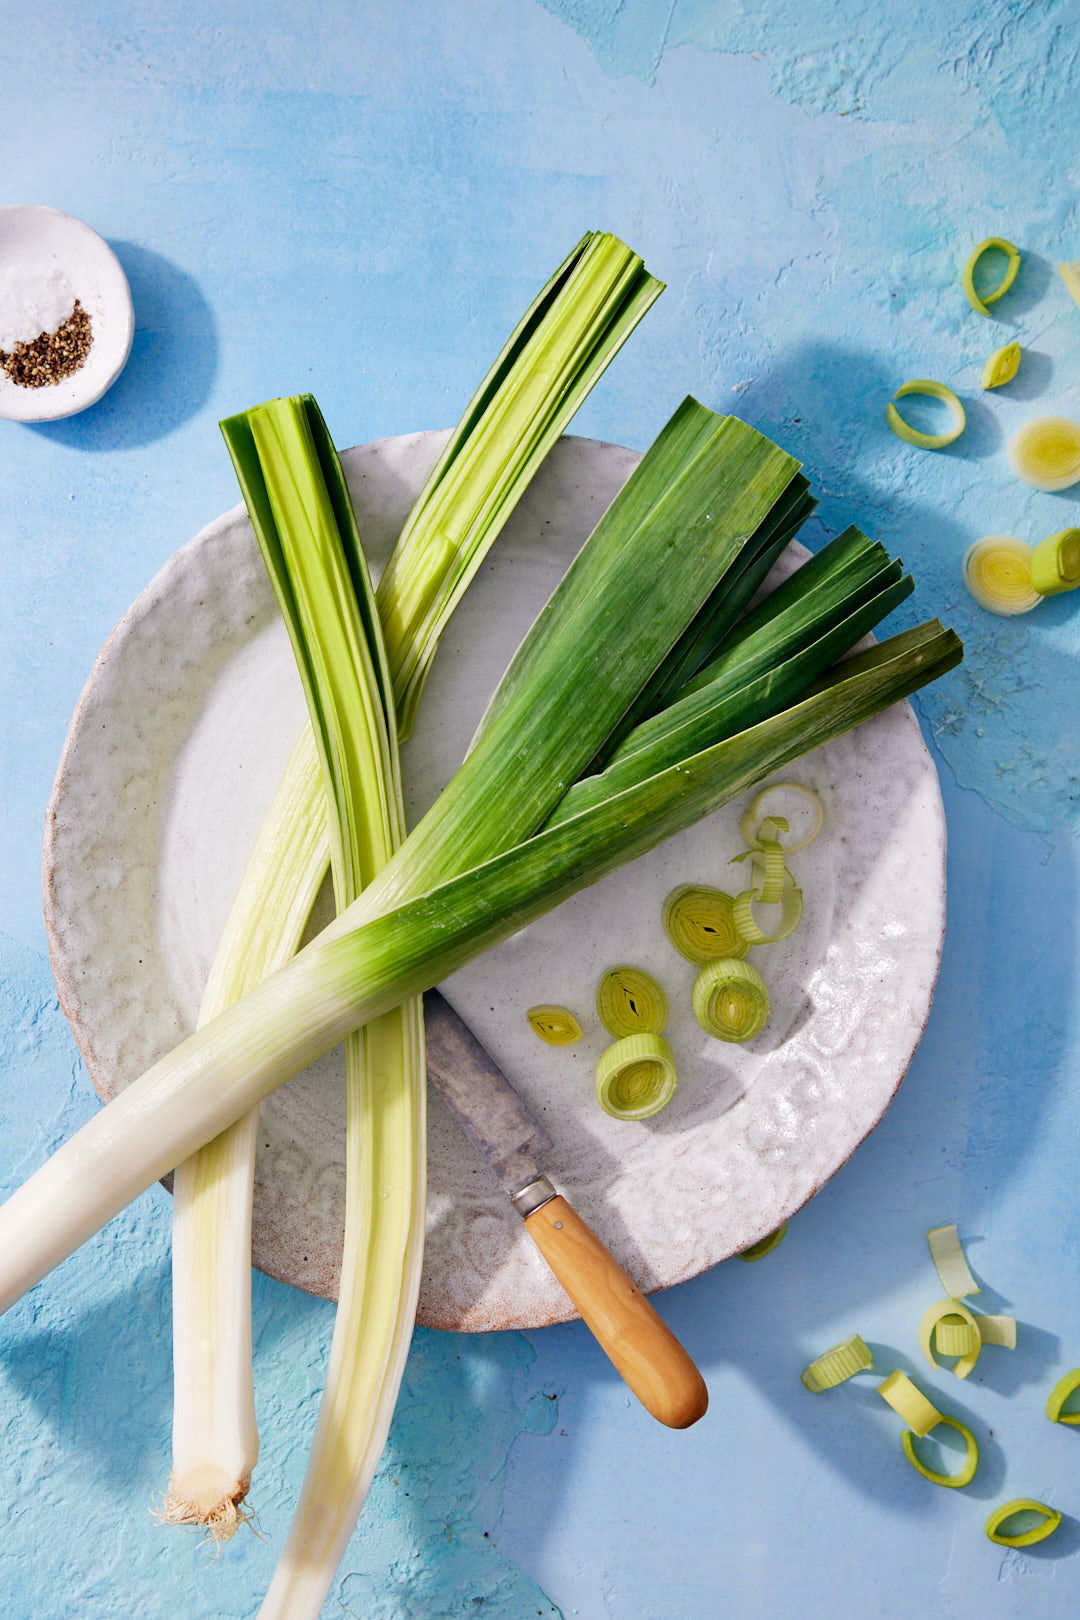
I love the flavour of leeks. Part of the onion family, leeks have a mildly sweet flavour but much less intense than onions. They add a depth of flavour to so many savoury recipes.
How to clean and slice leeks: Leeks can be quite sandy, so the best way to clean them is to cut them in half lengthwise. Trim off the roots and dark green leaves. The dark green leaves are too tough to use for sautéing, but they are perfect for adding to homemade chicken or vegetable stock, I put them in a zip-loc bag in the freezer and save them for the next time I make stock. Arrange the light-green/white part of the leeks cut-side down on the cutting board and slice them into thin half moons. Fill a large bowl with cold water and place the sliced leeks in the water. Swish them around and let sit for a few minutes. Scoop the leeks out of the water, leaving the sandy water behind.
Here’s how this Springtime Green Quiche comes together. Watch!
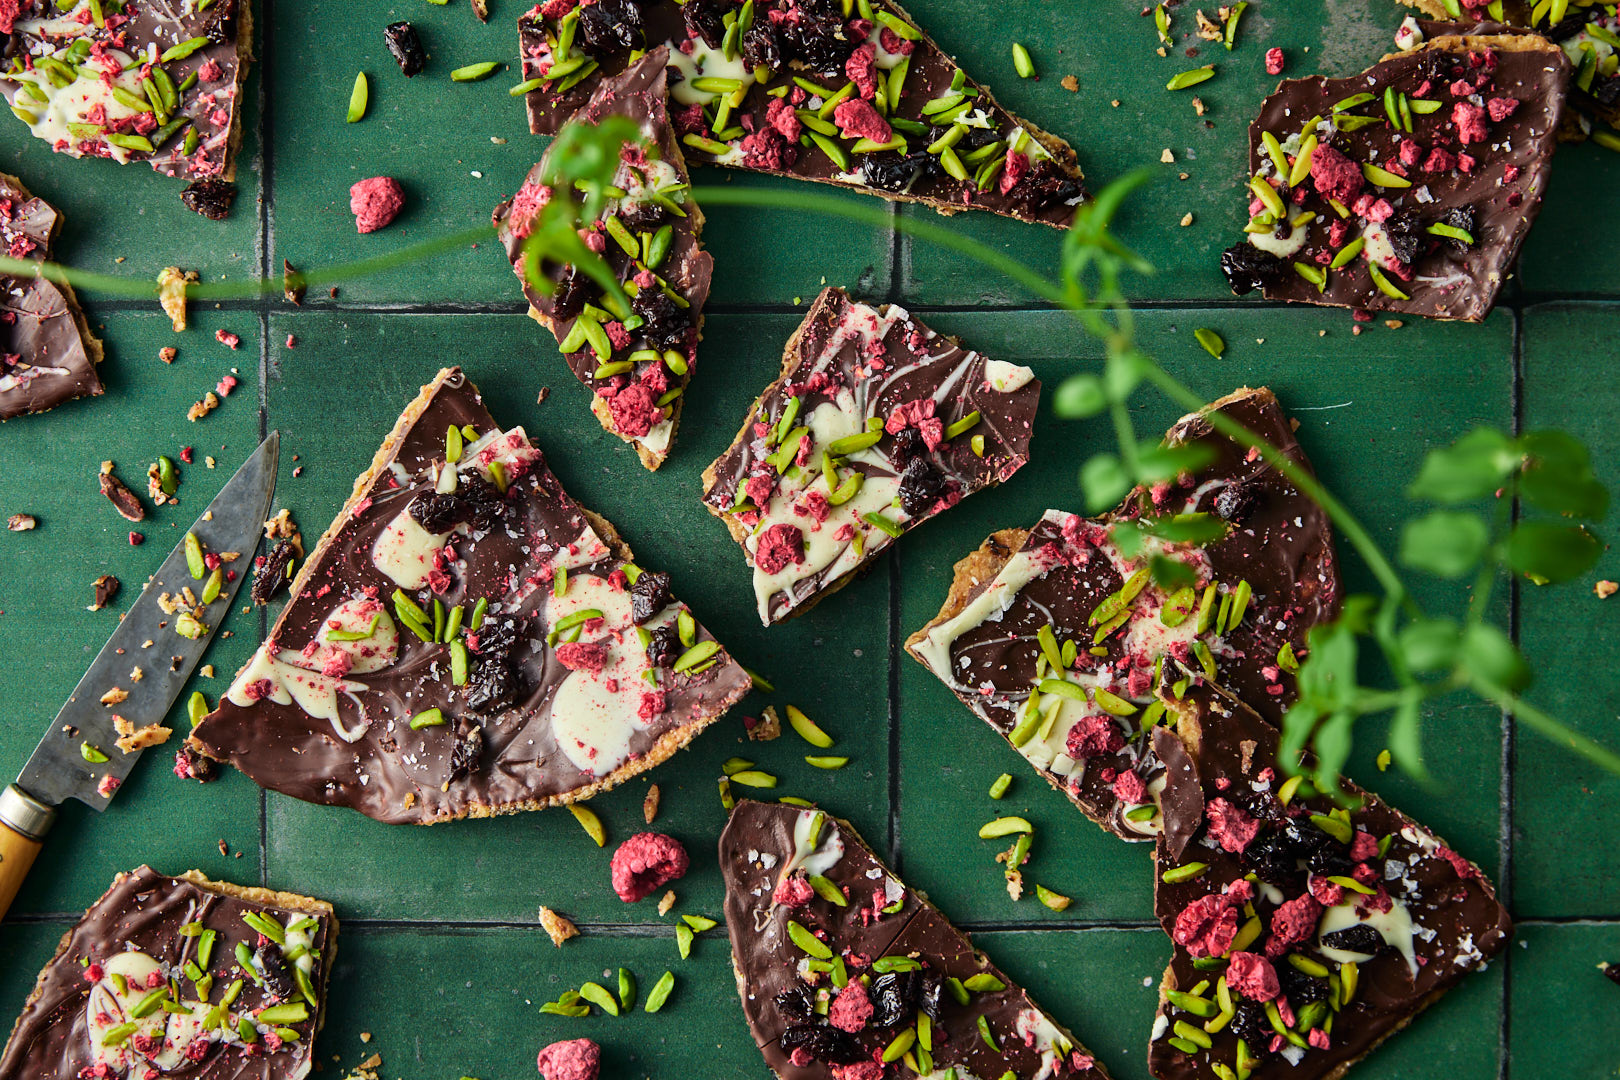
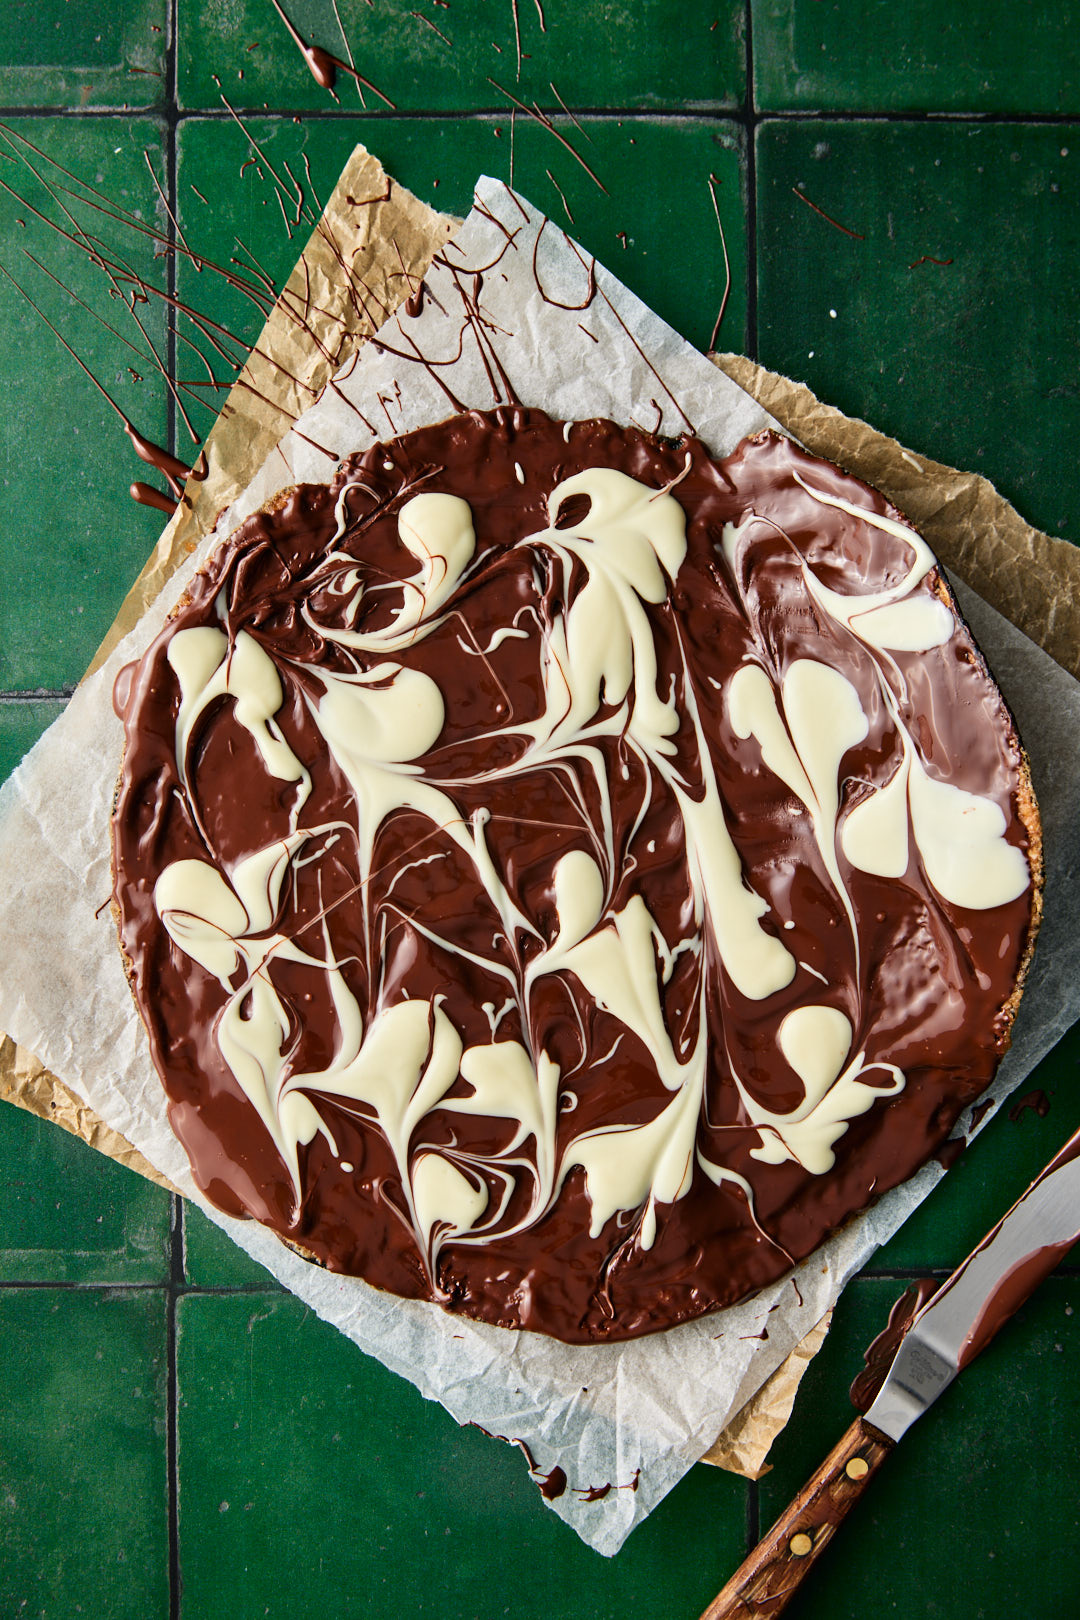
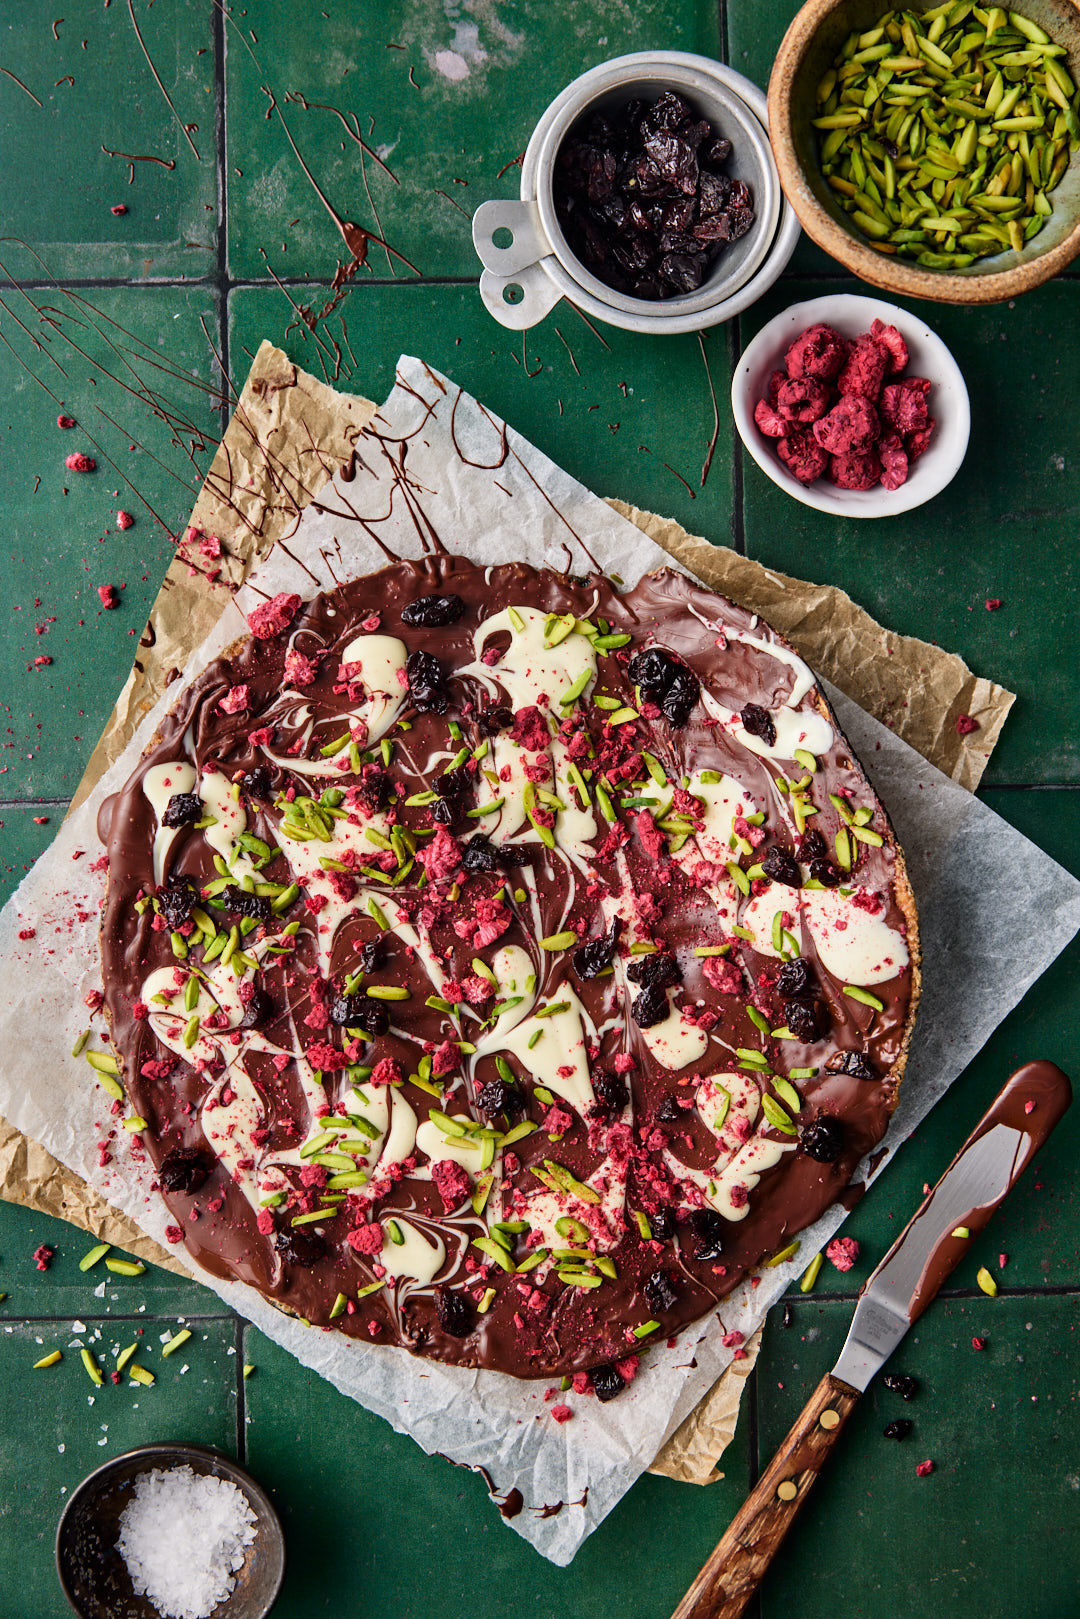
Yes, the pastry is really a vibrant green before it hits the heat of the oven, but it does get quite muted with baking.
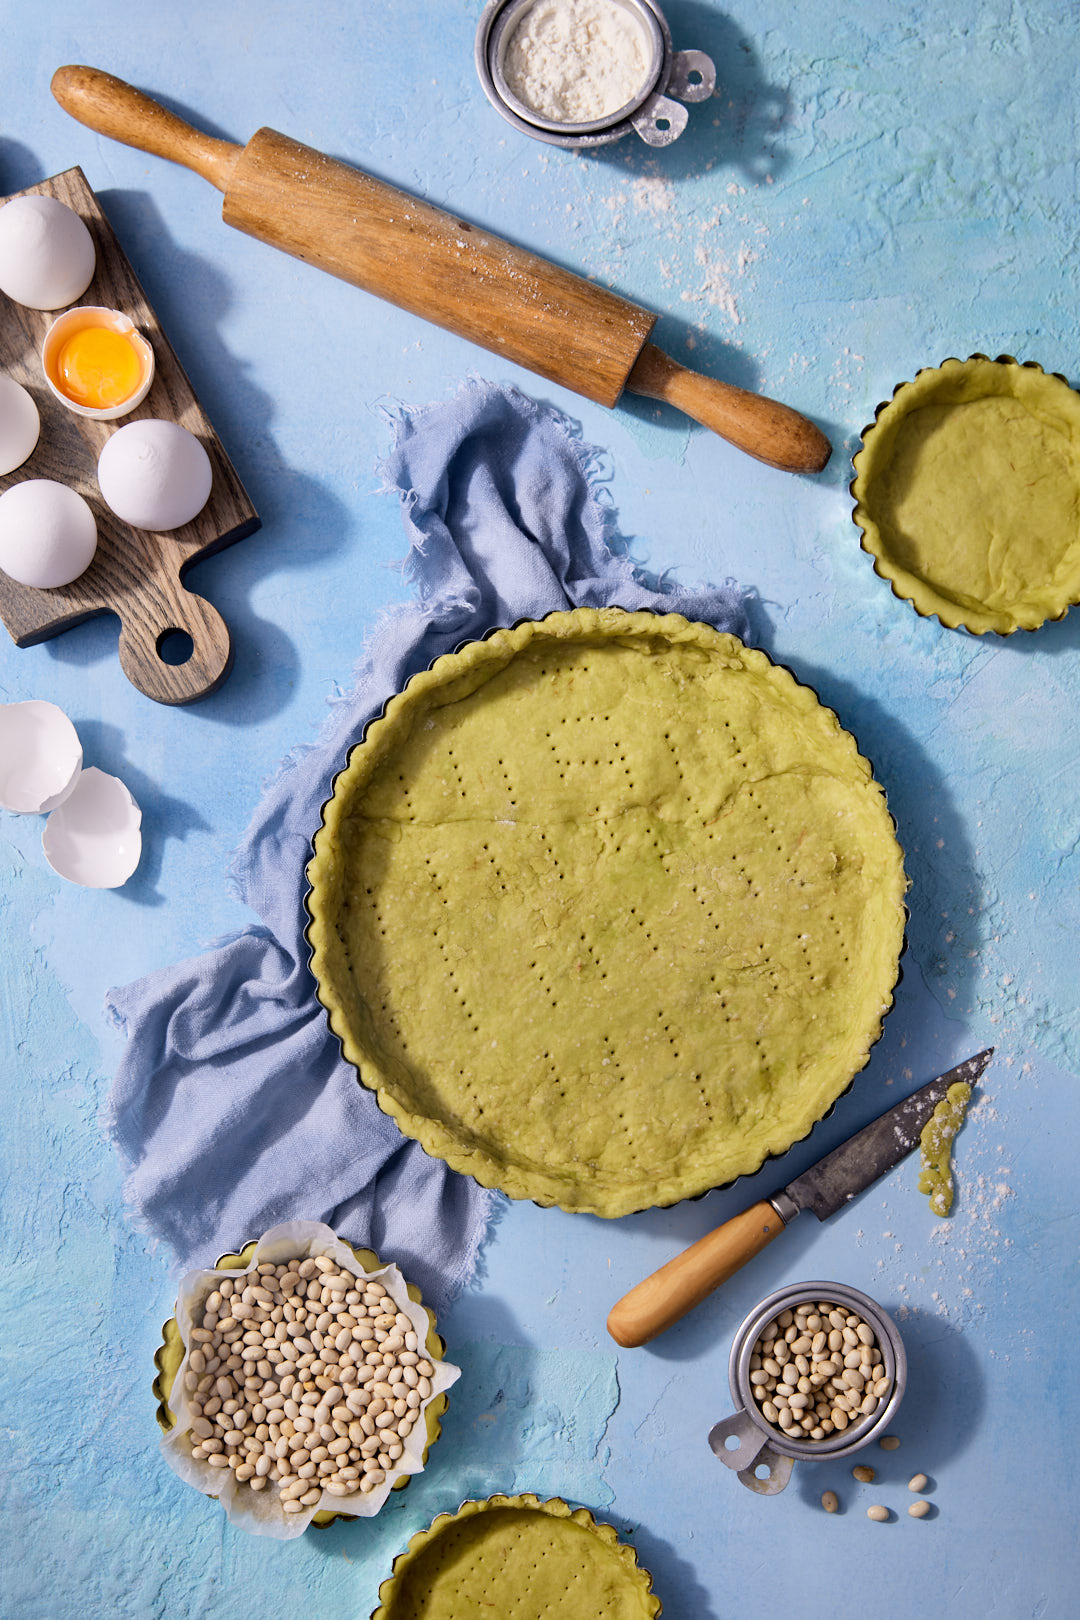
The pastry rolled out beautifully, but to be honest, it tasted bland. Avocado, without any salt, lime juice or jalapeño, doesn’t have much flavour. I think that if you’re going to indulge in something decadent, like quiche, with eggs, cheese and cream, you should just go all out and use butter in the dough.
But the Libra in me feels compelled to make a counter argument. Changes to healthier eating are best taken in small steps. Announcing that you plan to cut all animal fats from your diet is unlikely to be sustainable for most of us. But looking for these micro moments, where we can make small changes gradually, eventually add up. If you’re looking to incorporate more plant based fats into your diet, this avocado pastry would be just fine. I’m going to give you two dough options in the recipe. Choose your own adventure. If you try the avocado dough, please let me know, in the comments, what you think!
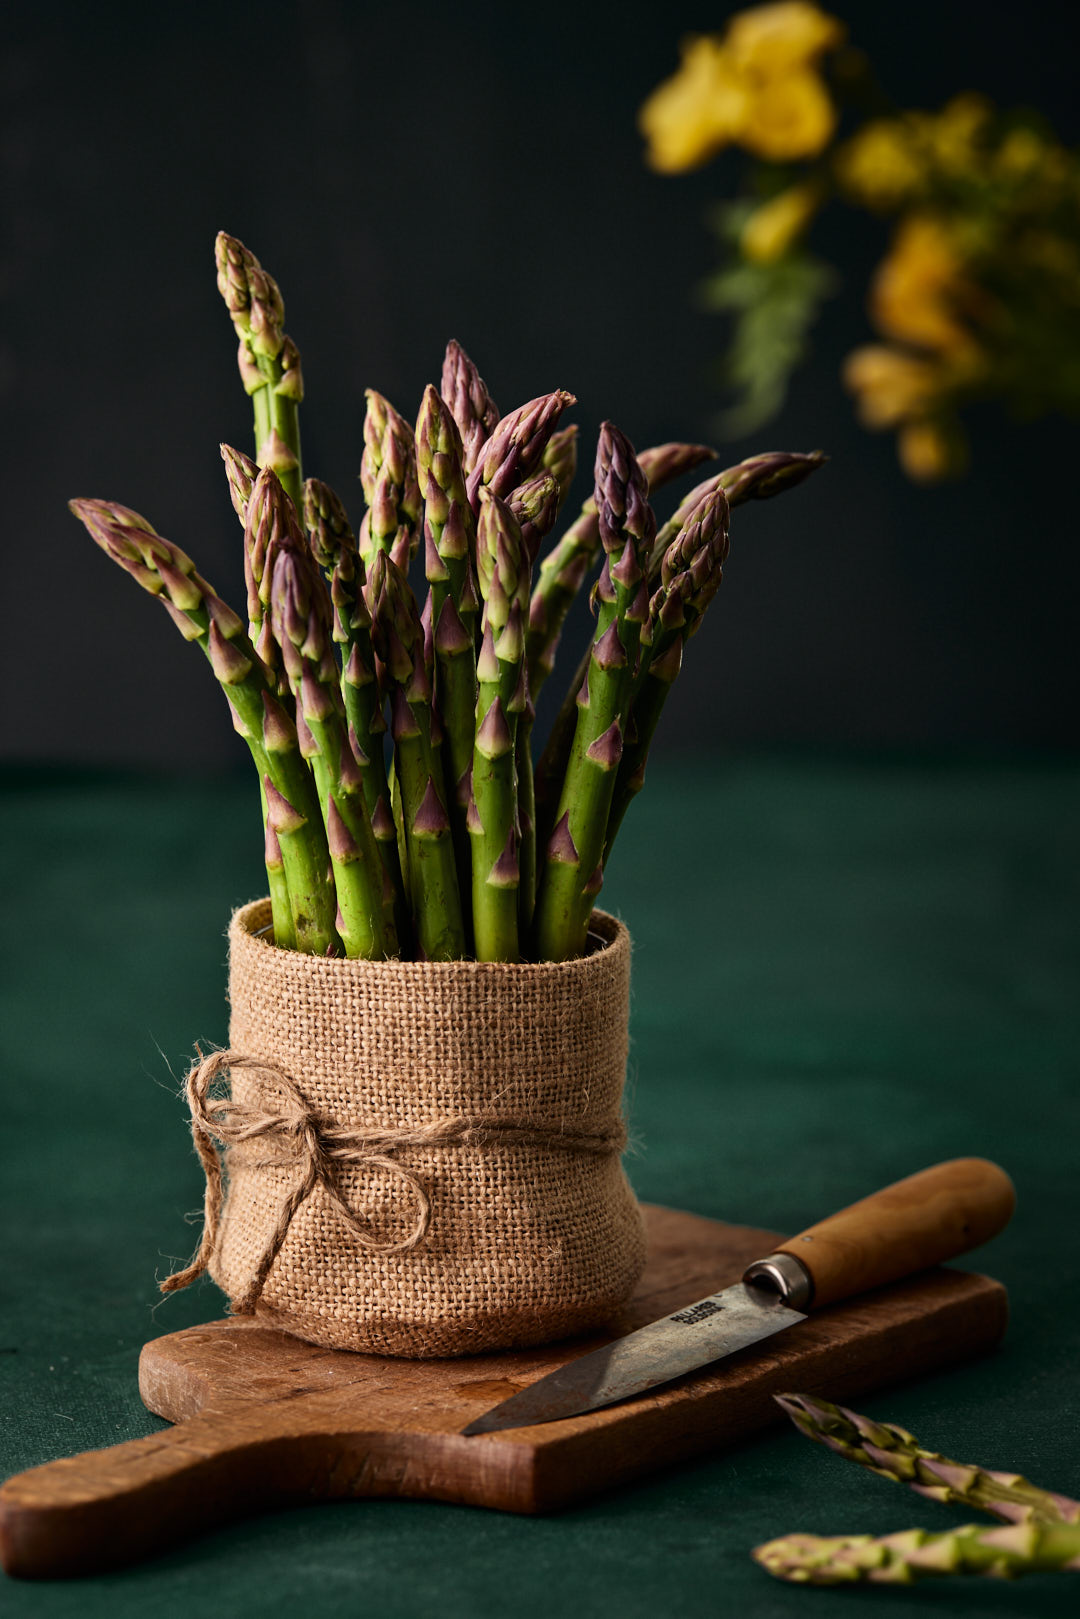
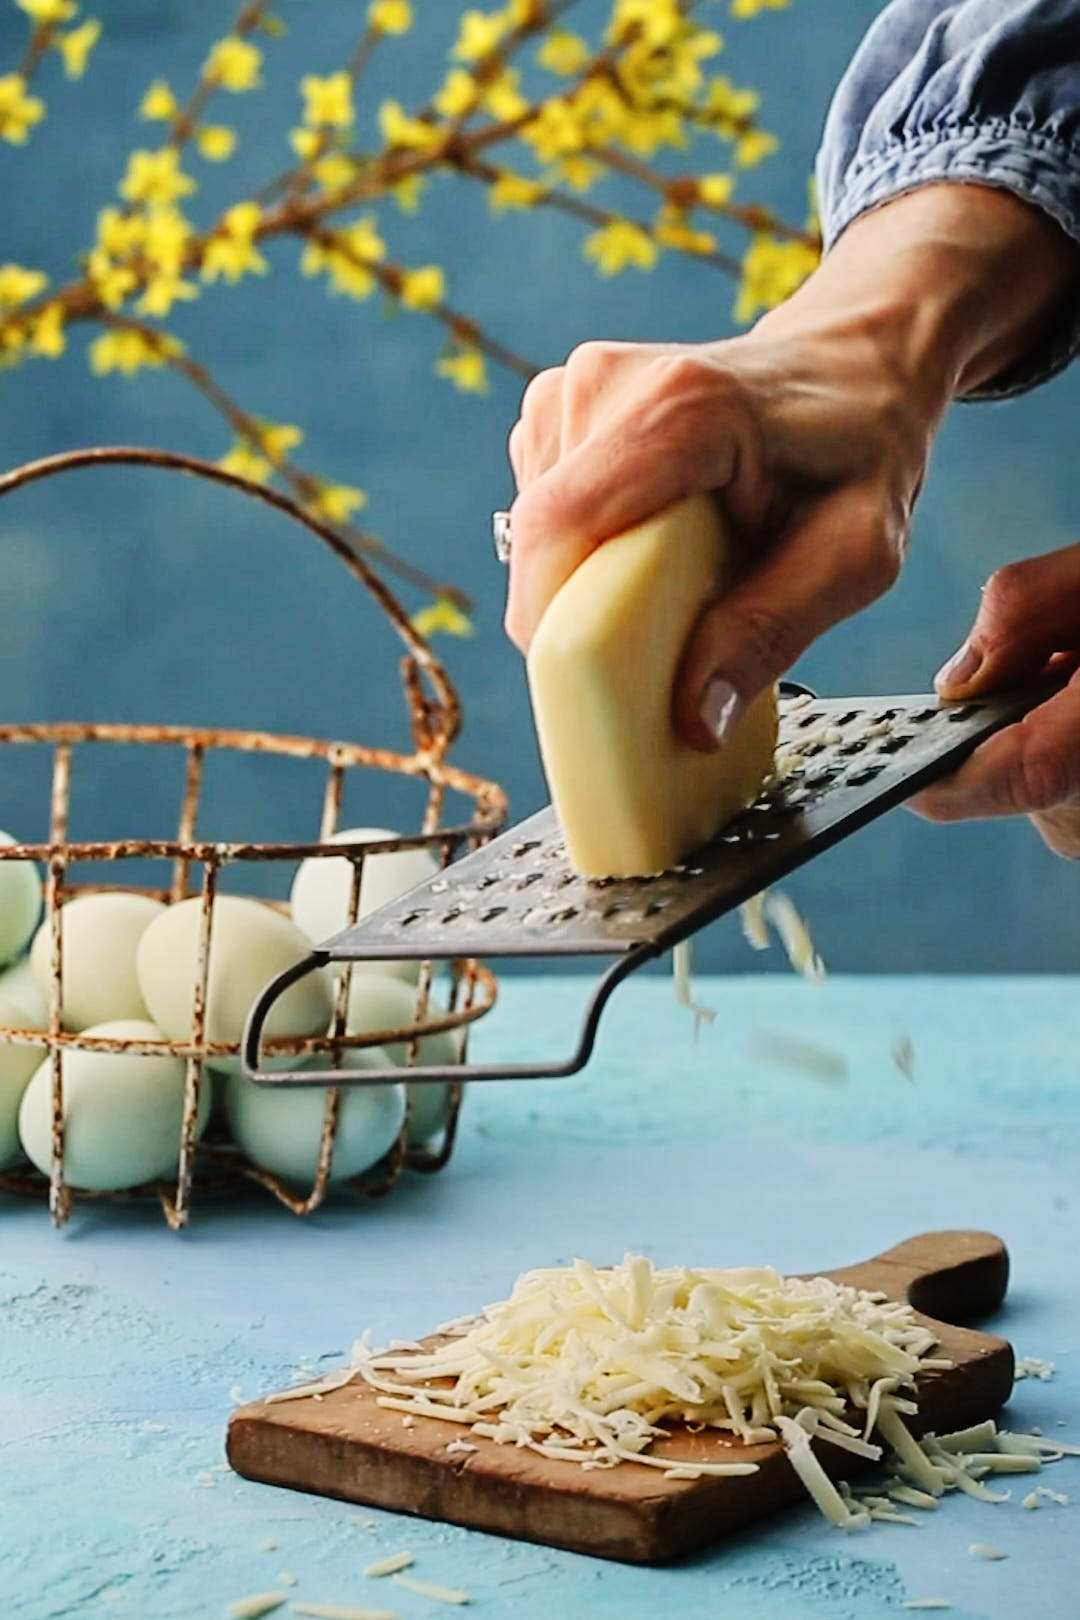
I love the flavour of gruyere cheese in quiche, but feel free to substitute fontina or Monterey Jack or another good melting cheese. The asparagus on top makes for a beautiful presentation.

Click here to print recipe for Springtime Green Quiche.