When a recipe appears in your social media feed three times in the same week, all from different sources, it’s a sign from the universe that it must be made. This halloumi and fig salad is the creation of cookbook author Yasmin Khan from her book, Ripe Figs: Recipes and Stories from Turkey, Greece, and Cyprus.
If you’ve never had Halloumi cheese before you must seek it out. It’s a traditional cheese from Cyprus, an island in the Mediterranean Sea. Ususally made from a mixture of goat and sheep milk, Halloumi can be fried until brown without melting due to its higher-than-normal melting point. The resistance to melting comes from the fresh curd being heated before being shaped and placed in brine. When sliced and fried in a bit of olive oil, Halloumi is a wonderful treat. It goes all crispy on the outside and soft and slightly chewy on the inside. It makes a great squeak when you chew it, sort of like fresh cheese curds.
In this salad, the Halloumi slices are dipped in egg and then given a cornmeal crust before frying. This is one of the most popular ways to eat Halloumi in Cyprus. Typically it is served with figs and then drizzled with warm honey.
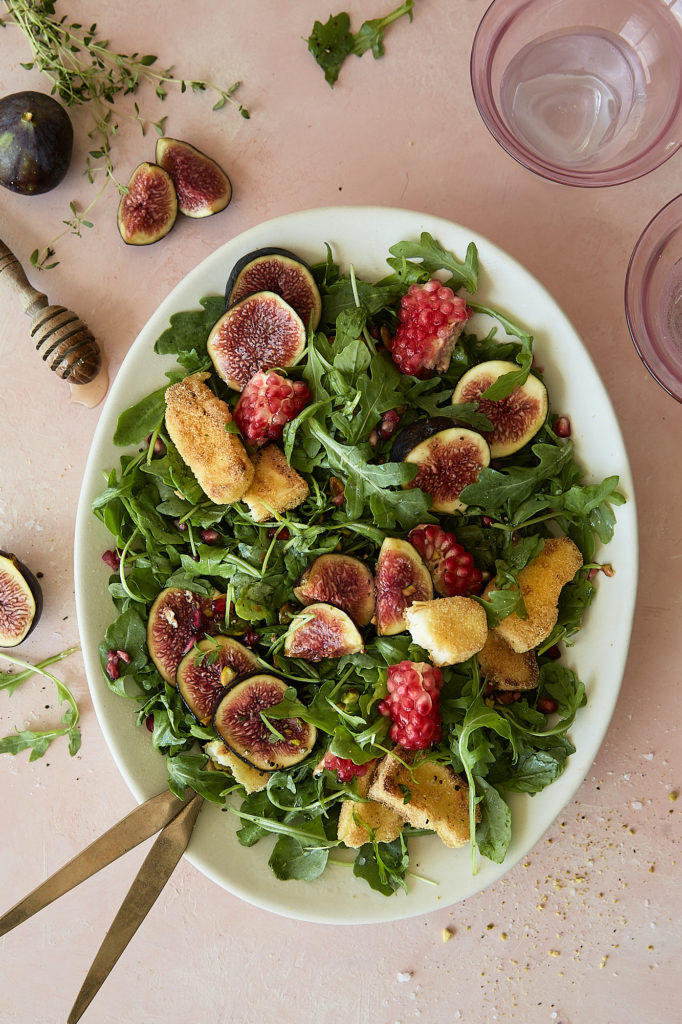
The sweetness of the figs and honey are balanced by the saltiness of the Halloumi and the bitterness of the arugula. The sweet-tart pomegranate seeds pop in your mouth, and are a beautiful contrast to the soft figs. This salad is in perfect harmony.