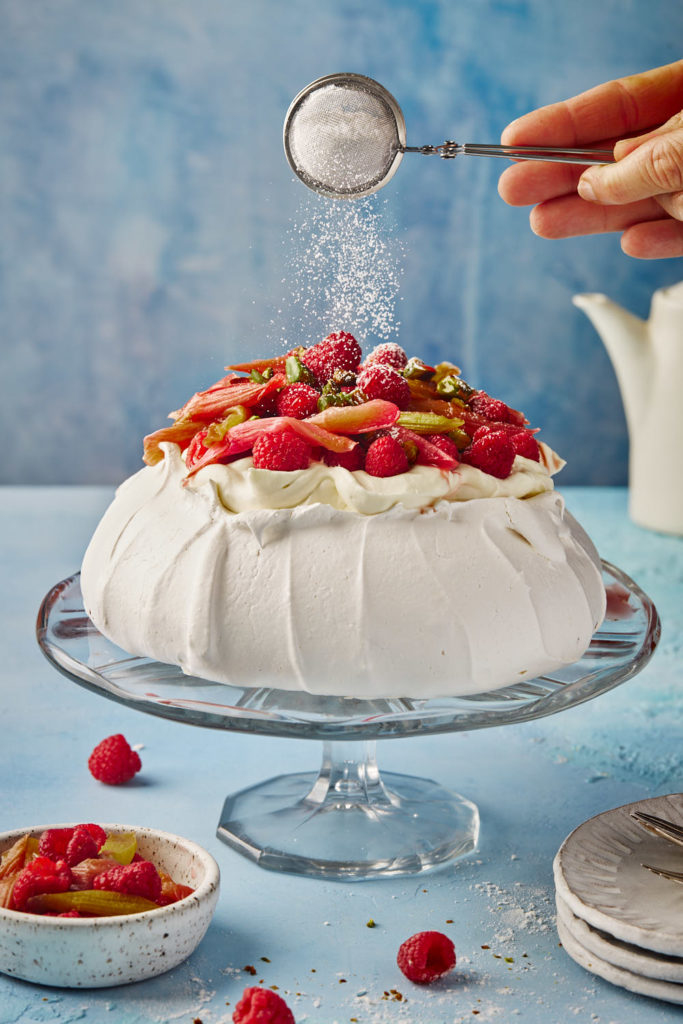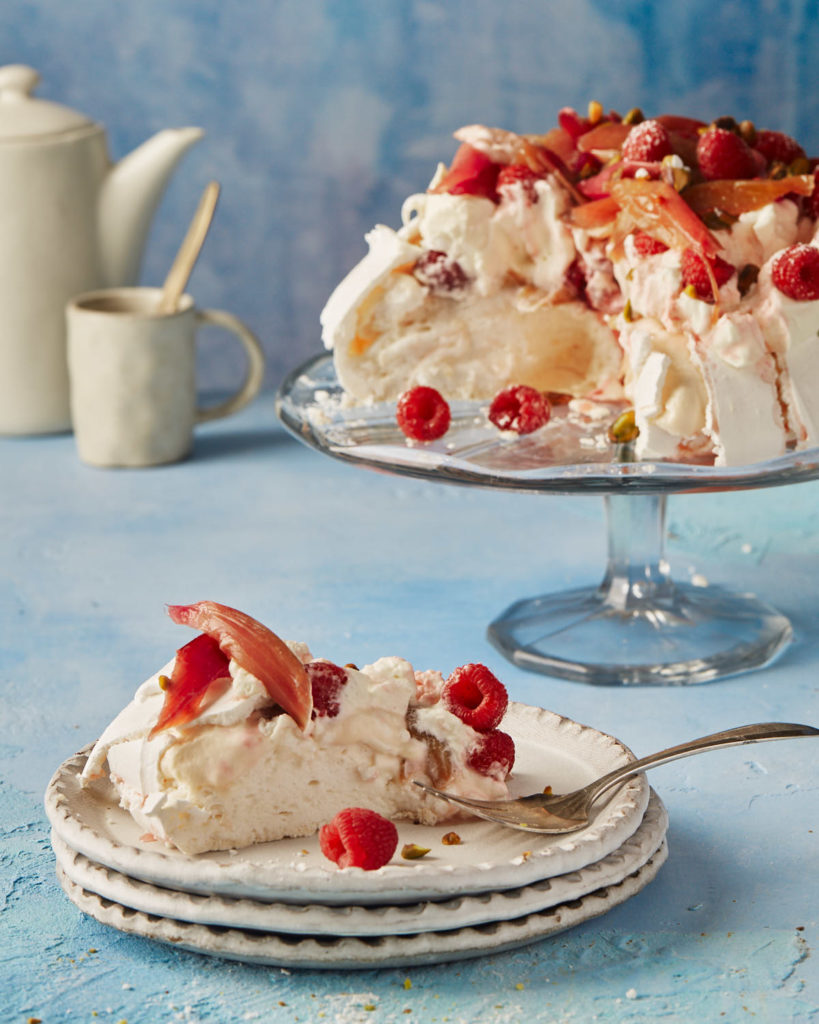
Fairly close to the top of my “To Do” list was an item I have been putting off for quite a while (aside from rescheduling my dental cleaning). I have been wanting to master the skills necessary for baking a beautiful pavlova.
I turned to Zoë François for some advice. Her pavlovas, along with the ones created by Rachel Korinek of @twolovesstudio are ones I I have long emulated.
A pavlova is a meringue based dessert named after famed Russian ballerina Anna Pavlova. She toured Australia and New Zealand in 1926. The creation of this dessert sparked the famous “Pav War.” New Zealand claims that the chef of a Wellington hotel at the time created the dessert in her honour, apparently inspired by her bell shaped tutu. Australians, on the other hand, claim that the pavlova was invented at a hotel in Perth, and named after the ballerina because the meringue was “as light as Pavlova.”
The meringue base is typically topped with whipped cream and then some type of fruit. Baking the meringue is a bit tricky and requires paying attention to the small details. I baked quite a few last month and here is what I learned.
- Make sure the bowl of your stand mixer is absolutely clean and free of any grease. Fat is the enemy of meringue.
- Cold eggs are easier to separate than room temperature eggs as the yolks are firmer when cold and less likely to break. Let cold egg whites sit for at least 30 minutes before beating. Room temperature egg whites will produce greater volume.
- Use superfine sugar to make the meringue. It dissolves much faster than regular sugar and will give you a smoother meringue. Any undissolved sugar leads to a gritty and/or weeping meringue. I learned that the hard way! If you can’t find any at the supermarket, just place regular granulated sugar in the food processor and process it for about 45 seconds.
- Know your peaks. When it comes to gauging doneness of beaten egg whites, you need to understand the stages of doneness. Soft peaks will flop over. Medium peaks will stand up but not completely straight. Stiff peaks stand straight upright.
- Beat the meringue on low and steady speed. (speed 2 or 4 on my KitchenAid mixer) A slower speed results in a more stable meringue. Once all the sugar is added you can increase the speed to high.
- Be patient when adding the sugar to the egg whites. Slowly spoon in the sugar while whisking the egg whites. It should take about 5 minutes to add the sugar. Adding the sugar slowly allows it to dissolve. Adding it too quickly will deflate all the air bubbles you are working so hard to achieve.
I find meringue to be very sweet, so I decided to add a tart rhubarb curd to the filling to counterbalance all the sugar. I also paired tart rhubarb with fresh raspberries for an added hit of tartness. The rhubarb is roasted in the oven. The curd and the roasted rhubarb can be made a day in advance. Assemble pavlova the day you plan to serve it.
Here’s a video showing how the assembly comes together. Your meringue will likely crack in the oven. As Zoe says, “that’s the nature of the beast.” Cracks notwithstanding, it will still taste delicious. You will need to carefully remove the top layer of baked meringue to allow you to fill the pavlova with curd, fruit and whipped cream. The outer shell is firm, but inside you will discover a softer marshmallowy layer.


Pingback: The Ultimate Strawberry Rhubarb Galette with Rye Crust - Salt and Serenity