This morning I had the opportunity to bike the countryside of the Emerald Isle (Ireland). The lush pastoral landscape offered endless hills in 40 shades of green. The climbs were steep, with very little opportunity for cruising. My heart rate went into the red-line zone (gasping for air and unable to speak a coherent word) and I was dripping in sweat.
Sadly, this was just a virtual tour of the Irish countryside. Our instructor at today’s spin class, the very funny Roger, has quite the active imagination. He took us for a ride in the stunning Irish countryside and promised us that if we pedaled hard, there would be a pub at the end of the ride with a cold pint waiting as our reward. About halfway through the ride Roger sang out, “put your arms up in the air”. I raised both arms and gave him fist pumps. My husband and daughter looked the other way and pretended they did not know me. Apparently instructors always yell out these instructions, but no one ever follows them. Oops!
Roger kept talking about a bonus track. I had no clue what he was referring to until 45 minutes into the class, when we normally begin the cool down, he told us to ratchet up the tension on our bikes for one final hill. This was a special 60 minute class. Lucky me! I survived. Sadly there was no pub at the end of the ride. Just the dregs of my now lukewarm water bottle.
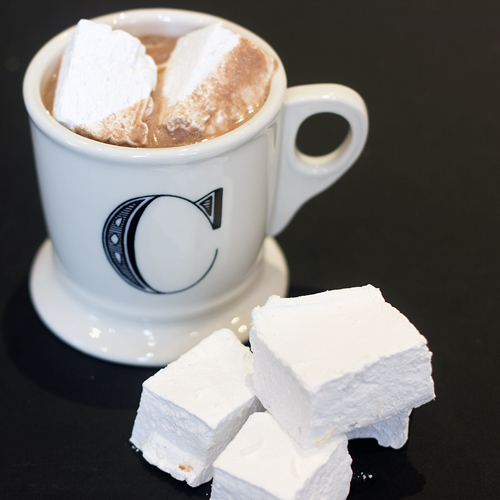
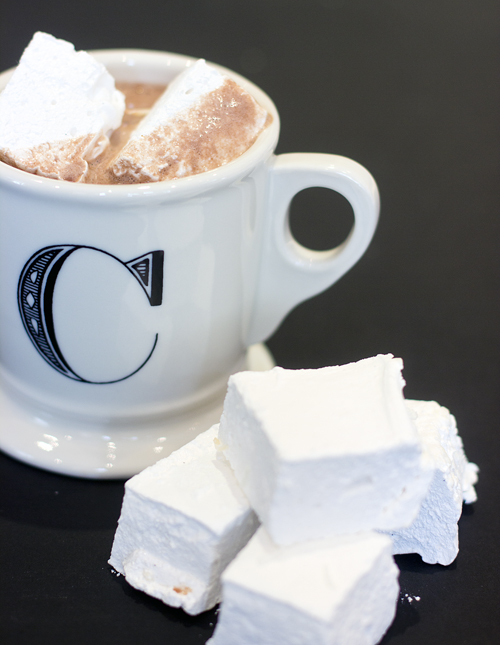
Annoyed that I didn’t get my visit to the pub, I decided that I deserved a treat when I got home. Hot chocolate and marshmallows seemed like the perfect way to cap off my morning.
To be honest, growing up, I was never really a marshmallow fan. At overnight camp I would stick my marshmallow into the camp fire and set it on fire. I would remove it, blow it out and eat the carcinogenic burned crispy part and throw the fluffy inside away. I never did have the patience for toasting them golden brown. Yet another quality I admire in my husband. He will wait until the fire has burned down to low embers and hold his marshmallow just at the right height to obtain that perfect burnished bronzed colour.
I only recently began a love affair with marshmallows several years ago, after a lunch at Jean Georges in New York City. The meal was delicious but my favourite memory of that lunch was the Bon Bon trolley that they wheeled to our table at the end of our lunch. As the waiter approached our table with the trolley he opened a huge glass jar filled with handmade pink marshmallows and lifted one out with tongs. Then he proceeded to cut each one in half with very fancy silver scissors. I inquired whether marshmallow cutting was a position you had to be promoted to. He responded that it was an entry-level job. I am still thinking about applying! Just in case you are wondering, the Bon Bon trolley also held cotton candy, salted caramels and assorted chocolates. It was a pretty special day for me! Ever since that day I have wanted to try my hand at making my own marshmallows.
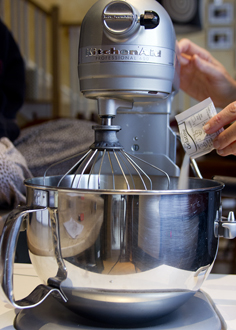
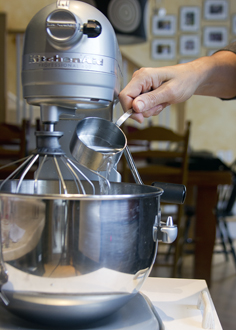
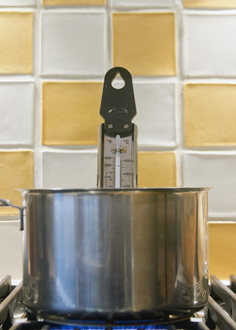
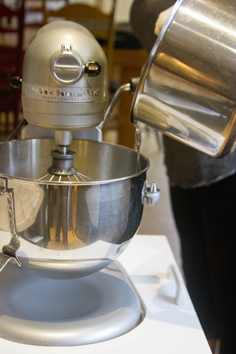
I knew that making marshmallows requires precision and a candy thermometer. I turned to my favourite culinary scientist for the how to, Alton Brown. Gelatin and ice-cold water are placed in the bowl of the stand mixer. Then sugar, water, corn syrup and salt are placed in a heavy bottom pot and brought up to 240° F. The mixture should then be allowed to cool to 210° F and then poured into the stand mixer bowl while it is mixing on low-speed.
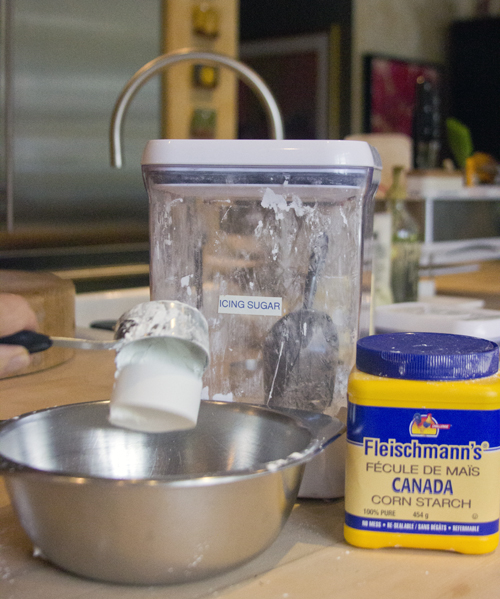
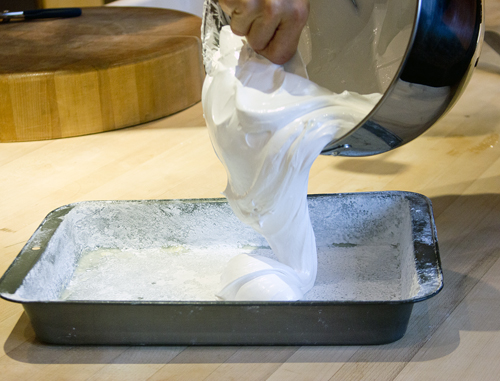
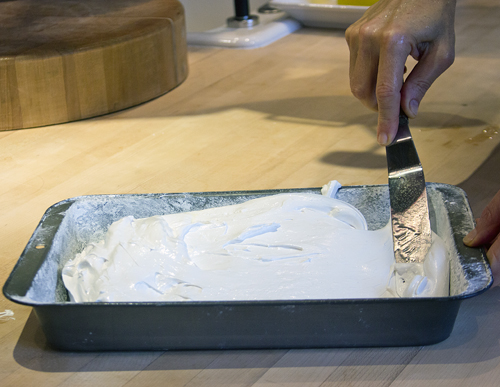
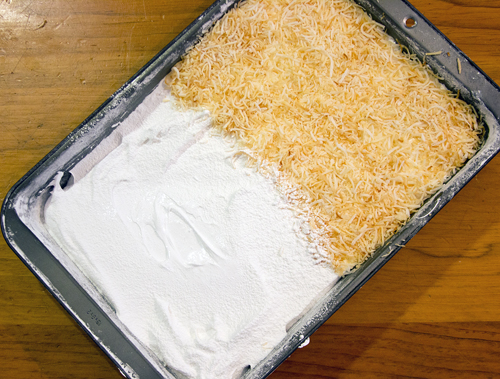
Then you turn the machine up to high-speed and mix for 12-15 minutes until the mixture cools to lukewarm. In the last minute of mixing you can add any flavourings you like. I added some vanilla bean paste. While it is mixing, prepare a 9 x 13 inch pan by spraying it with Pam and then coating it with a mixture of cornstarch and icing sugar. Then tip the goo into the pan and spread it out with an oiled spatula. This is a very gooey mixture. Dust the top with more cornstarch and icing sugar and put it aside to set for at least 4 hours or overnight. Resist the urge to lay your head down on this pillowy softness. It will not end well.
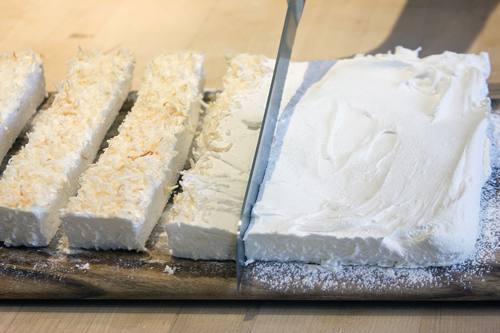
I topped half of my mixture with some toasted coconut.
A serrated knife does an excellent job cutting the marshmallows, once they have set up. You will have to wash the knife off fairly often while cutting.
Now, onto the hot chocolate:
When my kids were little the only way I could get them to go outside to play in the winter was to bribe them with hot chocolate when they came back in.
They would indulge me and play for about 20 minutes and then come inside on the pretext of having to go to the bathroom. After helping them struggle out of their snowsuits we were all sweating and no one was anxious for the dance that required getting back into all those layers. And then it was time for hot chocolate.
I will admit that I resorted to a packaged hot chocolate mix. Truthfully, the kids didn’t even like the hot chocolate either. It was really all about the marshmallows. They would scarf down the marshmallows I let them heap in the hot chocolate and I would end up pouring the hot chocolate down the drain.
At the time, it never occurred to me that you could make your own hot chocolate mix. But you can, and it’s spectacular! This recipe, from the folks at Cook’s Illustrated, makes enough powdered mix for about 20 cups of hot chocolate. It can be stored in the cupboard for about three months, so when the craving for a cup hits you, simply stir 1/3 cup of the mix into some hot milk!
The uniqueness of this mix is that it contains two kinds of chocolate. The first, of course, is cocoa powder. There are two types of cocoa powder, natural and dutched, (also known as Dutch processed). For this recipe you want to seek out the Dutch processed kind. Camino makes an excellent dutched process cocoa powder that is available in the organic section of the supermarket.
Dutched cocoa powder has gone through an alkalizing process, which gives it a darker color and makes it less acidic. The result is a richer, more intense chocolate flavor and a nice deep chocolate color. You will sometimes see Dutched cocoa powder called for in recipes for beverages or desserts that aren’t baked since the flavor is less bitter than regular cocoa powder.
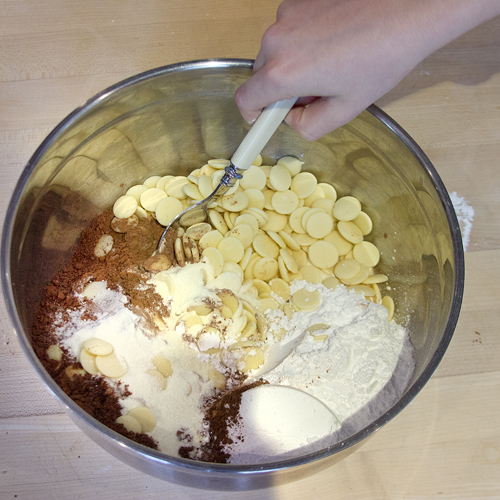
The mix also contains white chocolate, which gives the final drink a soft creamy texture.
The final ingredients in the mix include skim milk powder, which adds a sweet dairy flavour, confectioners’ sugar, which dissolves more easily than regular granulated sugar and cornstarch, which is added to the powdered sugar to help thicken the cocoa. All the ingredients get pulverized in the food processor.

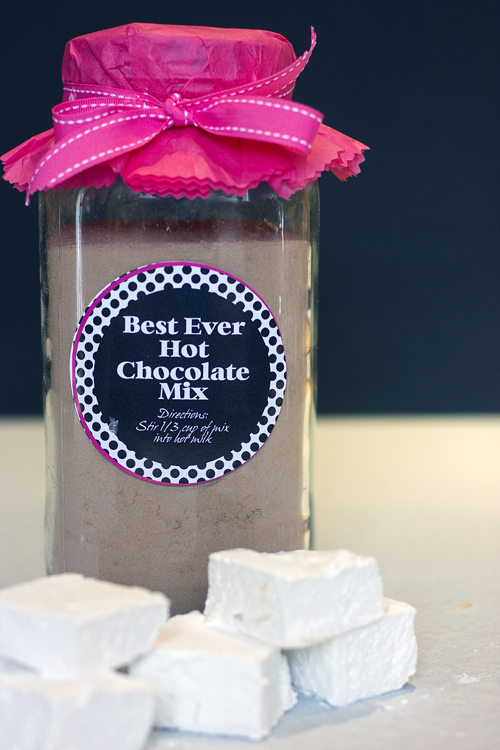
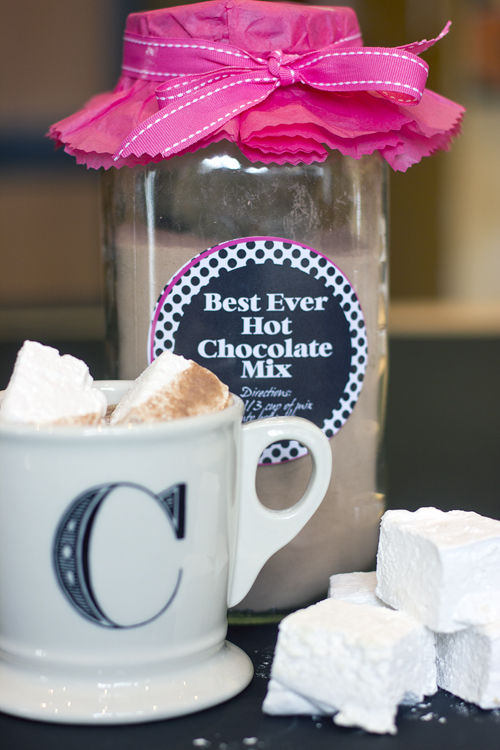
I was just thinking about making marshmallows since it is quite cold here in Boulder. I could go for a cup about now.
Ah! Another one! I keep forwarding these on to my daughter to print for me. This would of been a wonderful recipe for BEFORE Christmas!! What a nice gift to make! Well, at least I know what I’ll be giving next year with my ‘old’ woven looped pot holders. 🙂
Beautiful ideas and photography 🙂
Home made hot chocolate!!!!
It sounds delightful. Thank yo ufor sharing!
Thank. You so much for this article. I guess he’s kinds of marshmallows are overkill for camp-outs and s’mores. Just kidding it very informative article and thank you for commenting on my blog http://KevinIMills.com
Yummmm. Looks good. All of it. Great pics and words.
Oh, my word. The marshmallows at the top look like square snow. Such beautiful, lucid photos.
I want to try it now 🙂