I was surprised to learn that Austria was the center of the bread universe hundreds of years ago. These days French and Italian breads hog all the glory, but in fact, these wonderful artisan breads came to France and Italy courtesy of the Austrian-Hungarian empire. It was there that the technique of adding steam to the ovens was developed. The French have taken this method and developed, arguably, some of the best breads in the world, but it is the Austrians, specifically, Vienna bakers that we have to thank for this idea.
So this week, in the Bread Baker’s Apprentice Challenge, we pay tribute to Vienna Bread. What makes Vienna bread different from French or Italian breads is the enrichment of the dough. A little sugar and malt powder are added to help brown the bread and some butter and an egg to help tenderize the loaf. I decided to make little pistoles (hoagie shaped buns) with my dough.
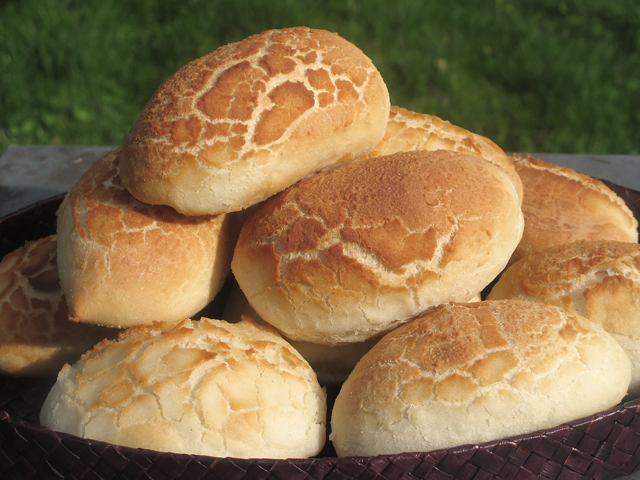
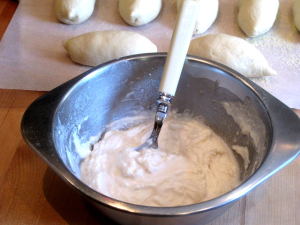
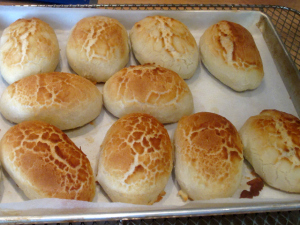
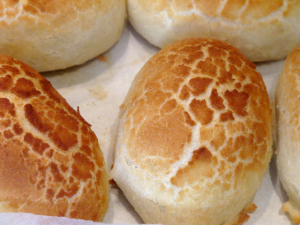
I also decided to treat the buns to a little Dutch Crunch topping. Made popular in Eastern Europe by Dutch bakers, this topping is a paste made of rice flour, bread flour, instant yeast, sugar, salt, vegetable oil and water. You brush it on the dough before baking and the paste dries and cracks during baking, giving the surface of the bread a mottled appearance and a crunchy texture. Ever since I read fellow BBA Challenger Phyl’s post of his Vienna bread, I have been dying to try this topping. It reminds me of my dry scaly dragon skin in the winter. Not a very appetizing comparison, I realize, but kind of cool to look at.
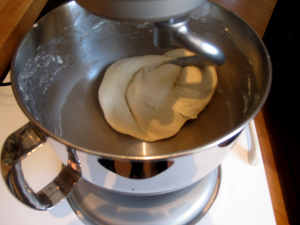
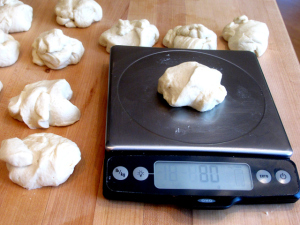
The day before making the dough a pate fermente is prepared. This is a starter, made with flour, water, salt and yeast. Peter Reinhart promises that this pre-ferment adds so much character to the finished bread. On day 2 the dough is mixed up until satiny smooth and supple. It rests for about 2 hours, until doubled in size and then is divided into 12 equal sized pieces.
Each lump of dough is formed into a little round ball. This is so much fun to do!
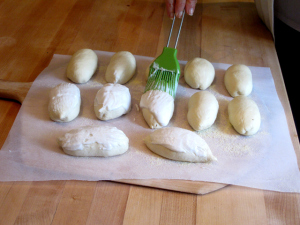
Then after a 20 minute rest, the little balls are formed into pistolets (hoagies).
At this point, the dutch crunch can be mixed up and brushed onto the rolls, or you can wait about 90 minutes until the rolls have proofed and are almost doubled in size and brush just before going into the oven. If you brush them before proofing you get a more dramatic mottling effect. I decided to brush half the rolls before proofing and the other half just before baking so I could compare. The paste reminded me of a papier mache art project.
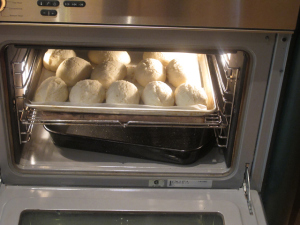
The buns proofed for about an hour and then into the oven, with a steam pan underneath to help enhance the crunchy topping. The buns which were brushed before proofing (at the bottom of the photo) had a much more pronounced mottled appearance. The mottling was much more subtle on the ones where the dutch crunch was brushed on just before baking (top of photo).
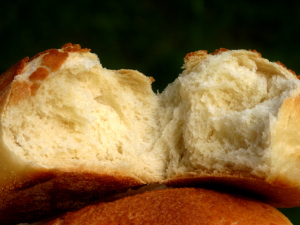
One bite through the brittle crackling topping yielded a soft pillowy interior. These were fantastic. Although I generally like my bread with a bit of chew, the salty/sweet crunchy topping and the fluffy tender inside were addictive.

Beautiful pistoles! I love the way these turned out, especially with the Dutch crunch. Did you eat them plain or make hoagies with them? Either way, I bet they were fantastic.
Did not make hoagies with them. Just ate them with some sweet butter!!
Your videos are fantastic! Thank you for posting them.
These look beautiful too. I think I’ll need to make more recipes out of that book (I’m in the process of making something similar to the middle-class brioche).
Glad you enjoyed them. I feel like I have my own little TV production company right in my kitchen. A tripod for my camera was a great investment!
Oh my word! Beautiful, beautiful pistoles. I wasn’t too too excited about this bread, but I’m glad to see you were. Oh, plus your Dutch Crunch looks great!