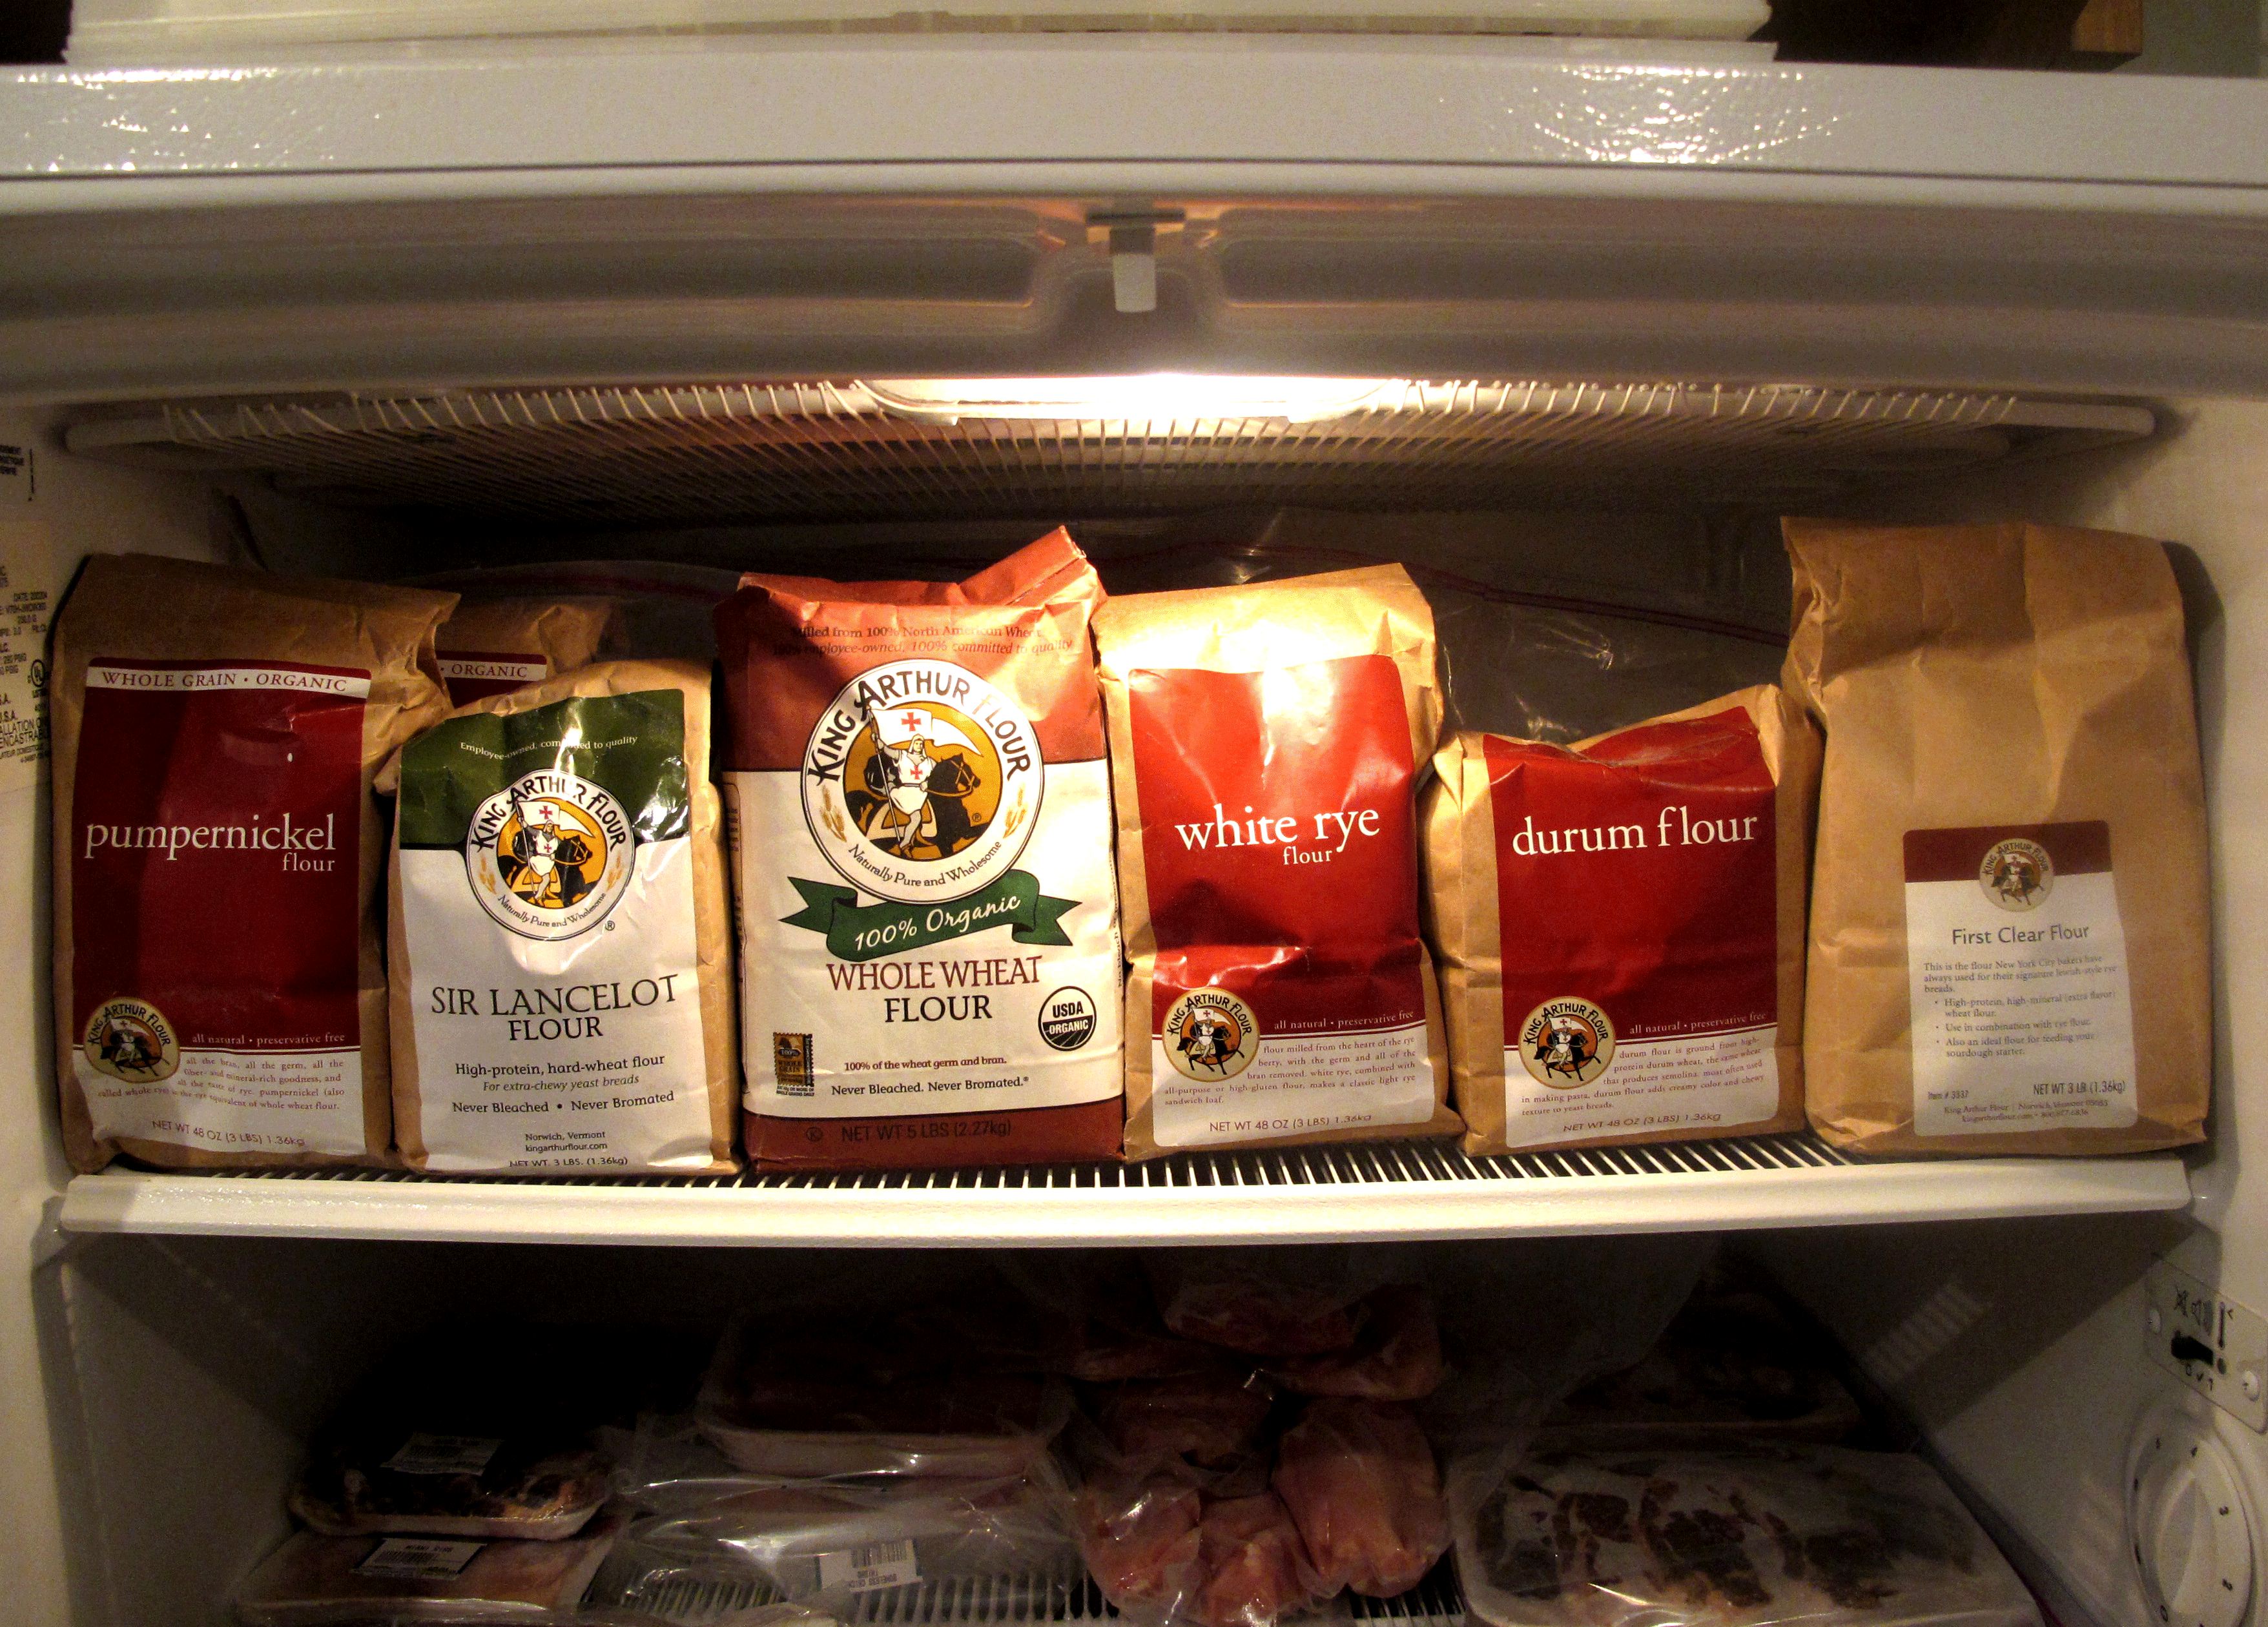
Fancy durham flour!!?? Are you kidding me? As I read through the ingredient list for this 29th bread of the Bread Baker’s Apprentice Challenge, I was stunned to discover that we needed yet another variety of flour to produce the Pugliese Bread. My freezer already looks like an ad for King Arthur Flour.
In my pantry and freezer I currently have all-purpose flour, bread flour, high gluten bread flour, semolina flour, clear flour, white rye flour, pumpernickel flour, whole wheat flour and pastry flour. But with a name like “Fancy “, how could I resist? Of course I caved and bought a bag.
Pugilese bread hails from the Apulia region of Italy. It is similar to Ciabatta bread except that it is usually shaped in a round rather than the slipper shape of the ciabatta. The other distinction is that authentic Pugilese bread uses golden durham flour, which is finely milled and then packaged as Fancy durham flour. And of course, I want my Pugilese breead to be authentic.
The making of this breads begins on day one with the preparation of a starter dough known as a biga. The biga contains flour, yeast and water. It rests on the counter for several hours and then is put in the fridge overnight to help boost flavour. The next morning the biga is removed from the fridge and allowed to come to room temperature. Then the final dough is made. This is quite a wet dough.
I used the Kitchen Aid and mixed for about 6 minutes until the dough was smooth. The dough cleared the sides of the bowl, but still stuck to the bottom. This is exactly what you want.
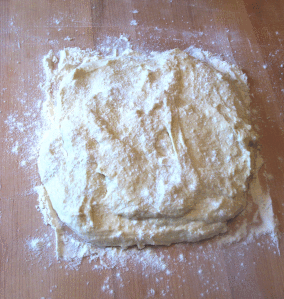
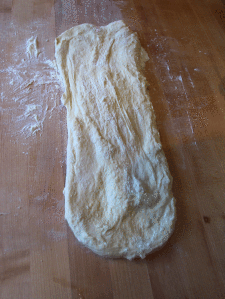
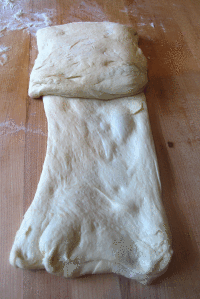
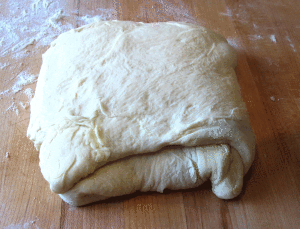
Then the dough is transferred to a heavily floured counter and is stretched and folded 3 times with a 30 minute rest between each session of stretch and fold.
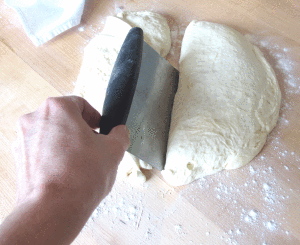
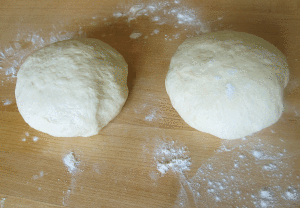
Then the dough is placed in a bowl and covered with plastic wrap and covered for 2 hours. Next, divide the dough in half and form 2 boules.
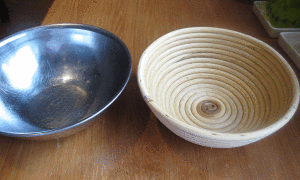
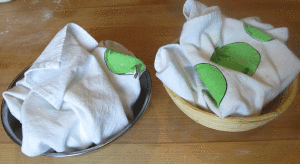
Then the dough is set aside for it’s final rise in proofing bowls. I was quite excited to try out my proofing basket. I found it in my cupboard a few years ago and had no idea what it was for until I started this challenge. I only have one of these so I used a small stainless steel bowl as well.
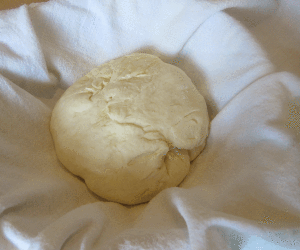
Each bowl is lined with a clean cotton or linen towel which has been slightly sprayed with pam and dusted with flour. The boules of dough go in seam side up and are covered with the towel for their final rise.
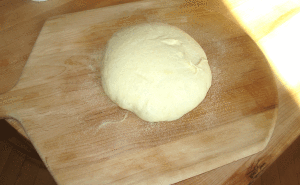
After about 90 minutes, the boules are placed on a baking peel, scored with a sharp knife and transfered to a baking stone in a very hot (500) oven.
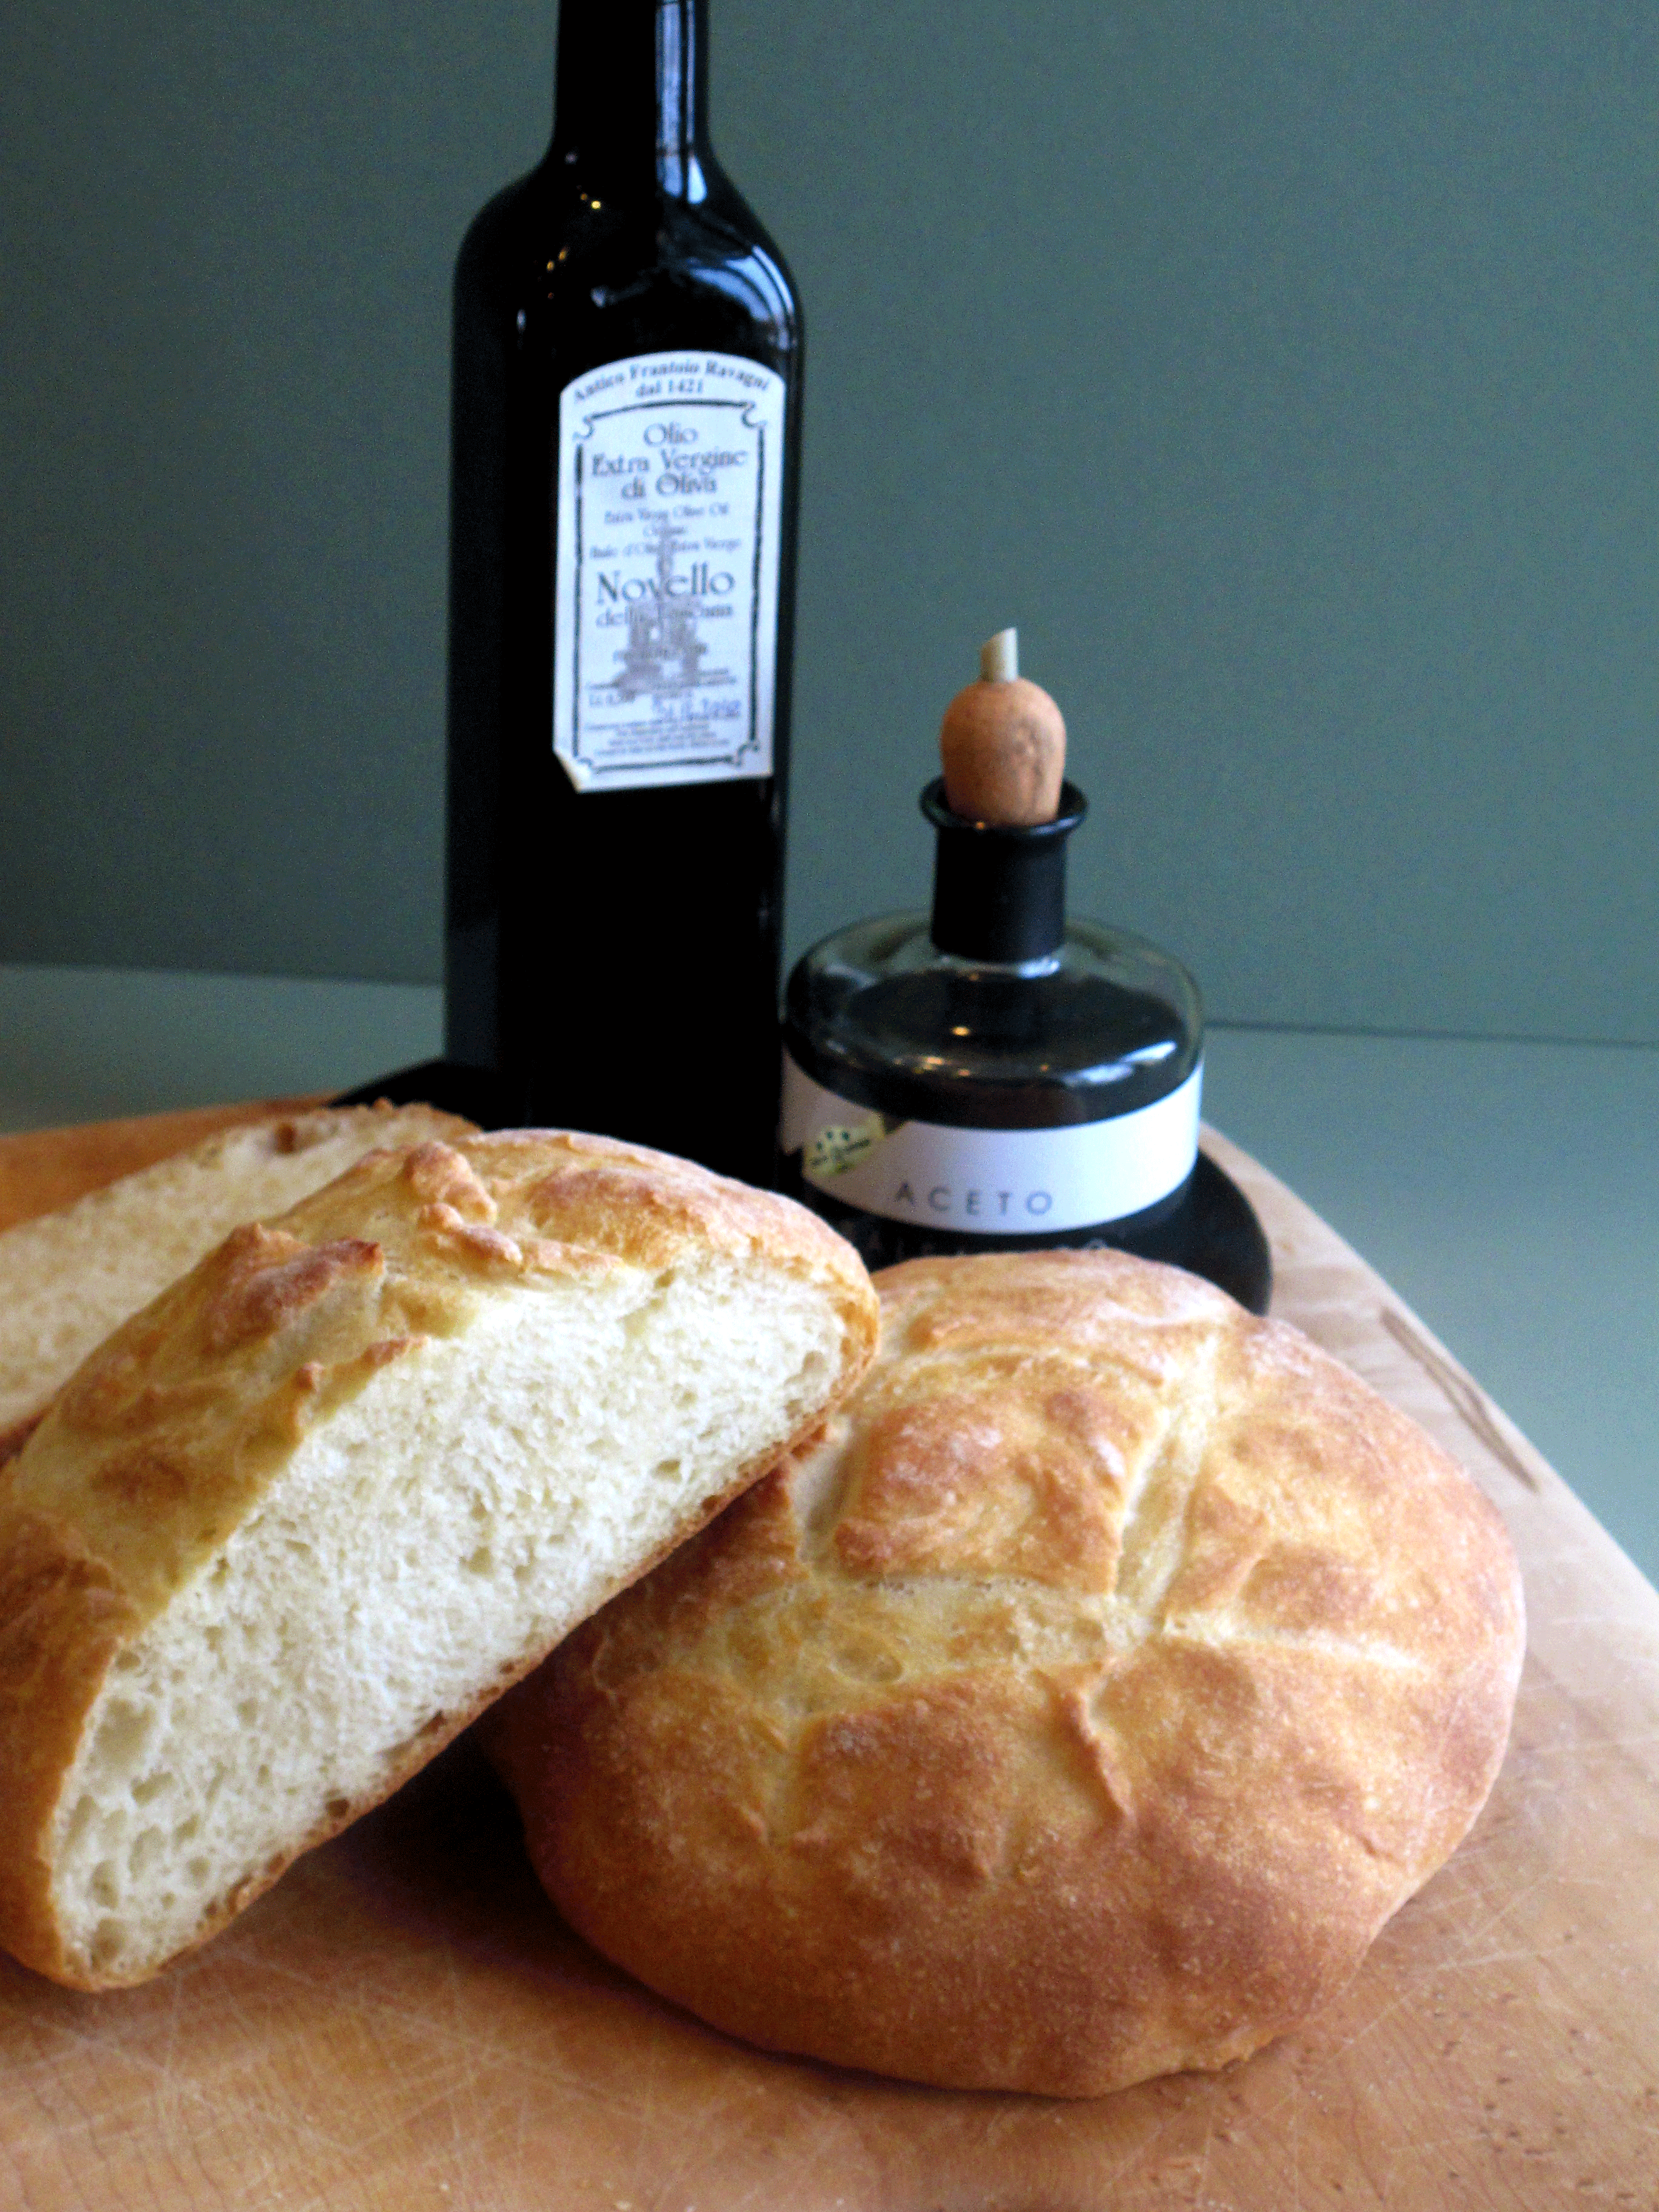
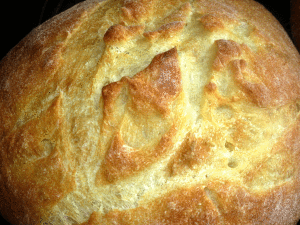
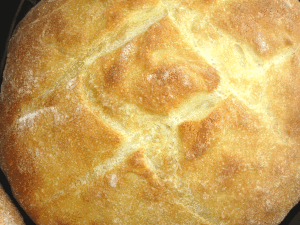
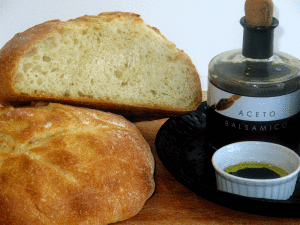
After about 20 minutes the loaves are done. Scoring skills still need work.
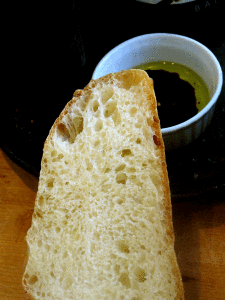
The bread was delicious dipped into olive oil and balsamic vinegar.
The crumb was a bit tighter than I had imagined it would be, given the high hydration of this dough.
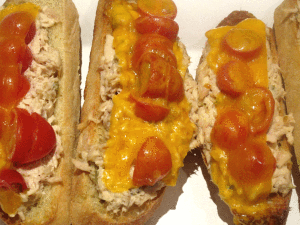
Pugilese bread is perfect for tuna melts the next day!

I am really admiring your collection of flours and your golden Pugliese bread! Great tutorial ~ I’ll be referring to it when I get to this bread…
Oh, these loaves are so golden – they look beautiful. Btw, you don’t have to line the proofing basket with a towel – you just need some flour and put the dough right in there. The result is that you’ll have a line pattern on the finished bread then ;o).
Thanks for letting me know that. I always wondered how people get that cool pattern when if you have to line the basket. So if you flour the basket it won’t stick? I know you had a sticking disaster!
You have to flour REALLY generously. I had a disaster with the miche because of poor flouring :-(((((
Thanks for the heads up!