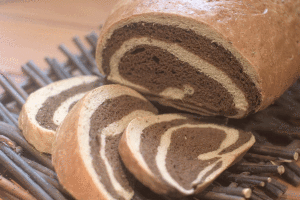
Monthly Archives: October 2009

#22. Pain de Campagne – As much fun to make as it is to eat!

baked-1

Anyone of a certain age may remember that old TV commercial for Jiffy Pop popcorn, with the tag line, “As much fun to make as it is to eat!”  This week’s bread in the Bread Baker’s Apprentice Challenge, Pain de Campagne, reminded me of that tag line.  Peter Reinhart says that this is the perfect dough for creative shaping.  This is the play-doh of bread doughs! 

The literal translation for Pain de Campagne is Country Bread.  The dough is similar to a regular french baguette, but has the addition of a small amount of whole grain.  You could add rye flour, whole wheat flour, pumpernickle flour or even cornmeal.   I opted for rye flour.  The whole grain gives the finished loaf a golden brown crust. 

I decided to shape my dough into an épi (wheat sheaf) because the shaping technique uses scissors and as a frustrated crafter, I couldn’t resist .  This was a simple dough to put together.  The day before making it you prepare a paté fermentée (starter dough) using all-purpose and bread flour, water, salt and yeast.  The dough is refrigerated overnight and then the next day it is incorporated into the dough for the final bread.  The purpose of the paté fermentée is to improve the flavour and texture of the finished bread.  It’s like giving the dough a head start.

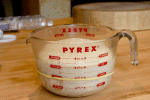
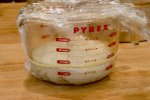
The paté fermentée is cut into 10 pieces and left out at room temperature for about an hour to allow it to come to room temperature after spending the night in the fridge.
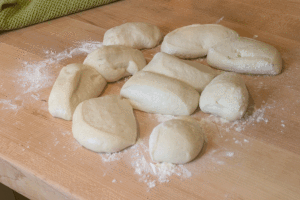
 

pate-fermentee

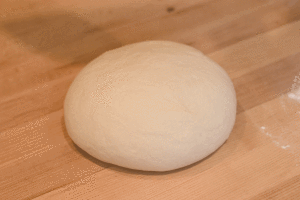
Then the paté fermentée is mixed with bread flour, rye flour, salt, yeast and water.  The dough is kneaded for about 10 minutes until it is soft and pliable.

kneaded-dough

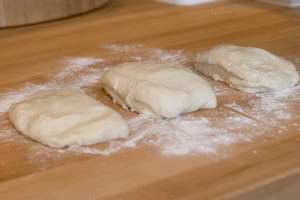
After a 2 hour rest, the dough has doubled and then you carefully cut the dough into 3 pieces.  A pastry scraper is perfect for this job.  You must be gentle here as you do not want to degas the dough.

cut-dough-into-3

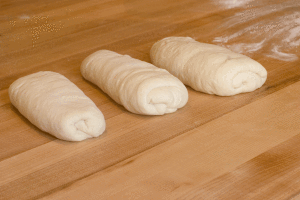
Then the dough is formed into batards.

batards

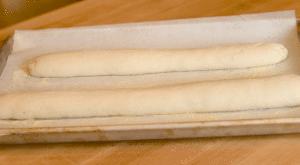
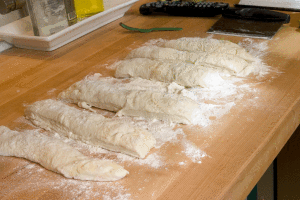
The batards are then stretched into baguettes and left to proof for about an hour.

stretched-into-baguettes

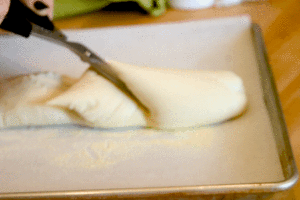
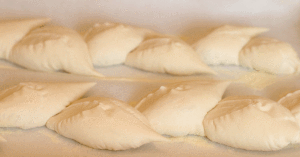
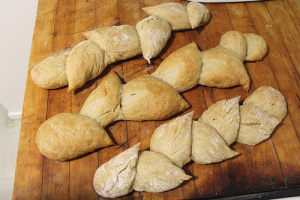
Then comes the fun part!  Using a scissors, you cut into the dough at an angle, almost parallel to the loaf, cutting not quite through to the bottom of the loaf. Then gently swing the cut section to one side.  You continue down the length of the dough, cutting and swinging every 3 inches. 

 cutting-with-scissors

My picture of the scissor work sucks.  For a really great tutorial on how to do this, check out Kitchen Mage’s blog  for her wonderful photo essay on shaping the épi.

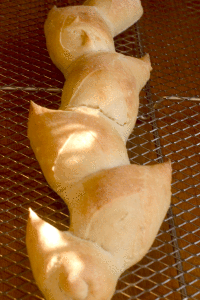
I was quite proud of my scissor skills.  Not too bad for my first time.

finished-cutting-2

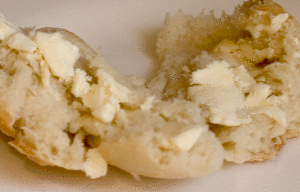
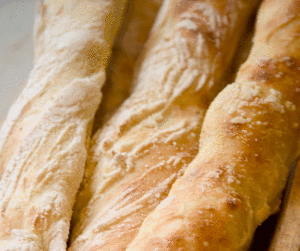
After about 12 minutes in the oven they were done. I did not achieve the rich golden brown colour as described in the book, and so my crust lacked the crispy crunchy texture I had hoped for.  The inside was a little bit chewy, just the way I like it.  I gave away 2 of the loaves and devoured the third all by myself with salted butter.  Yum!

  baked-2

eating-1

Here are some of the beautiful shapes my fellow challengers created.

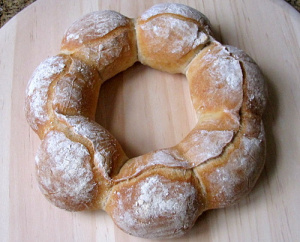
Oggi of “I can do that”, turned this dough into a  Couronne Bordelaise (Crown of Bordeaux).

Oggis Couronne de Bordelaise

Carolyn of “Two Shinny Jenkins” made an Epi (wheat sheaf): 

Carolyn's Epi

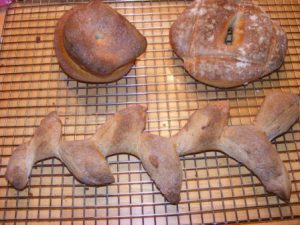
Phyl, from “Of Cabbages and Kings” was busy creating an Auvergnat (cap),a Couronne (crown) and and Epi (wheat sheaf).

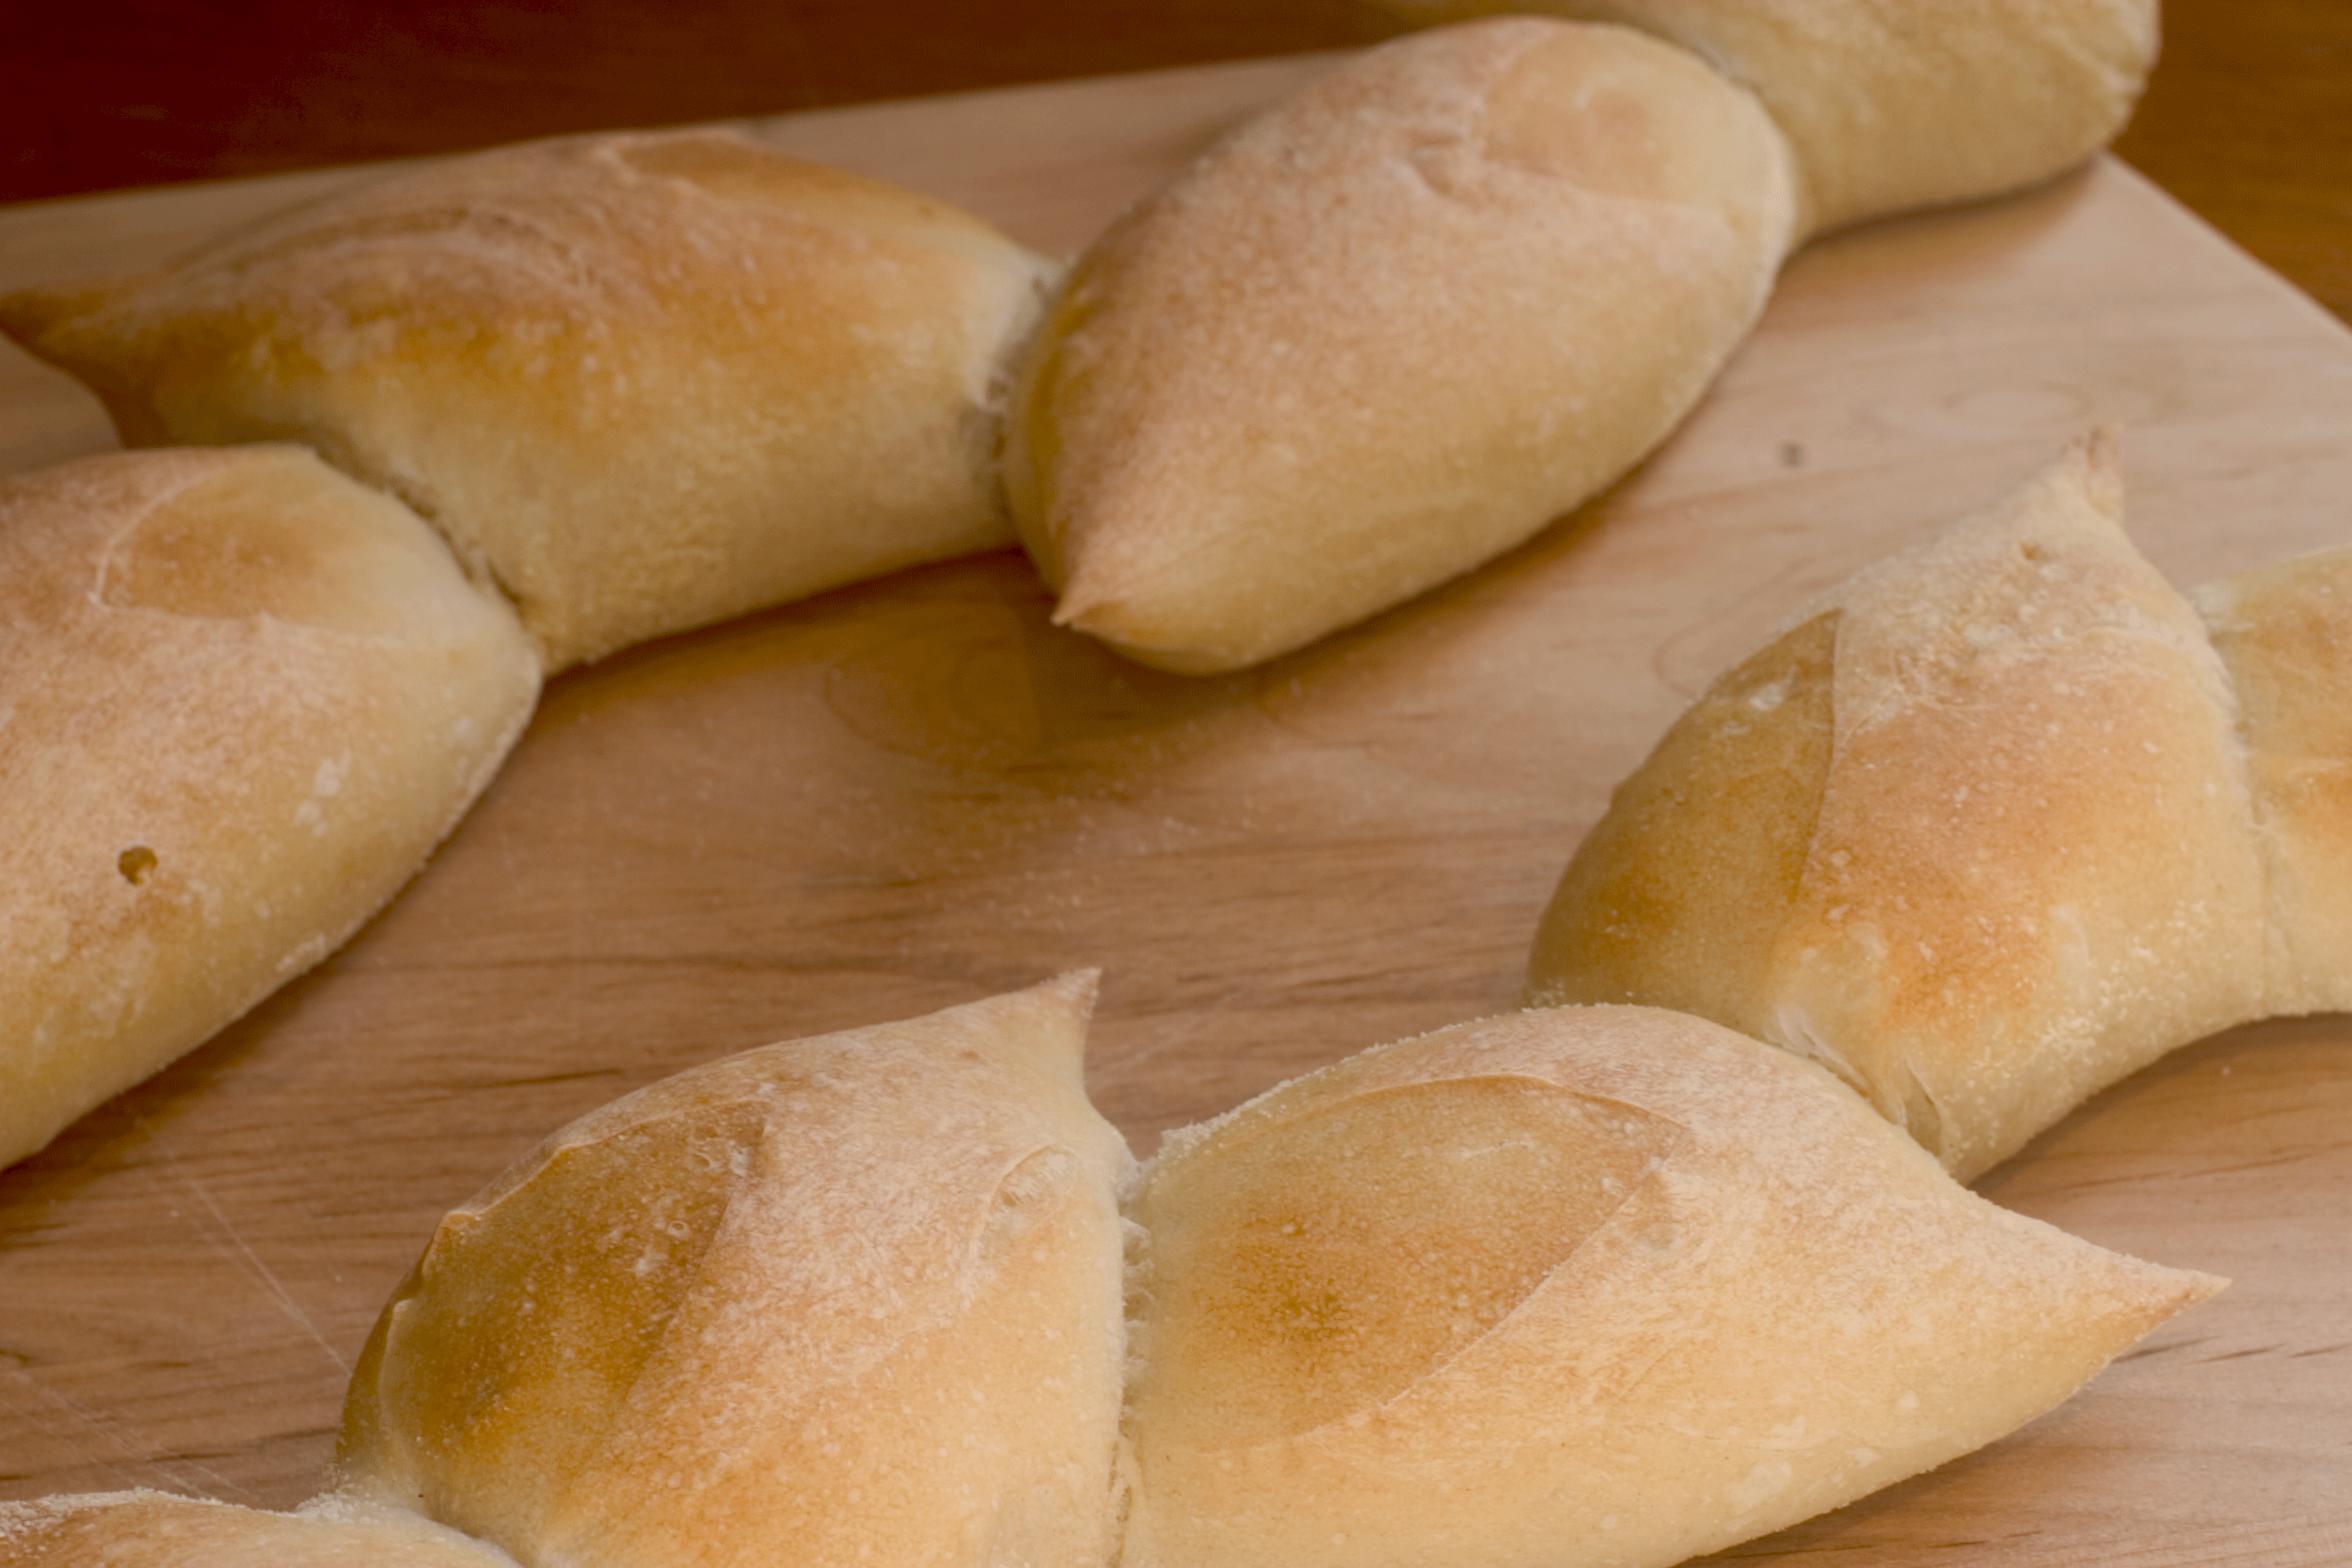
Phyl's Cap, crown and Epi

#21. Brutti Ma Buoni Bread


done-1

There is a wonderful Italian meringue-type cookie called, “Brutti Ma Buoni.”  The literal English translation is “Ugly but Good.”  This week’s bread, in the Bread Baker’s Apprentice Challenge, Pain a l’ancienne, reminded me of those cookies.  It also brought back memories of my dating days, before I was married, when I would go on blind dates.  I would ask my friend who was fixing me up to tell me a little bit about the guy.  She would say, “Well, he has a great personality.”  Everybody knows that’s just code for not so good looking!  That in a nutshell is Pain l”ancienne!  This was not the most attractive bread we have made, but the taste and texture more than made up for it!

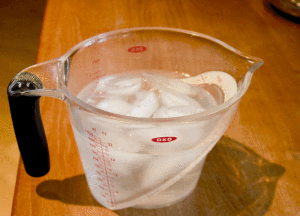
The procedure for making this dough is a little unusual and different from what we have done in the past.  Instead of using warm or room temperature water, so that the yeast is activated right away, we used ice cold water in this recipe.

ice-water

Then the dough is refrigerated overnight.  It is not until the next day, that the dough is removed from the fridge and allowed to come to room temperature, that the yeast begins to wake up and do it’s thing. While the yeast was sleeping in the fridge overnight, the enzymes had a chance to break out more sugar from the starch in the dough. All this excess sugar that was created by delaying the yeast’s work, helps to produce a more flavourful dough and a more deeply caramelized crust.

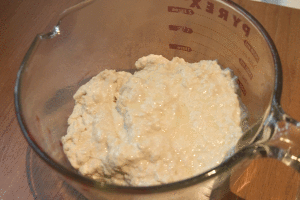
The ice cold water is mixed with bread flour, salt and yeast. The dough should be very sticky and only release from the sides of the mixing bowl, and not the bottom.  My dough released from both the sides and the bottom, so I dribbled in more water, and continued mixing.  I really had no clue as to when I had mixed enough.  The recipe said only to mix for 6 minutes, but after 6 minutes my dough looked like cottage cheese, with tons of little lumps.  This had me very worried.  I was convinced I had missed some crucial step or ingredient.  I read the recipe again and could not find any errors, so I stopped mixing, transferred the dough to a bowl, covered it with plastic wrap and refrigerated it overnight. 

all-mixed

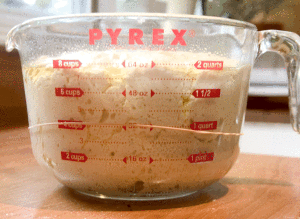
When I took it out of the fridge the next morning, it had barely risen at all.  It took almost 4 hours at room temperature for the dough to double.

doubled

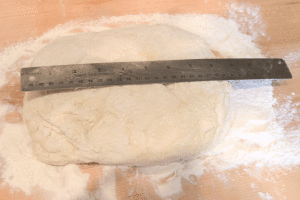
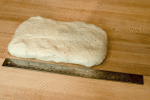
Next, I dumped the dough out onto a heavily floured counter and gently patted into a rectangle, 6 x 8 inches.

6-x-8

Using a wet metal bench scraper, I divided the dough in half, and then cut each half into 3 strips, ending  up with 6 skinny lengths of dough. 

cut-into-6

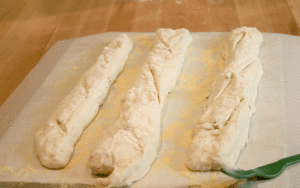
I gently stretched each piece of dough to the length of my baking stone, (about 16 inches) and then placed them on an upside down baking sheet, covered with parchment paper and cornmeal.  Each baking sheet held 3 loaves.  We had the option not scoring the dough, but I was excited to practice my slashing skills.  The dough did not have great surface tension, so the lame sort of dragged, rather than making a clean slash. 

scored-2

I carefully slid the parchment with the loaves off the baking sheet and onto the stone I had heating in the oven.  The slide was smooth and no disaster ensued!  I added hot water to the pan in the oven and sprayed the oven walls, all without shattering any glass.  Wow, this was going way too well.  After 8 minutes, I turned the parchment and loaves 90 degreees for more even browning.  After an additional 10 minutes, the loaves were done.

done-2

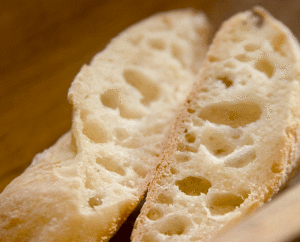
After 30 minutes I sliced into the dough.  I was rewarded with the biggest holes I have produced to date.  I was so excited. 

the-crumb-1

Although the shape of the loaves looked like fat squiggly worms, the taste was amazing.  The crust had a hefty chew, which I love, and the flavour was kind of sweet and nutty.  This bread was one of my favourites so far and I will definately be making it again.

#20. The Best Toast in the World?

sliced-1In week # 20 of the Bread Baker’s Apprentice Challenge we encounter Peter Reinhart’s  “Multigrain Bread Extraordinaire.”  He claims that “this bread makes the best toast in the world.”  That’s a pretty bold claim.  Toast boasting is not something I take lightly.  I was looking forward to testing and toasting this bread.


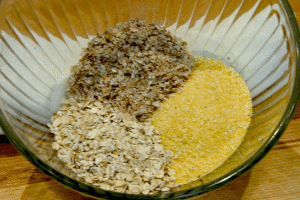
This is a 2 day bread.  On day 1 you place coarse cornmeal, wheat bran and rolled oats in a bowl.

multigrains

Moisten the grains with a bit of water and cover with plastic wrap and let it sit out on the counter overnight.  Next, plan a dinner that includes brown rice and after cooking the rice, set aside 3 tablespoons  to use in the bread the next day.

The next morning, when I checked on the grains, they had absorbed all the water and looked like mush.

the-soaker

Then the “soaker” is mixed with bread flour, brown sugar, honey, buttermilk, salt, yeast brown rice and water to form a dough.  I mixed the dough in the Kitchen Aid mixer for about 10 minutes.  I found that I had to add an additional 1/2 cup of flour to get the right consistency.   I finished  kneading the dough by hand for an additional 5 minutes.  The final dough was supple and tacky but not sticky. 

dough

The dough is then set into an oiled container and set aside for about 90 minutes to double in size.

doubledready-for-primary-fermentat

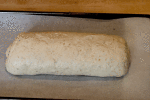
To form the loaf, the dough is flattened out into a rectangle, about 6 x 8 inches.  Then it is rolled up, from the short side and the seam is pinched shut. 

rectangle

all-rolled-up


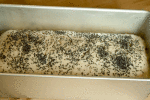
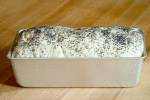
The bread goes into a loaf pan, is sprayed with water and sprinkled with poppy seeds.  Then the loaf is set aside to proof, for about 90 minutes, or until the dough is about 1 inch above the rim of the pan.

into-loaf-pan

ready-for-oven


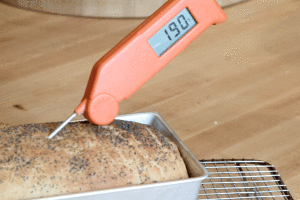
Into the oven the bread went.  After about 20 minutes, I noticed the top was getting too brown so I covered it with foil and continued baking for another 15 minutes until it was done.

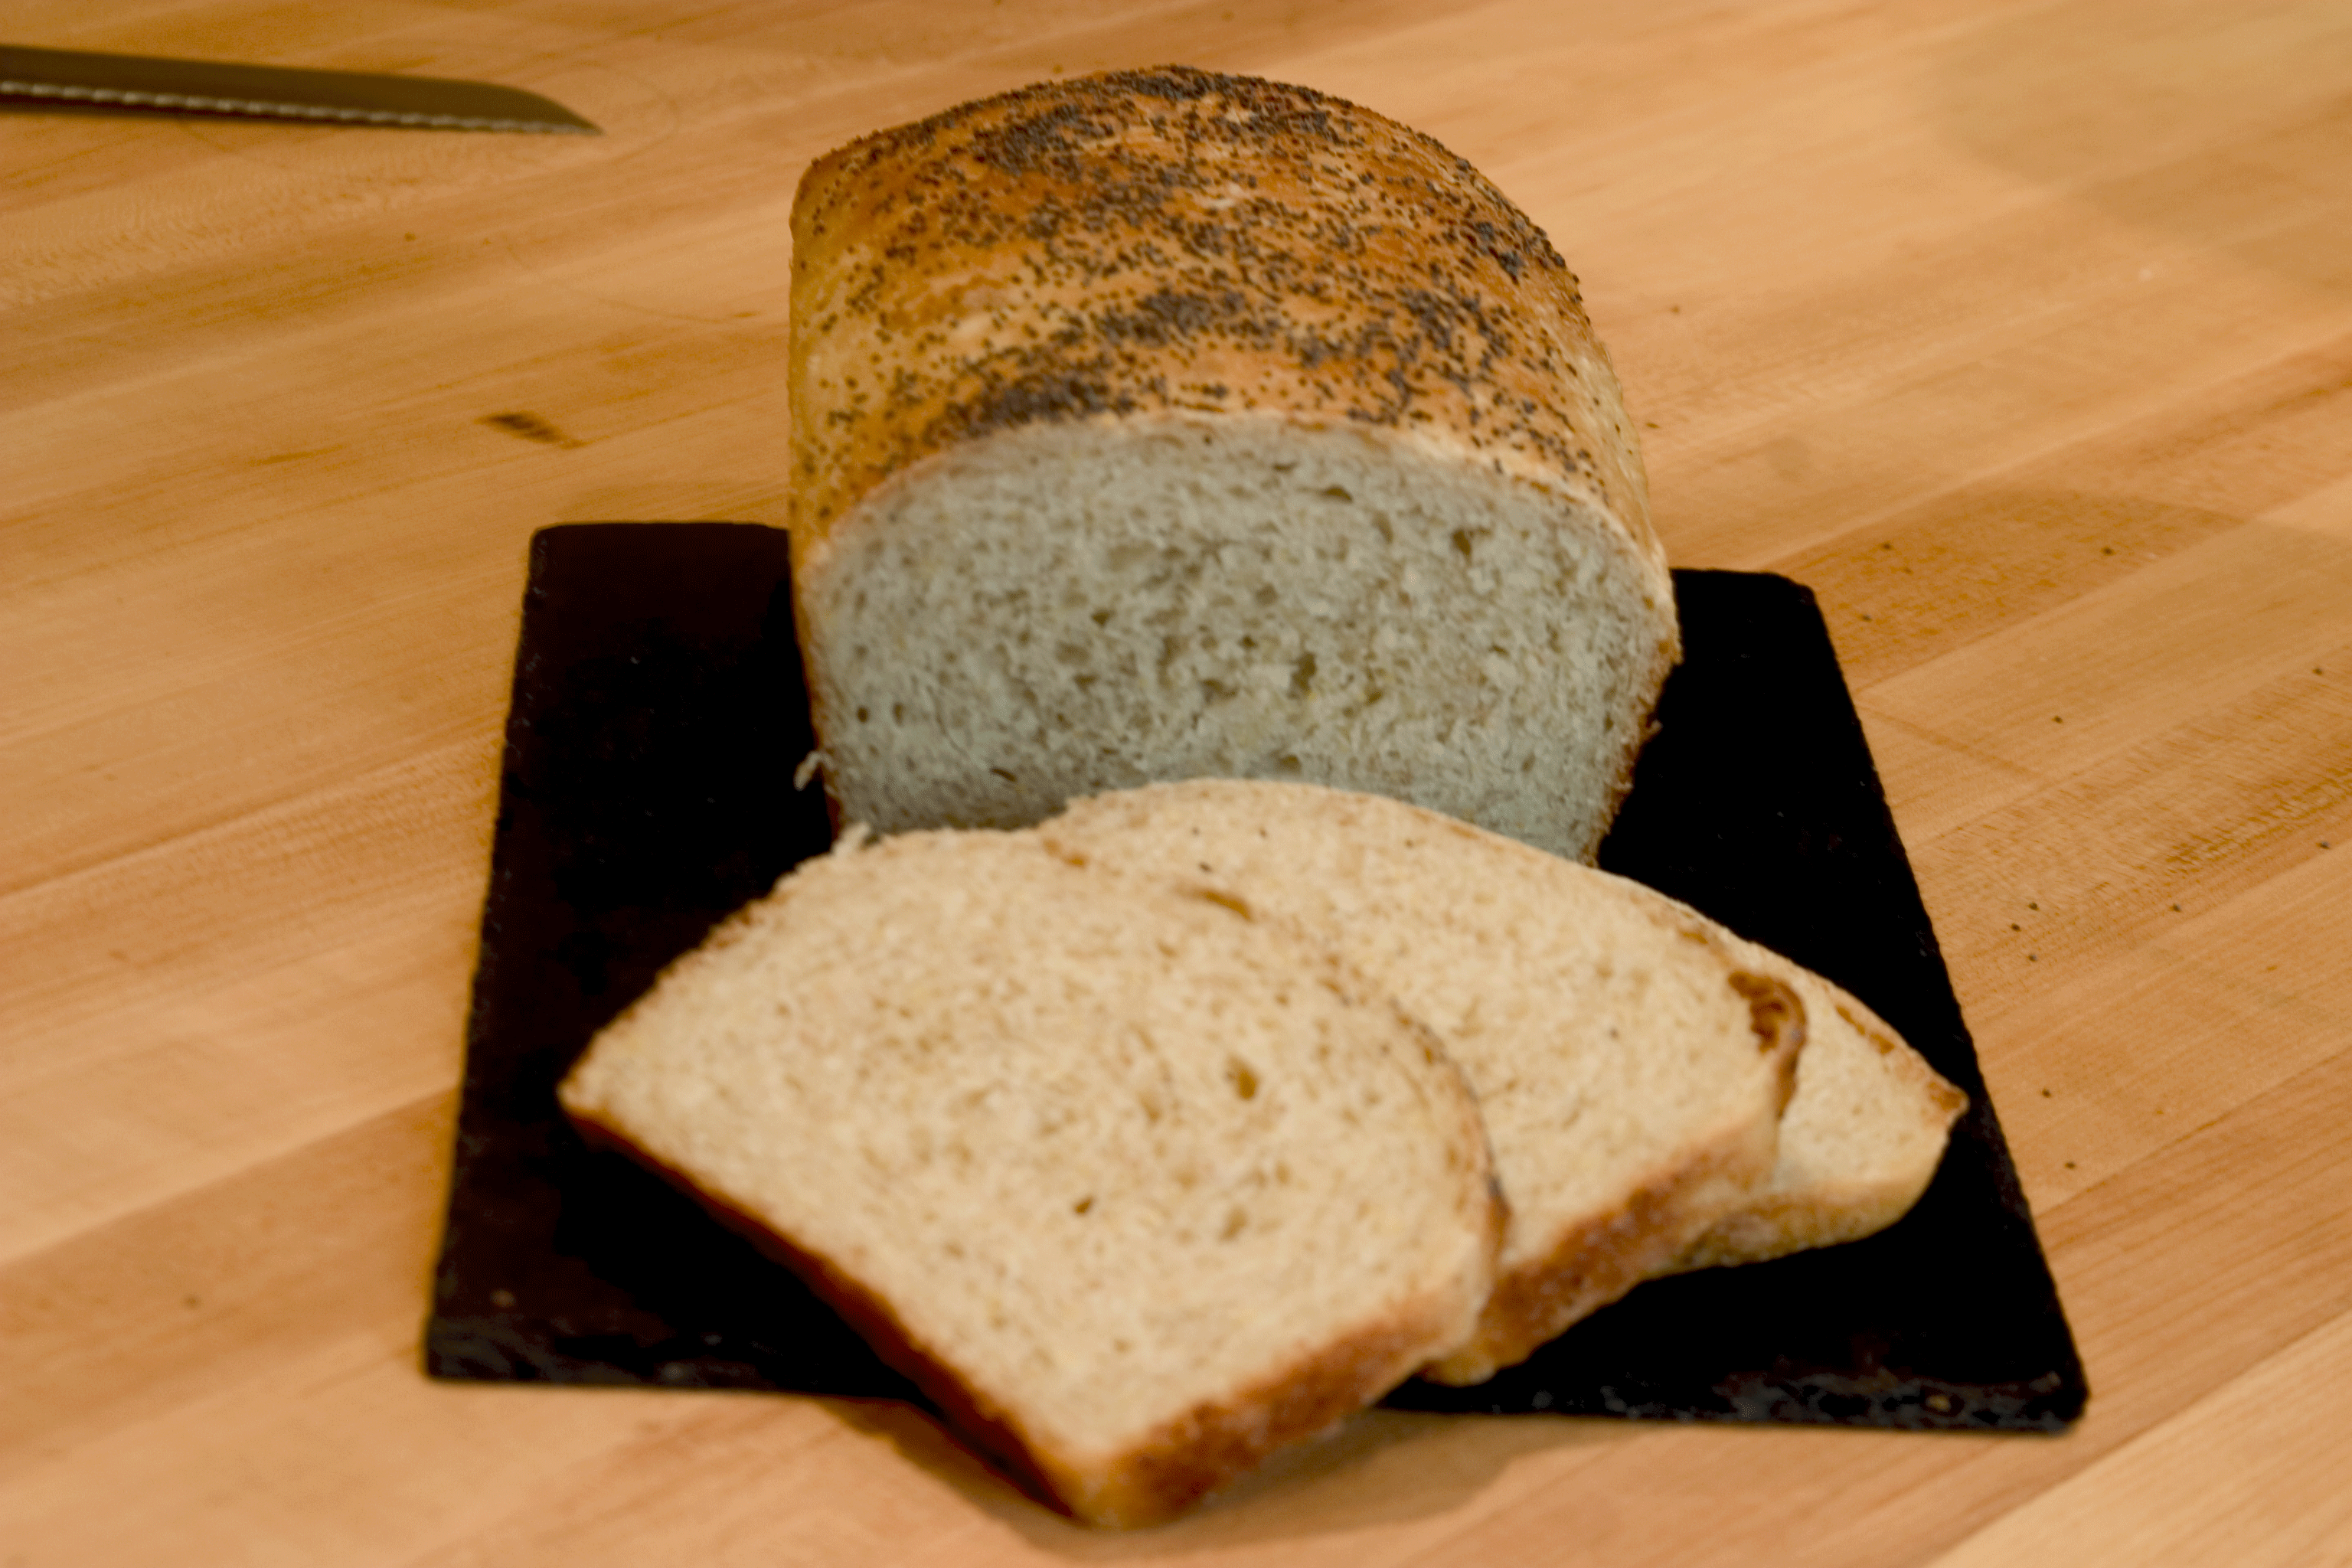
done-1

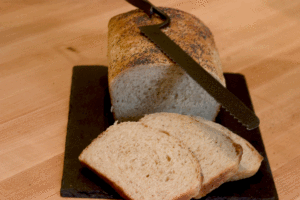
After about 2 hours I sliced and tasted.  Some multigrain breads can taste like cardboard.  Not this one!  The different grains gave this bread a wonderful texture.  It was chewy without being tough and the honey and brown sugar added a fantastic sweetness. 

sliced-2

The next morning I gave the bread the final test – I toasted it.  Peter Reinhart’s boast was valid.  This was the best toasted bread I have ever had.  I loved this bread so much I made a second loaf the next day, to slice up and freeze so I could have it toasted for breakfast for the next few days.  I decided to incorporate some whole wheat flour into my second loaf.  The original recipe calls for 3 cups of white bread flour.  I used 1 cup of whole wheat flour and 2 cups of white bread flour.  The results were subtle but the final loaf was slightly chewier in texture and nuttier in flavour.  This loaf is a keeper!!

#19. Marbled Rye – A Work of Art!

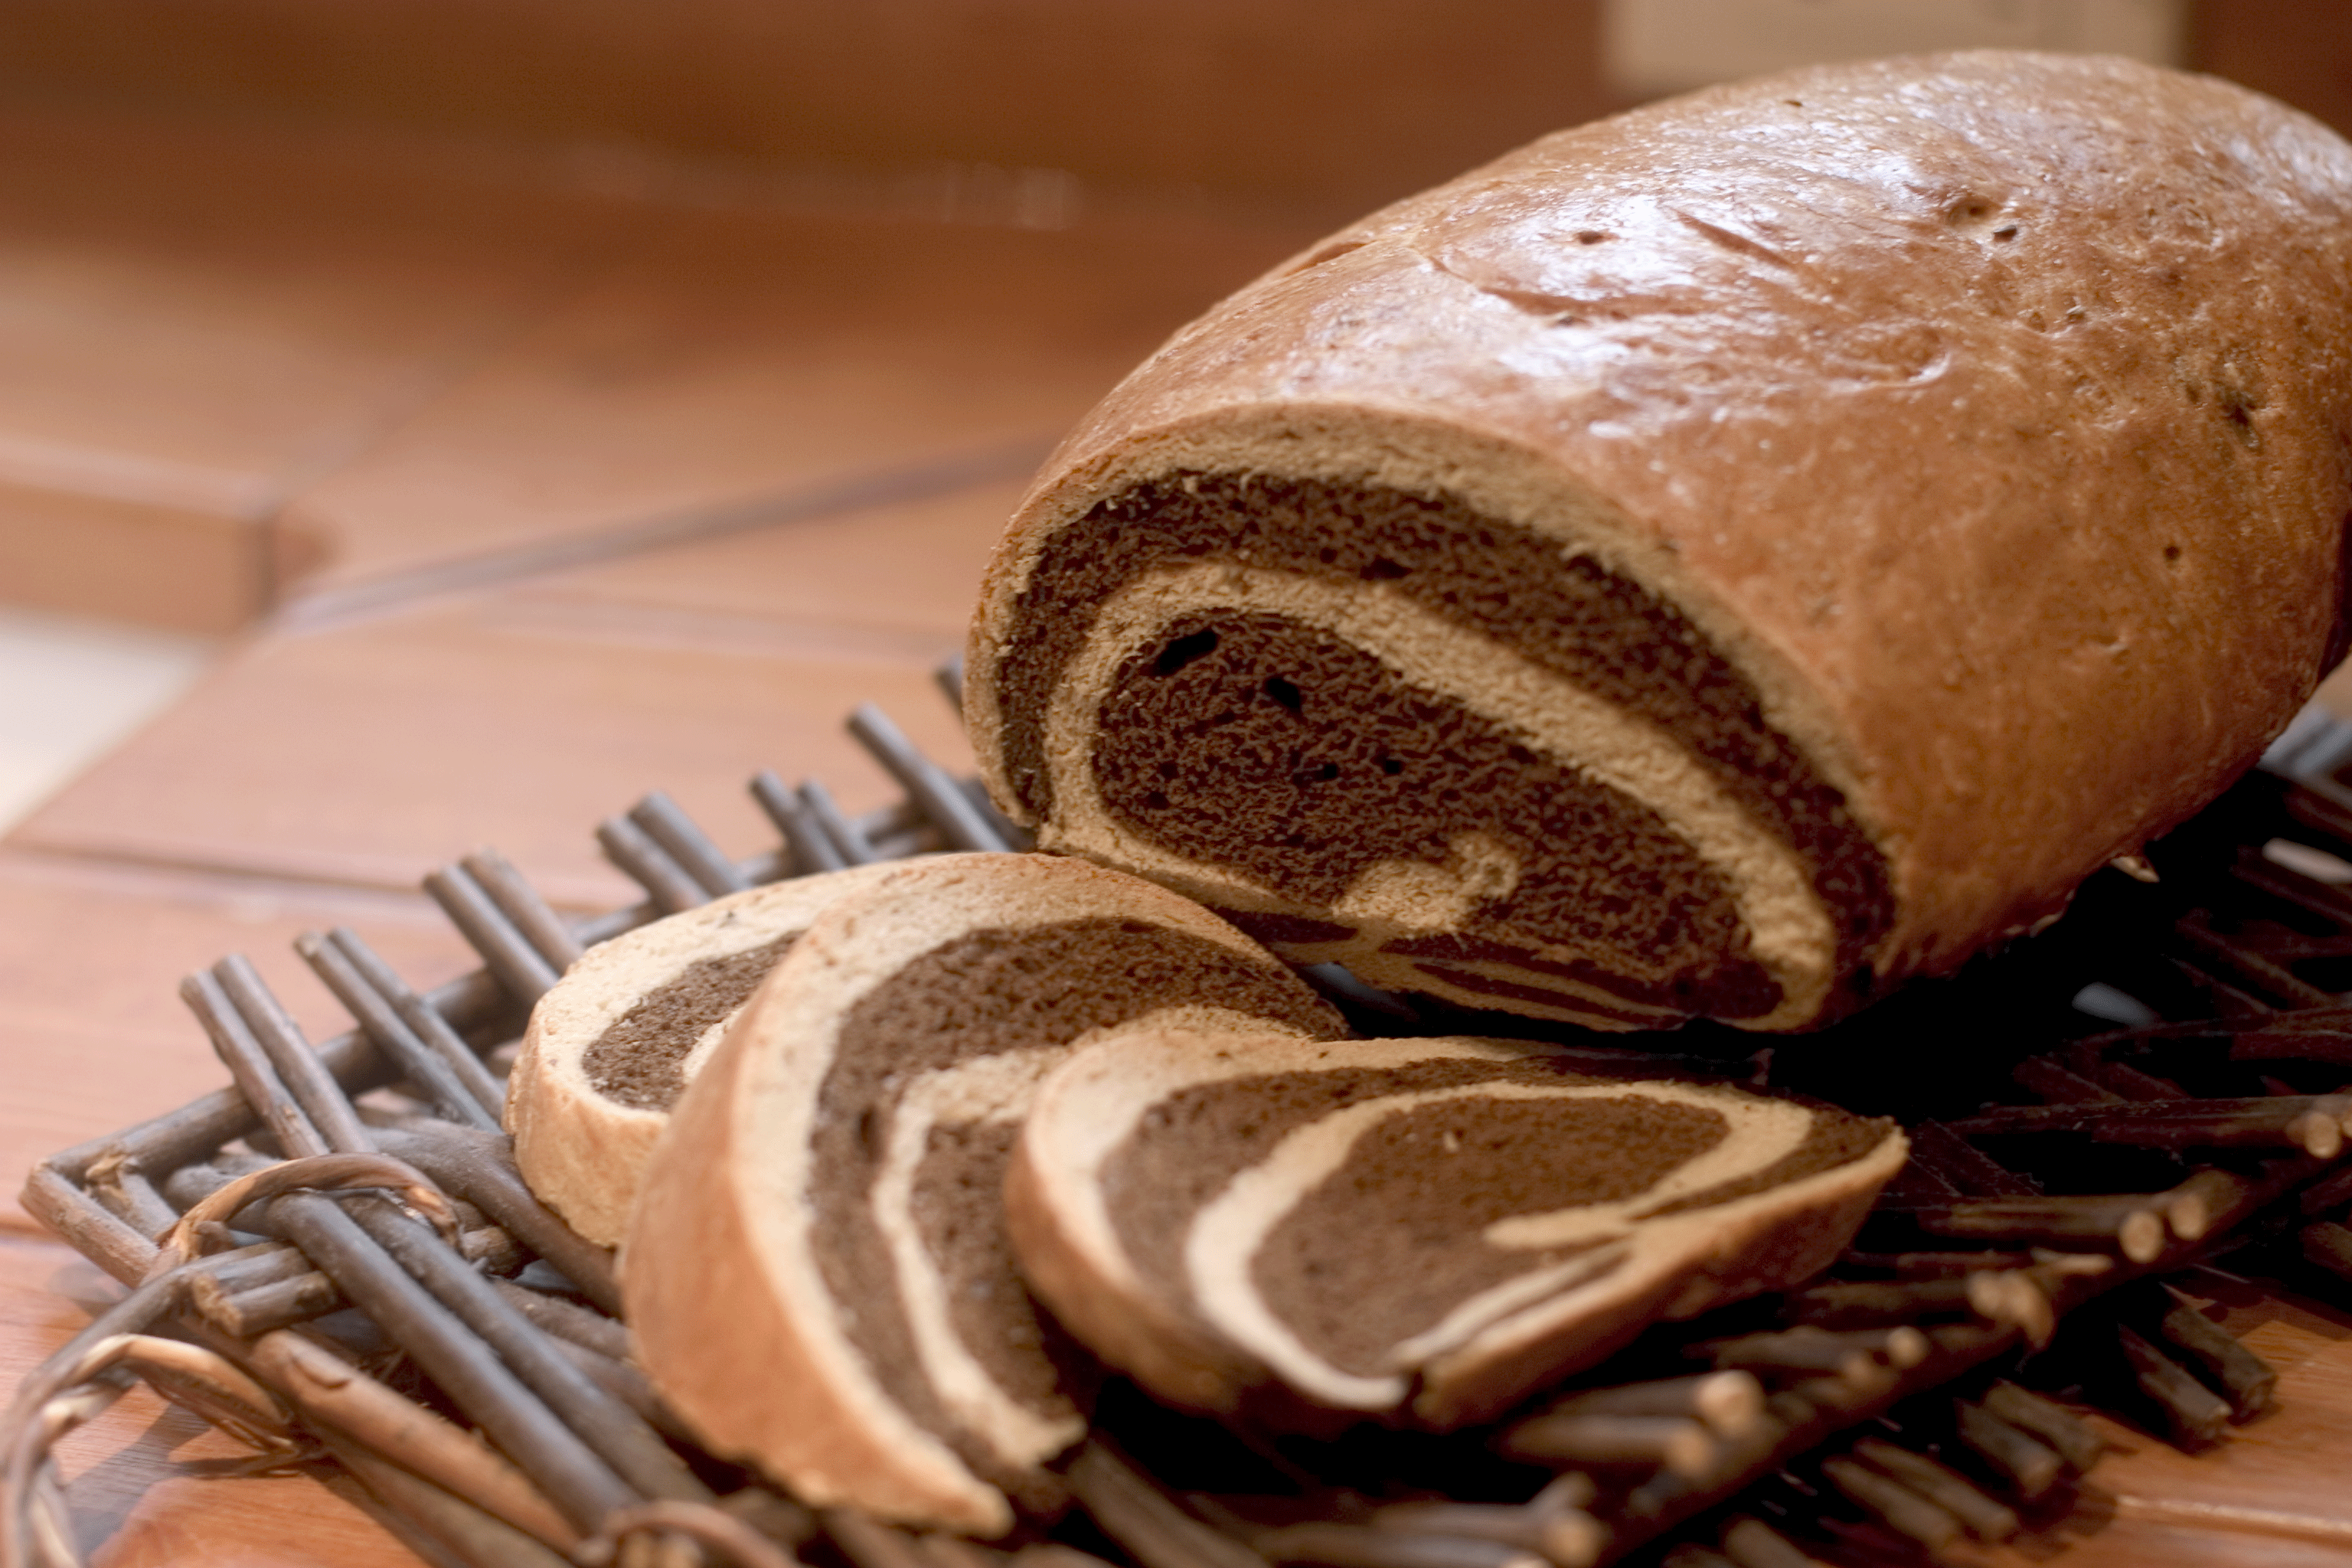
spiral-sliced-2I would never consider eating the same thing for dinner every night for two years straight, yet I went through a phase where I ate 2 slices of rye bread, toasted with salted butter and sour cherry jam every morning for breakfast for about 2 years.  Every morning, the same breakfast!  I have since moved on, to oat squares cereal with bananas in the winter and blueberries in the summer.  But I still fondly remember my rye bread mornings.

The rye bread came from the Rideau Bakery, in Ottawa, where I live.  Their rye bread is my standard for excellence. They use a sourdough base that some say has been going for decades.  So, it was with some trepidation that I began this week’s Bread Baker’s Apprentice Challenge bread,  Marbled Rye.

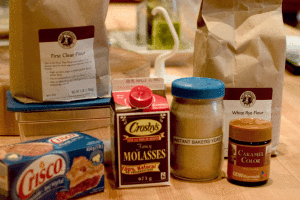
I had to order some special supplies from King Arthur Flour to create this bread.  Professional bakers use a type of flour, called clear flour, in their rye bread.  This is the flour that clears the first sifting (to separate out the bran and germ), still retains some of the finer bran fiber from the outer endosperm of the wheat berry and is thus coarser and contains higher levels of ash. This is the flour New York City bakers have always used for their signature Jewish-style rye breads. 

The second item I ordered was caramel powder. This is basically powdered all-natural caramelized corn syrup.  It’s used to give the dark rye it’s deep brown colour.  We had the option of using coffee powder, but according to other BBA challengers, coffee powder did not stain the dough enough to produce that deep brown colour I was after. I was seduced by the photo of the marble swirl in the book, and I wanted to reproduce it.

In addition to the clear flour and caramel powder, the remaining ingredients include rye flour, salt, yeast, caraway seeds, molasses shortening and water.

mise-en-place-2

The process involves making 2 batches of dough, exactly the same, except for the addition of the caramel powder for the dark rye batch.  We are warned not to overmix the bread as rye flour contains “pentosan gums” which interfere with the gluten development.  In short, overmixing can lead to a very gummy dough.  I was very careful to knead only for a short 4 minutes.  The caramel powder added a beautiful rich brown colour to the dough.

dark-rye-all-mixedlight-rye-all-mixed


The dough is left to ferment at room temperature for about an hour and a half, or until it doubles in size.

dark-rye-doubledlight-rye-doubled


In order to create the marbled effect, we had several oprions.  We could make a spiral or a bull’s eye ( a perfect circle of dark rye, encased by light rye).  The other 2 options were to braid the 2 doughs or to create a marbled effect by making small balls of dough of the 2 different colours and then smooshing them together to create a marbled effect.  I had visions of my play-doh days and the marbled creations I crafted then, were not something I wanted to repeat here.  As an aside, I have to say that my mom never minded if we mixed the play-doh colours.  She just bought us fresh new play-doh so we could create anew.
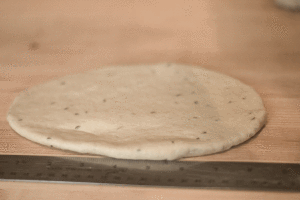
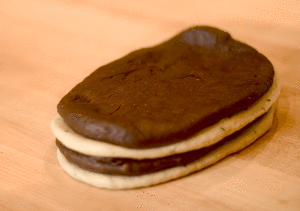
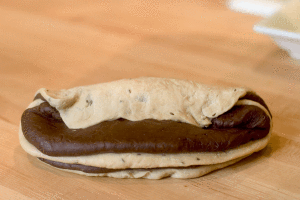
Since this recipe made 2 loaves I decided to attempt the spiral and the braid.  For the spiral, you roll out 2 dark ovals and 2 light ovals and then stack them up, alternating colours and roll them up to form a loaf.  This was so much fun to do. My creative spirit came alive.

rolled-into-oval

rolled-into-ovals-and-stack

rolling-up-into-loaf

Once rolled up, the bread can be put in a loaf pan or left on a sheet pan, to proof freestyle.  I really like the more rustic look of a free-form loaf so I did not use the loaf pan.

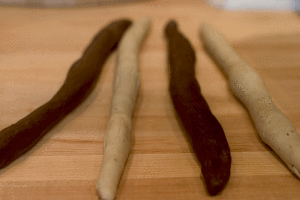
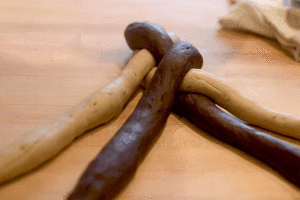
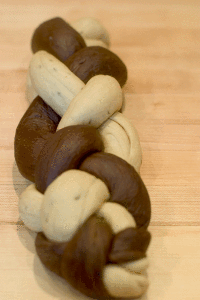
While the spiral loaf was proofing, I went on to create my braided marbled rye.  The remaining dark and light doughs were divided in half and rolled out into 4 strands, each about 12 inches long.  Then they were braided, using the 4 strand formula.  There is an excellent video on the web that demonstrates theis braiding technique.

rolled-into-ropes-for-braid

4-strand-braid-1

4-strand-braid-2

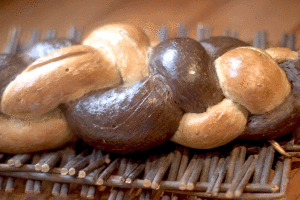
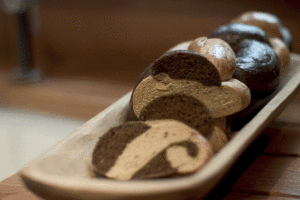
 Both loaves were proofed until they had doubled in size.  That took about 75 minutes.  Then they were egg-washed and put into a 350 degree oven for about 45 minutes.  The marble one cooked a bit faster as it was a little thinner and longer than the spiral loaf.  Once out of the oven, it took all my willpower not to slice into them.  I was so excited to see how they looked on the inside.  After 2 hours, I sliced.  I was overwhelmed at how lovely these loaves were.  They were deliciious for dinner that night and even better as the week progressed, toasted for breakfast.

braided-baked

braided-sliced-1

spiral-sliced