In Week #14 of the Bread Baker’s Apprentice, we tackle the ultimate French Bread, the baguette. In the introduction to this bread, Peter Reinhart says, “As with most hearth breads, another key to the success of this bread is handling it gently, retaining as much gas as possible during shaping in order to promote large, irregular holes in the crumb…. This large, open crumb is one of the signs of a properly handled artisan loaf.”
The novice bread baker might read this and think, “Hmm, that’s interesting.” However, those of us on Week #14 of the Bread Bakers Apprentice Challenge will start sweating, with memories of our old nemisis the Ciabatta bread, still fresh in our minds. My finished Ciabatta bread was good but did not have those characteristic holes that bread freaks live for. The baguette is another challenging bread. It is not for the faint of heart.
If you are planning to make baguettes, I highly recommend watching this video. It is from the PBS video series Julia Child: Lessons with Master Chefs and it features Chef Danielle Forestier making baguettes. While Peter Reinhart’s instructions are good, I am a visual learner so the video was very helpful for me. It was interesting to watch and then compare her method for forming the baguettes with PR’s . She was way less gentle with the dough. Unfortunately, I only discovered the video the day after I made my baguettes, but it will be helpful for when I form my Italian loaves.
To make a proper artisan baguette, you need to start with a pre-ferment. A pre-ferment is a dough or batter made beforehand and used in bread dough. Pre-ferments enhance the taste of bread by extending the fermentation time, creating more complex flavors and enhancing the texture of the final product. There are several types of pre-ferments. In the baguette we make a “pate fermentee.” Basically we make the dough on day one, let it ferment overnight in the fridge and on day 2 make a second batch of dough, adding the first batch as the pre-ferment. So far so good.
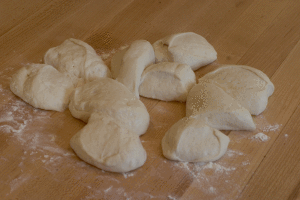
Here is my pate fermentee, cut up into small pieces to hasten the process of bringing it to room temperature after spending all night in the fridge.
Next we make the dough one more time, and this time we add the pate fermentee to the new dough so that we have a double batch of baguette dough, enough to make 3 large baguettes. Several times, in the recipe we are warned against working too roughly with the dough, lest we “degas” it too much. The first step is to form each piece into a batard (torpedo shape). This basically involves patting each piece of dough into a rough rectangle and then folding it letter style, into thirds, to form the batard. The edge of your hand is used to form a seal. Then the batards rest for 5 minutes.
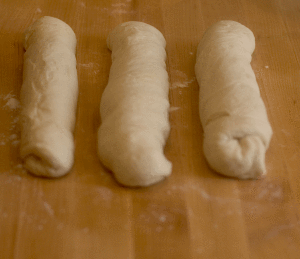
Here are my 3 batards.
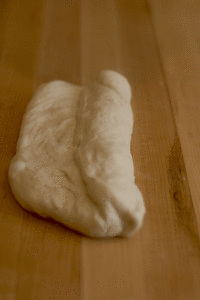
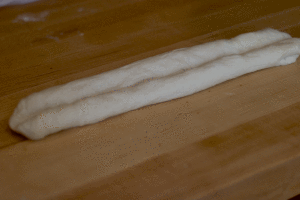
Next the baguettes are shaped by using the side of your hand to make a trough down the center of the dough.
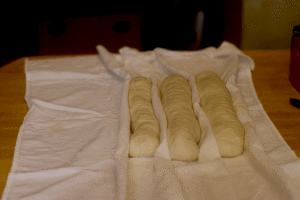
The dough is folded again, letter style and a seam is formed. Then the dough is rolled, gently back and forth until the desired length is reached. I got a little carried away with my rocking and rolling and rolled out my baguettes to an impressive 20 inches. Then I realized that my oven only measures 16 inches across. Ooops! I gently compressed my loaves down to 16 inches. Then I carefully transferred them to my homemade couche. A couche is a piece of cloth that is used to support the baguette during it’s final proofing. I used an old cotton apron and it worked perfectly.
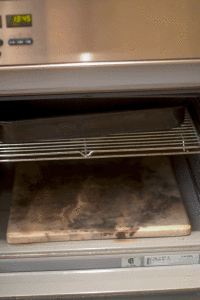
I covered the baguettes and let them rest for 45 minutes. While they were proofing I had a momentous decision to make. Do I chance transferring the baguettes to a peel and slide them into the oven onto a baking stone or do I play it safe and bake them on a sheet pan, thus eliminating the scary slide into the oven. Daredevil that I am, I decided to go for the baking stone and attempt the slide. I set up my oven as shown in the book, with the baking stone on the bottom floor of the oven and the steam pan on the rack above.
Then came the scary part. Slashing the dough! I had purchased a french lame (a special slashing blade). Peter Reinhart is very detailed in his instructions about slashing the bread. He instrusts us to cut on an angle, not straight down so that the blade is held almost parallel to the bread, much like slitting open an envelope. I was so nervous to do it that I think my slit was too tentative and not forceful enough. It was more like a gash than a slit. Plus, I discovered the next day that I was holding the lame upside down. The curve should face down, not up.
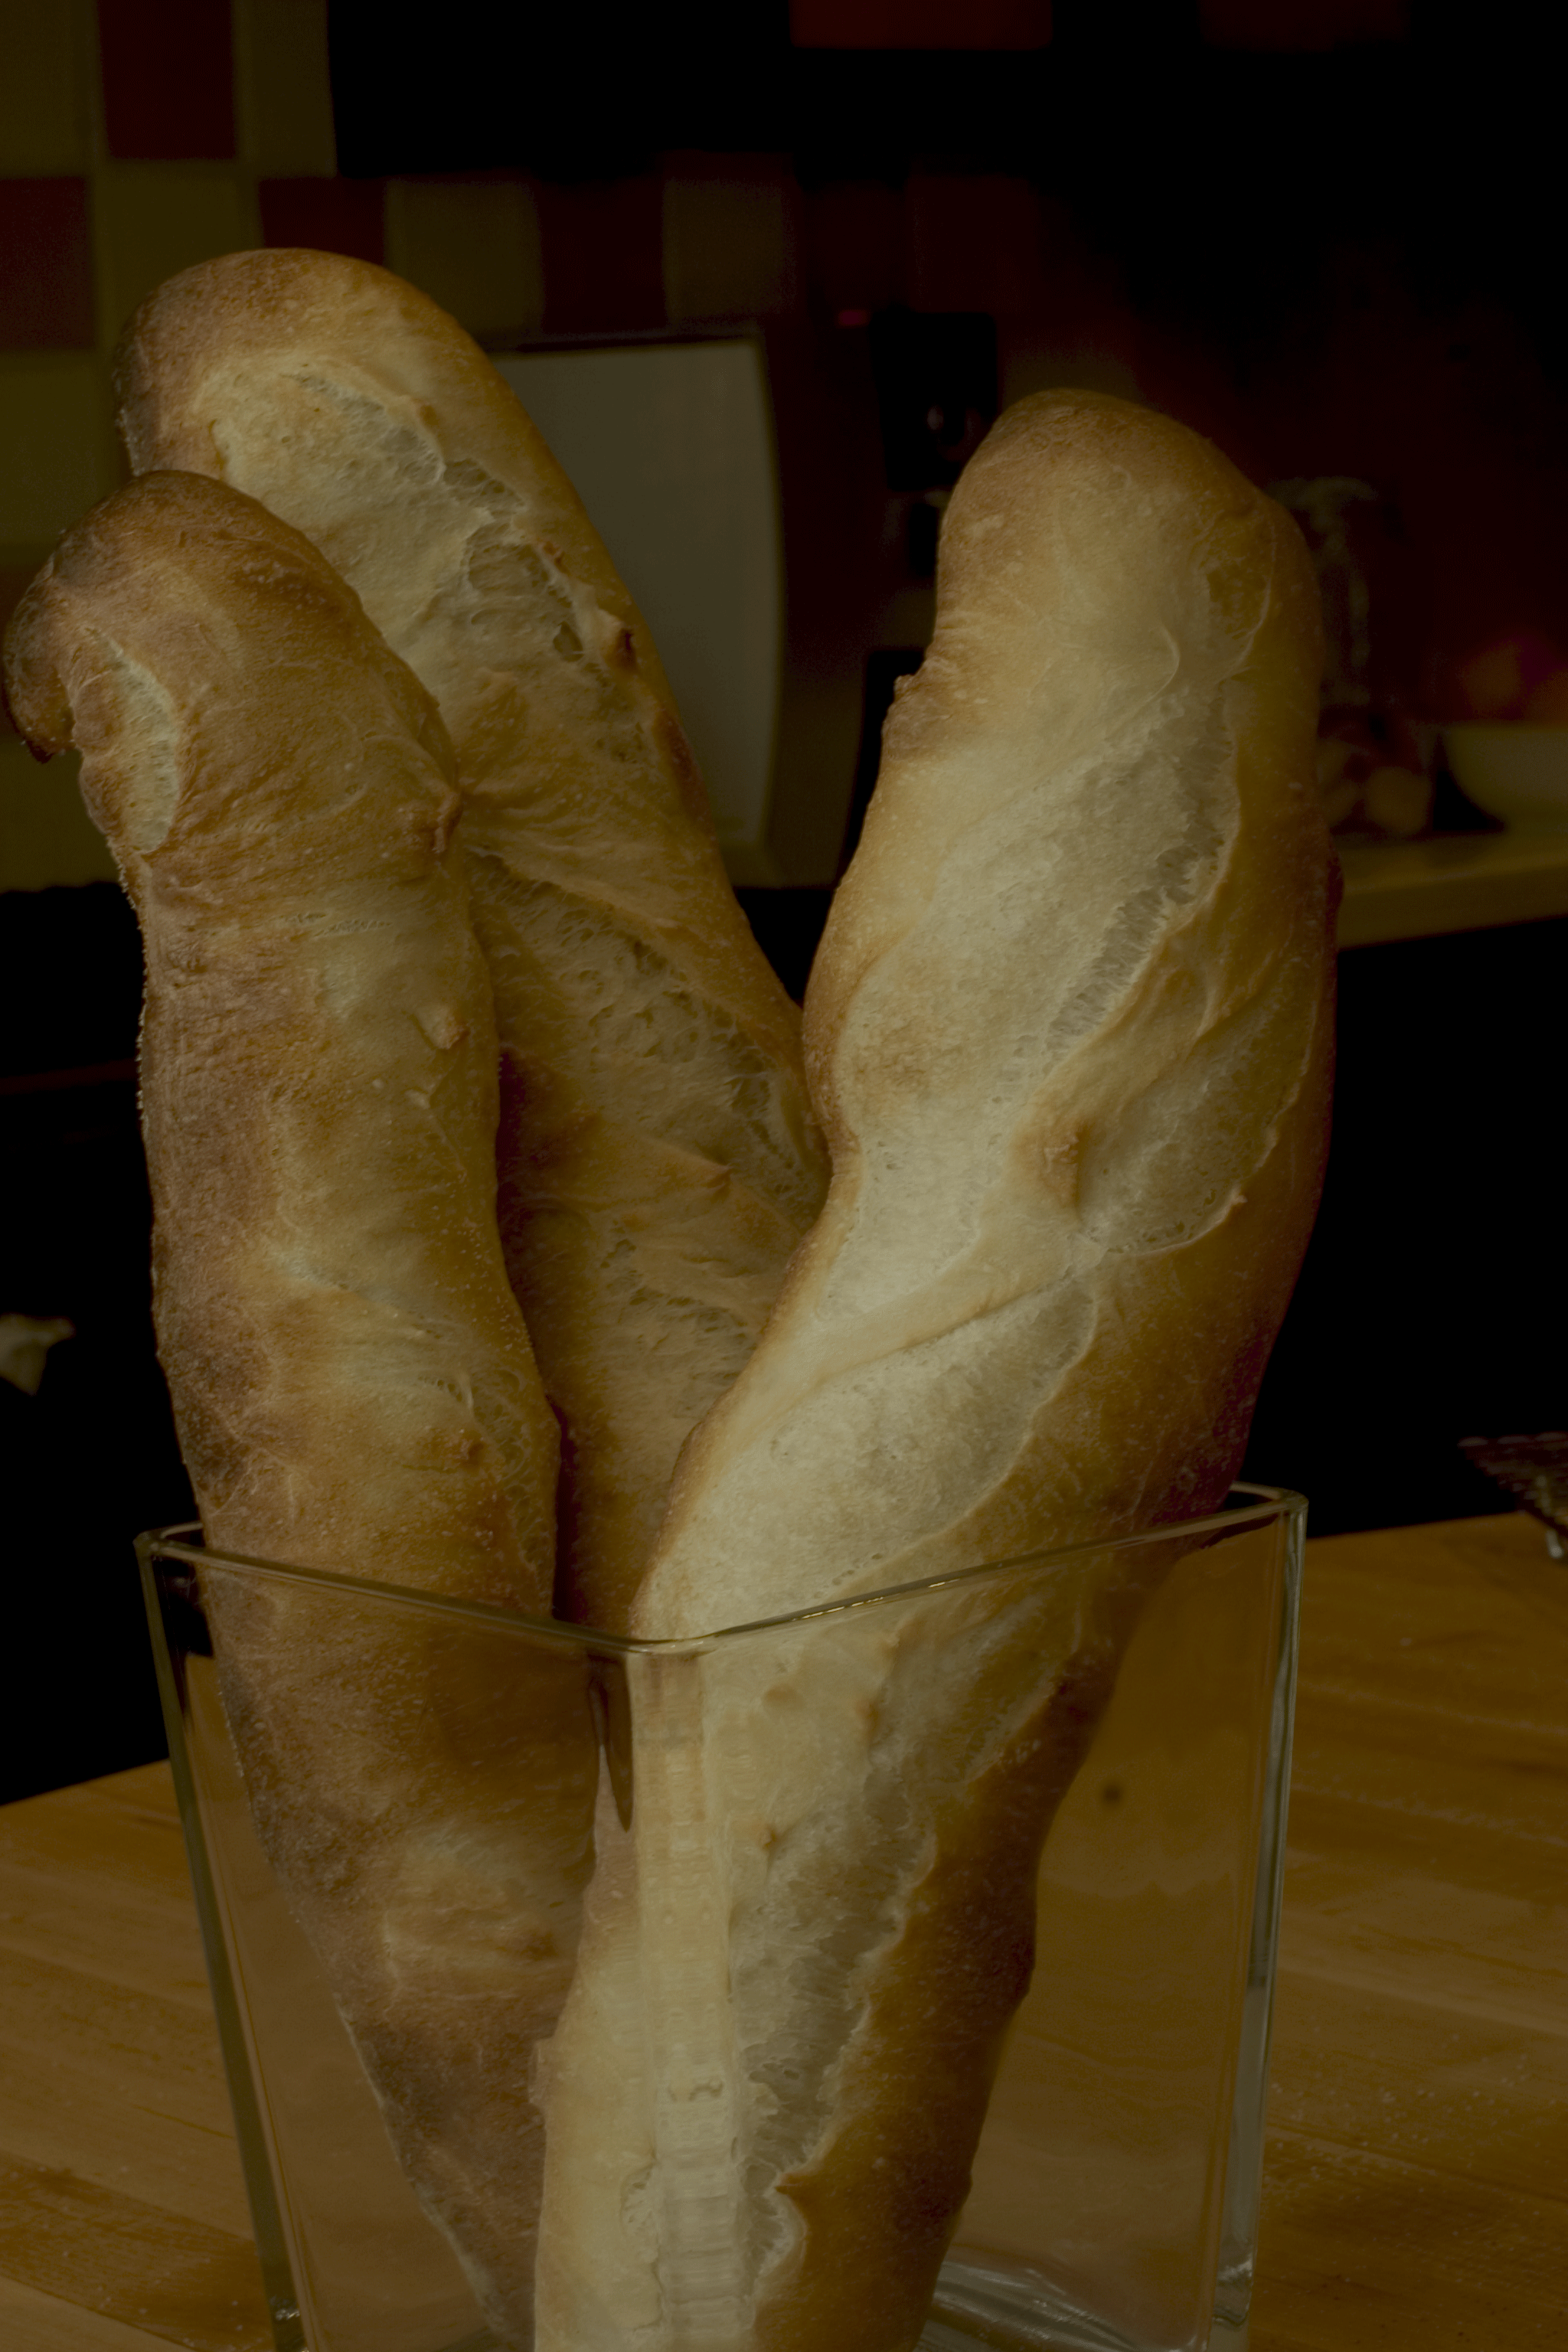
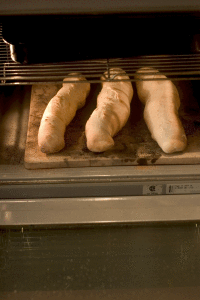
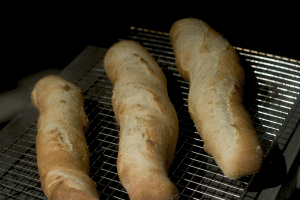
I prepared my peel with cornmeal, carefully transferred the baguettes to the peel, opened the oven, closed my eyes and gave a short jerk with my arm to get the baguettes from the peel onto the baking stone. When I opened my eyes, I was horrified to see 3 “S” shaped baguettes staring back at me. I tried as best I could to straighten them out but they were odd looking baguettes.
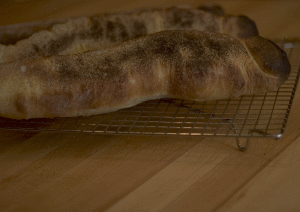
I added hot water to the baking pan to create steam in my oven and sprayed the oven walls twice, at 30 second intervals to create even more steam. I forgot to turn the oven temperature down and as a result, my baguettes got way too dark on the bottom before the top was sufficiently browned. In hindsight, I think I should have had the steam pan on the bottom of the oven and the baking stone on the middle rack for more even browning.
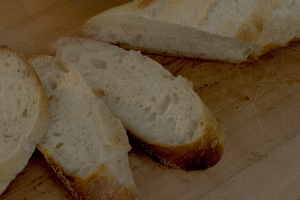
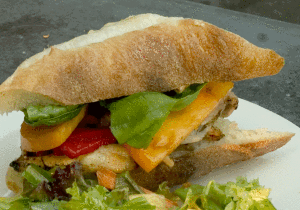
My baguettes definately had personality. However, they the lacked large irregular holes in the crumb that are the hallmark of a stellar baguette. Oh well, something to strive for. They made delicious sandwiches for dinner with grilled lemon-rosemary chicken and chipotle mayo.

For a while there I thought this is Susie’s blog, heheh.
I kinda like the shapes though and they are holey-er than my loaves.:-)
I never even thought of Susie’s signature S on her breads. That’s pretty funny!
OH MY GOODNESS! Your French bread is gorgeous! Love the crust which is the best part of French Bread.
I’ve not made my French Bread yet. I ordered a new perforated bread pan and it just came today. Can’t wait to try it out!
I’m interested to see how it turns out with that perforated baguette pan, if you actually get a crisp crust with it. You will certainly have nice straight loaves though!
What gorgeous loaves! I actually skipped this bread because I wanted to see how others tackled the recipe. I’ll have to give this a try soon! Thank you as well for visiting my blog 🙂
LOL… I too thought maybe I was reading Susie’s blog. Great pictures, especially the shaping. I loved the Julia video too. I used to have all of those chef series on my Tivo, but then we went to an HD recorder and I no longer have them. I forgot how great they were. She had Rick Bayless on one and he looked like such a young man! Joelen, it was one of the most to the point formulas I have done from this book. Just follow it step by step and you will be enjoying your Italian Bread! I used a perforated baguette pan for mine http://tinyurl.com/BBAItalian
Wow, awesome color on the loaves. I found this bread to be a challenge, so I re-did it and appreciate the effort that goes into getting this color and this scoring. Love the S shapes. Reminds me also of Susie’s blog!
I’m actually a bit jealous of the underside overbrowning. This is something I have been struggling with despite having a baking stone.
Wow, I’m glad I took the time to check out what you have been up to after you posted on my blog.
How funny that you carried on the “S” shape for me. SWEET.
I’ve got to get back into it……..I’m so behind.
Great job,
Susie
Pingback: Bread Baker’s Apprentice Challenge: French Bread — Pinch My Salt