Monthly Archives: September 2009

Week # 18, in which I discover I may have actually become a bread snob.

crumb-shot-1

In week # 18 of the Bread Baker’s Apprentice Challenge, we encounter Light Wheat Bread.  I was not exactly excited to make this bread.  Frankly, it looked a little boring. Plus, every other bread we have baked from this book has been accompanied by a jaw dropping photo.  This bread had no photo.  Even Peter Reinhart’s description of this bread left me feeling blah.  “The result is a loaf similar to the soft wheat breads purchased off the shelves.” Hardly a ringing endorsement.

 However, other BBA challengers were effusive in their praise for this bread.  

 Mags of The Other Side of 50 said, “The whole grains geek in me loved this recipe! I made sandwich buns instead of a loaf.  Great tasting and such an easy recipe.” 

 Sally of Bewitching Kitchen said,  “I have made this bread many many times, it is a winner for sure!”  

Phyl of Cabbages and Kings said, “This was a delicious, light sandwich bread. And great for toast, too.”

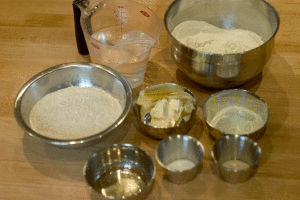
So maybe I was judging this bread prematurely.  Is it possible that after only 18 weeks, I have become a bread snob?  So, I took a leap of faith and went into the challenge hoping for the best.  This light wheat bread contains about 1/3 whole wheat flour, and 2/3 white bread flour.  The remaining ingredients include honey, salt, powdered milk, yeast, butter and water.

Mise-en-place

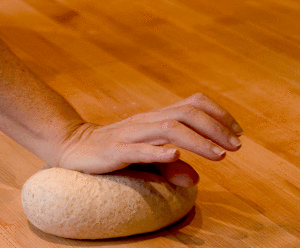
The dough came together very easily.  I kneaded the dough by hand as I am still without my Kitchen Aid. 

hand-kneading-2

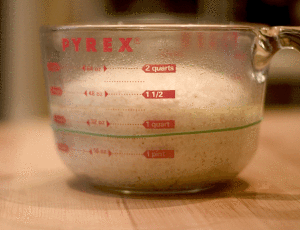
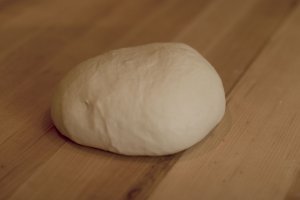
After about 10 minutes of hand kneading the dough was ready for primary fermentation.  My kitchen was very warm and it doubled in size in about 90 minutes.

doubled

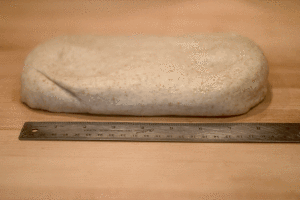
To shape the dough into a loaf, the dough is pressed into a rectangle about 6 inches wide and 8 inches long.

rectangle

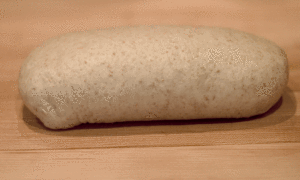
Then it is rolled into a loaf and the seams are pinched shut. 

shaped-into-loaf

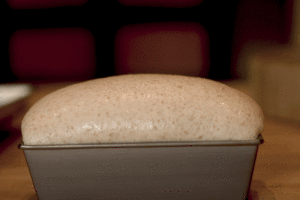
The loaf gets placed in a lightly oiled 8 x 4 inch pan and is covered with plastic wrap and left to proof just until the dough crests above the lip of the pan.  Peter Reinhart estimates that will take about 90 minutes.  I went to work out and when I came back 60 minutes later my loaf had totally overproofed.

proofed!

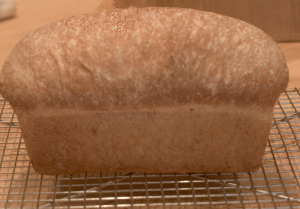
Whoops, a little more than just cresting over the lip of the pan.  I must keep reminding myself that baking is more art than science and these recipes are guidelines only.  So many variants can alter yeast!  I popped the loaf into the oven and baked it for about 40 minutes, until it registered 190 degrees in the center, using my instant read thermometer.  I love using the instant read thermometer to guage when bread is done.  I never could get the hang of telling if it was done by thumping on the loaf and listening for a hollow sound.

  baked-1

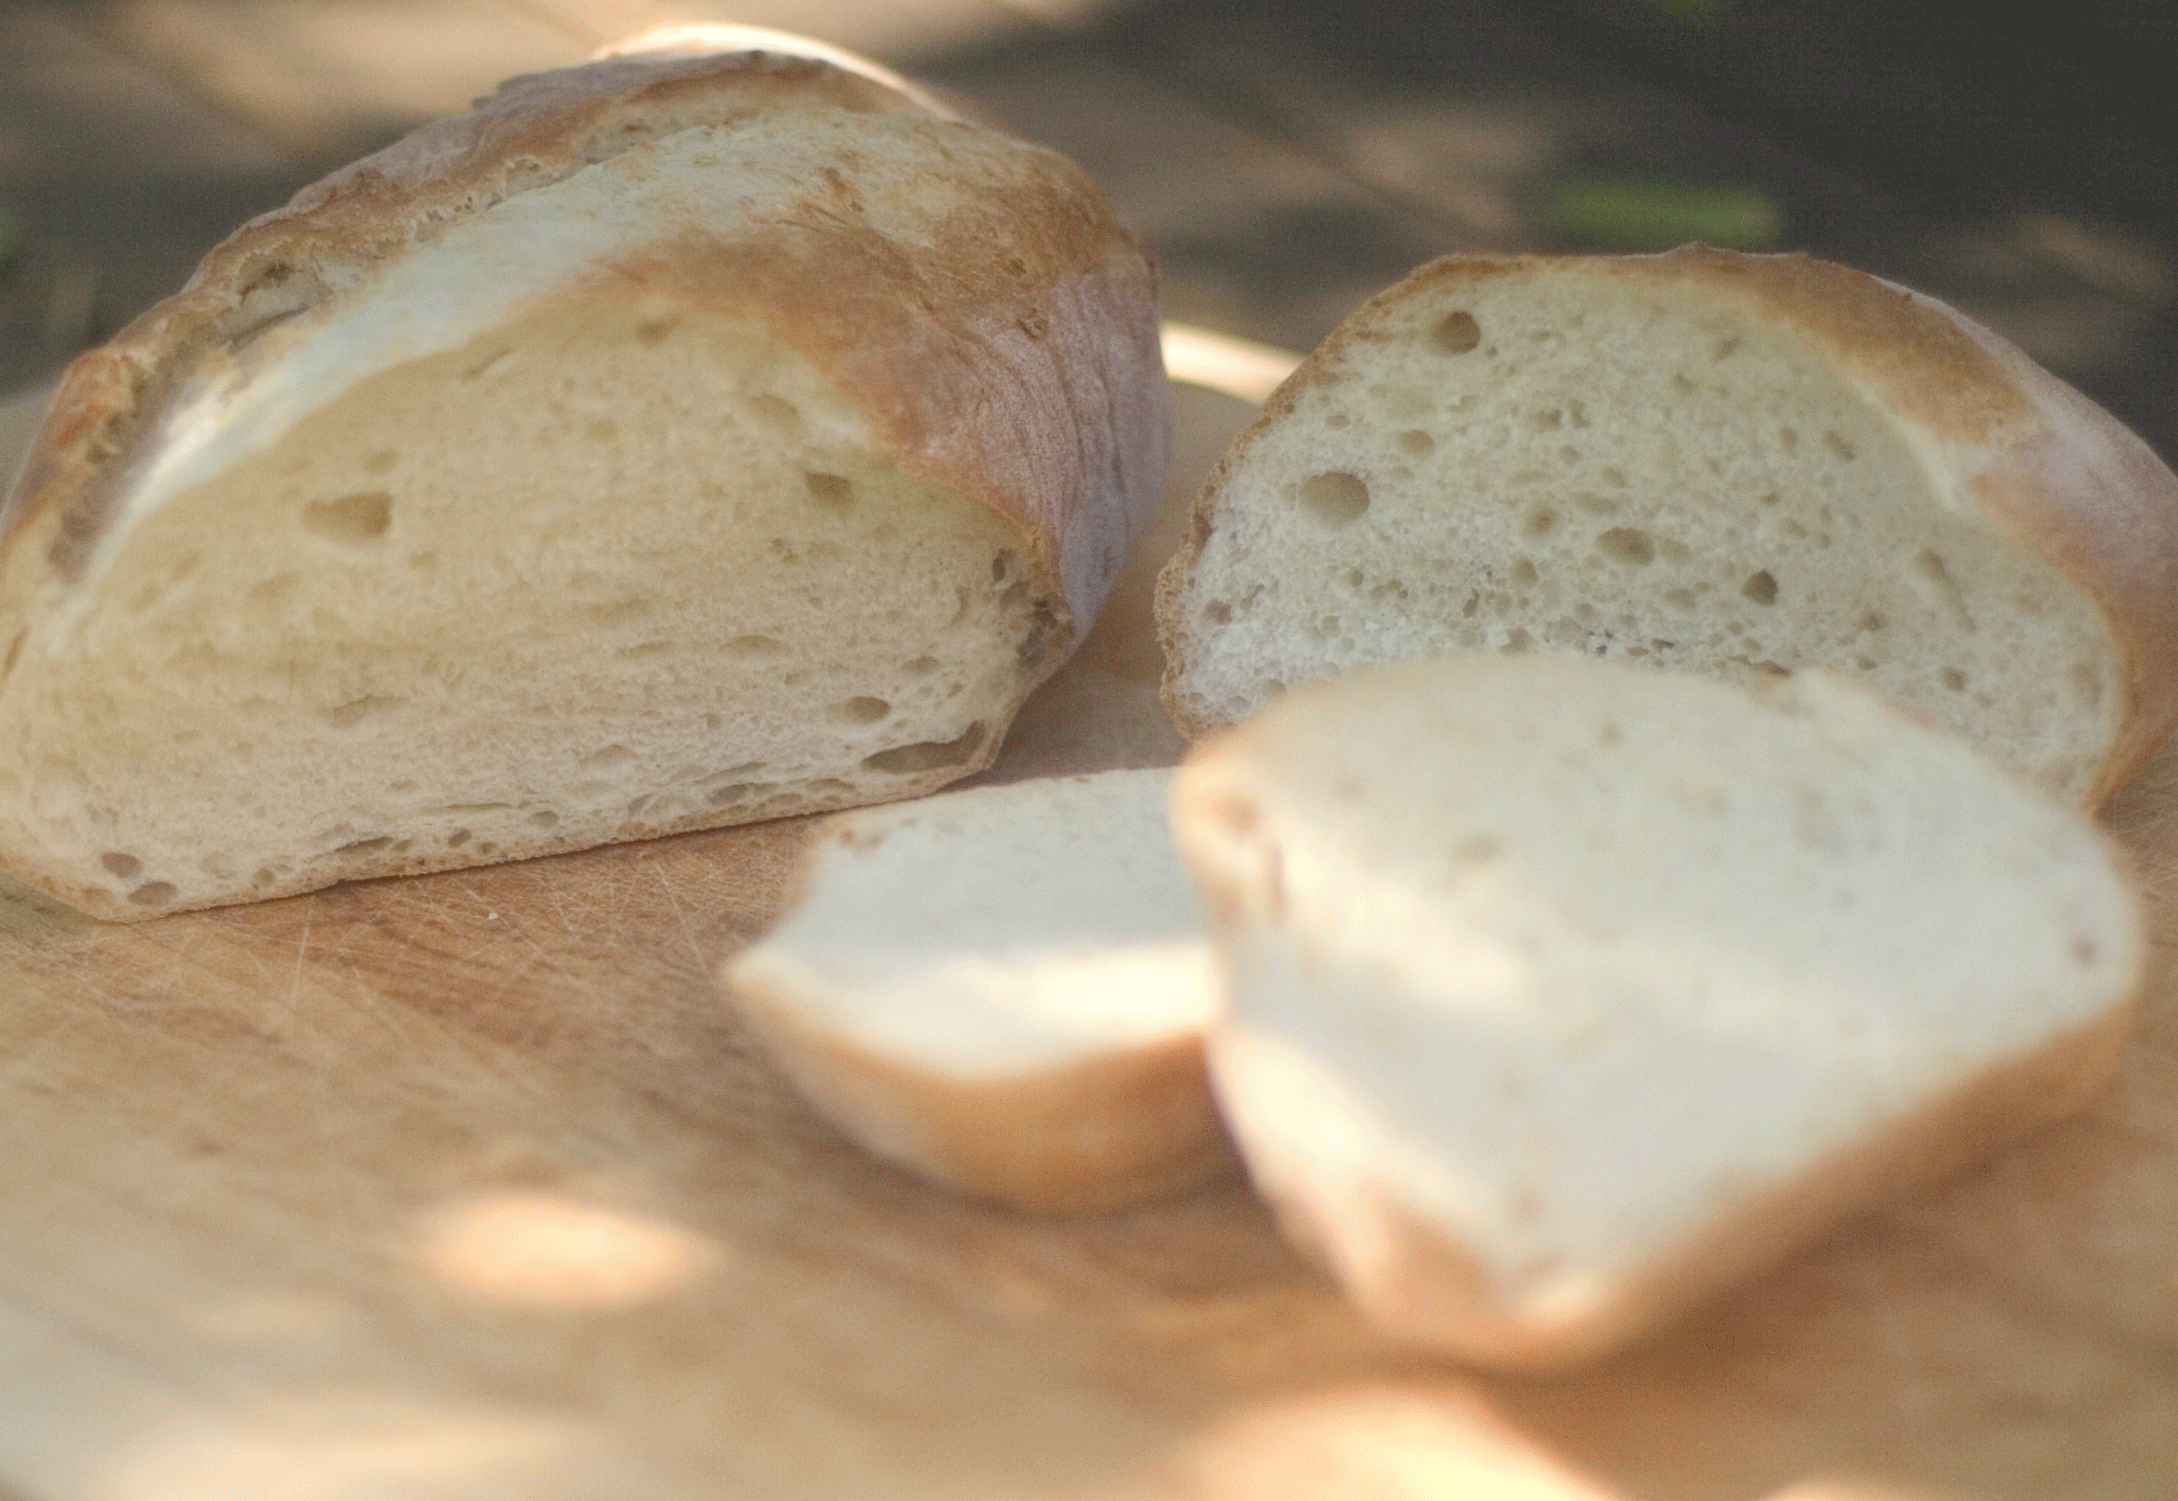
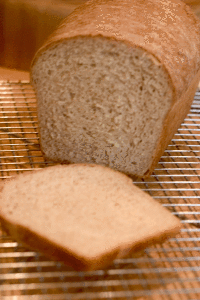
After about 2 hours I sliced into it and tasted.  The verdict….It was ok.  Light and fluffy with a slight chew to the crumb.  This bread was very similar to what I can buy from the in-store bakery at my local supermarket.  It is unlikely that I will make this loaf again as there are so many other exciting breads out there calling my name and so little time.  However, in it’s defence, I will say that this bread makes excellent grilled cheese sandwiches, which is how the majority of this loaf was used.

#17. Lavash Crackers

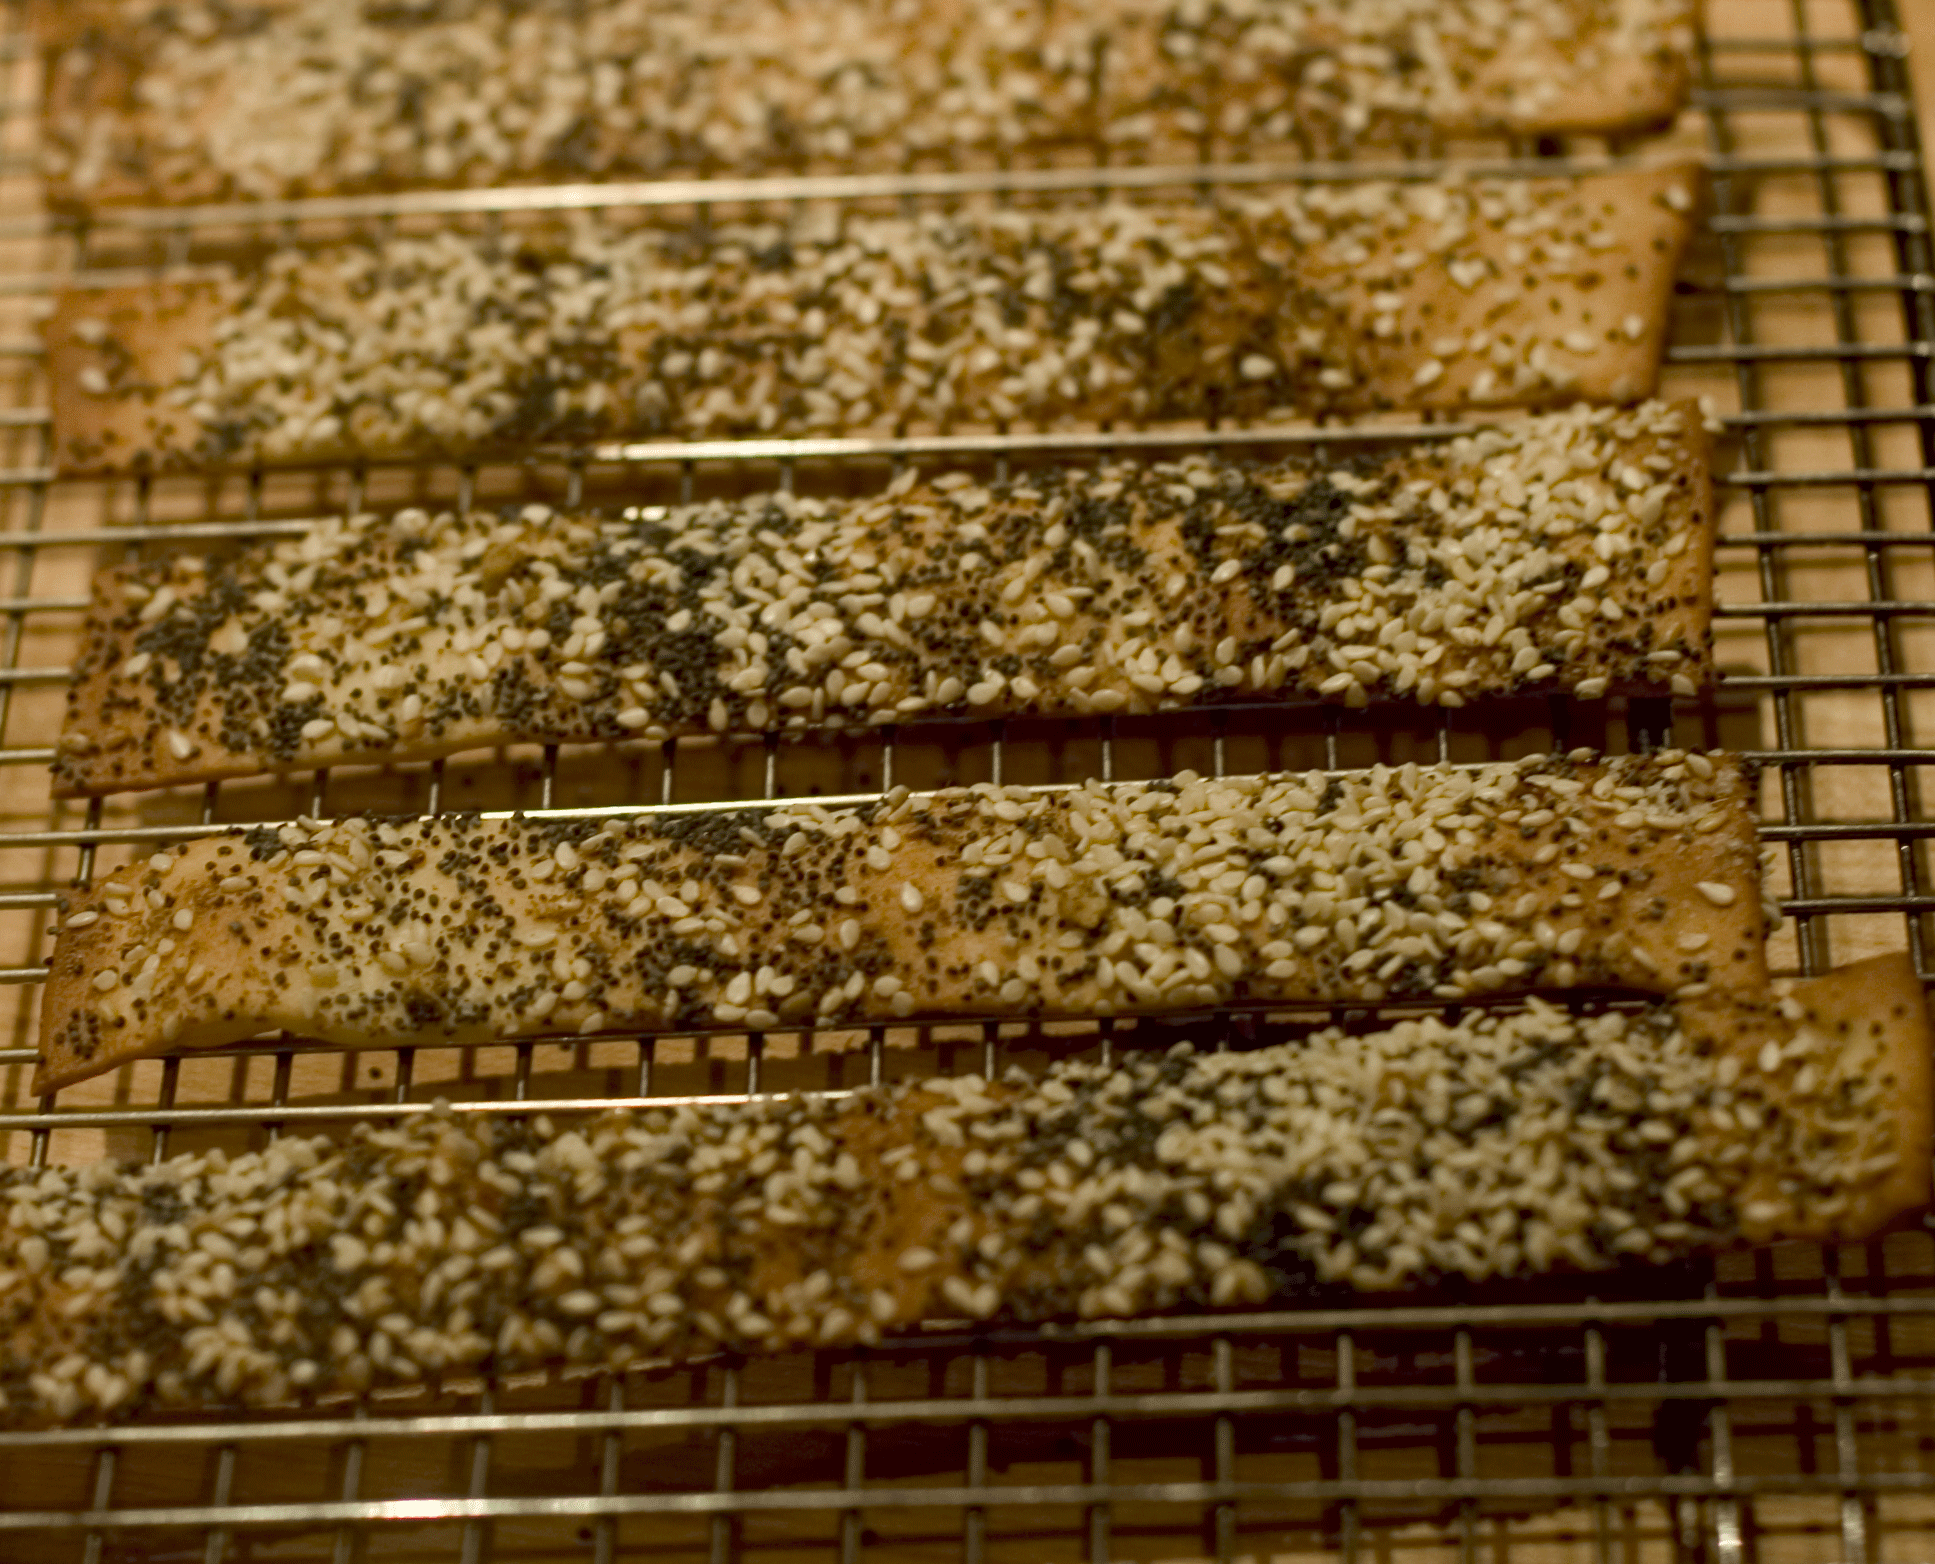
done-1

Last week was Rosh Hashanah (the Jewish New Year) and I was having 12 for dinner on Friday night.  In addition to preparing dinner I was also making  5 round sweet challahs. One was for my dinner, one was for my niece to take back to college to share with her friends and 3 were to take to my aunt’s house for Saturday lunch. 

Since it was still quite warm out, I thought I’d make an icy cocktail to get the New Year off to a proper start.  I made
Electric Lemonade
.  I highly recommend this cocktail for any family gathering.  Family love and harmony will be flowing after everyone drinks one of these.  I was planning to serve a feta-mint dip (recipe below) and crackers with drinks.  Since I’m a little behind schedule in the Bread Bakers Apprentice Challenge, this was the perfect opportunity to start getting caught up, as Lavash Cackers were up next for me.  The recipe seemed fairly straight forward and no overnight fermenting was required.
The dough for these Armenian crackers uses bread flour, salt, yeast, honey, vegetable oil and water.  After 10 minutes of hand kneading I had a supple stretchy dough.  Into an oiled container it went for about 90 minutes until it doubled in size. Then it was time to roll the dough out.   I had already been warned by Carolyn of Two Skinny Jenkins  to roll the dough thinner than the recipe specifies, if you want really crisp crackers. 

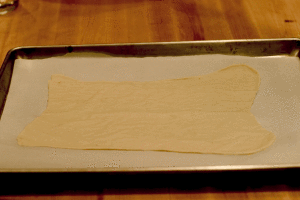
 I divided the dough into 3 pieces and began rolling each into a large rectangle.  The dough is quite elastic and resisted being stretched out at the beginning, so I covered it with plastic wrap and let the gluten relax for about 10 minutes.  After that, it rolled out very easily, with no tearing at all.  I transferred the first piece to a parchment lined baking sheet.

rolled-out

Since I was serving these with a feta mint dip, I thought I’d season them with Dukkah, an Egyptian spice blend.  It contains finely ground hazelnuts, pistachios, sesame seeds, cumin, corriander and salt.  I order it on-line from www.crousset.com, a Quebec retailer.  You could also make it yourself.  I have posted the recipe below.  It is very versatile. 
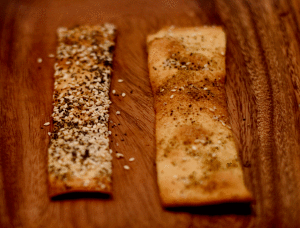
Once the dukkah mixture went on, they looked a little bare, so I added sesame and poppy seeds and a touch of kosher salt.  After I finished  sprinkling the first piece with spices, I realized I had forgotten to spray the dough with water first.  I pressed the spices in with my fingers and hoped for the best.  I remembered the water on the next two pieces of dough.  I was really surprised at what a great glue water is.  Below is a picture of two finished crackers.  The one on the left had water sprayed onto it before adding the spice mixture and the one on the right has no water sprayed before adding the toppings.  The water really does help the toppings to stick.

water-vs-no-water

The finished crackers were crisp and delicious.  I’m not sure how soon I’d make these again, since there are so many wonderful crackers available to buy, but they certainly had the wow factor.  My 11-year-old niece was very impressed that you could actually make crackers.  She thought crackers only came from a box.

Feta-Mint Dip with Yogurt 

This recipe comes from the September 2002 issue of Cook’s Magazine.  I always make a double recipe as it seems to disappear very quickly. 

1 cup plain yogurt (low fat is ok)
½ cup mayonnaise (light is ok, but DO NOT use fat-free)
2 ½ ounces feta cheese, crumbled (1/2 cup)
¼ cup chopped fresh mint leaves
2 medium green onions, roughly chopped
2 teaspoons freshly squeezed lemon juice

  1.  Place yogurt in a cheesecloth-lined colander set over a bowl.  If you have no cheesecloth, a flat bottomed paper coffee filter works equally well.  Cover with plastic wrap and refrigerate for 8 to 24 hours.  After yogurt has drained, discard liquid in bowl.

  2.  Process all ingredients in food processor, fitted with chopping blade, until smooth and creamy, about 30 seconds.  Transfer dip to serving bowl, cover with plastic wrap, and refrigerate until flavours are blended, at least 1 hour.  Serve cold with crudités or pita chips or crackers.  This dip can be refrigerated in an airtight container for up to 2 days.

 Dukkah

 Warning:  Dukkah can easily become an obsession.  The more you eat, the more addictive it becomes.  Serve with warmed pita and extra-virgin olive oil.  Dip pita into olive oil, then into dukkah and eat.

 ½ cup hazelnuts
½ cup shelled pistachios
1 cup sesame seeds
2 tablespoons cumin seeds
2 tablespoons coriander seeds
1 teaspoon kosher or sea salt

1.  Preheat the oven to 350 degrees F (175 degrees C). Place the hazelnuts on a baking sheet, and bake for about 5 minutes, or until fragrant. While the nuts are still hot, pour them onto a tea towel. Fold the towel over them to cover, and rub vigorously to remove the skins. Set aside to cool.

 2. Place pistachios on baking sheet and toast for about 5 minutes in   preheated oven.  Set aside to cool.

 3.  In a dry skillet over medium heat, toast the sesame seeds until light golden brown. Pour into a medium bowl as soon as they are done so they will not continue toasting. In the same skillet, toast the coriander and cumin seeds while shaking the pan or stirring occasionally until they begin to pop. Transfer to a food processor. Process until finely ground, and then pour into the bowl with the sesame seeds.

4.  Place the cooled hazelnuts and pistachios into the food processor, and process until mixture resembles coarse breadcrumbs.  Do not over process.  You do not want nut butter. Stir into the bowl with the spices. Season with salt and mix well.

#16. The Kaiser Buns that killed the Kitchen-Aid.

all-done-2


I have been looking forward to making Kaiser Buns for quite a while now, ever since my Kaiser Roll Cutter arrived in the mail from King Arthur Flour last month. There’s something so old-fashioned and exiting about getting a package in the mail, even if I did send it to myself.  Usually there is a time lag of about a week between when I order it and when it comes, so I have forgotten all about it and still get that “Ooh, a package for me!” thrill. 

The kaiser buns are a two day affair, making a starter dough on day 1 and the final dough on day 2.  In this case the starter dough is a “Pâte Fermenté”, which is simply a mix of bread flour, all-purpose flour, salt, yeast and water.  This dough is left to ferment in the fridge overnight.  This slow overnight process creates certain enzymes that contribute to better flavour texture and colour in the final kaiser bun.  The next morning I took my Pâte Fermenté out of the fridge and let it come to room temperature.  Then I added it, along with the remaining dough ingredients (bread flour, salt, barley malt powder, yeast, egg, vegetable oil and water) to my Kitchen-Aid mixer and got to work.

I’m firmly convinced my Kitchen-Aid mixer read my mind.  As I started mixing the dough for the kaiser buns, I thought, “I really need to begin mixing my doughs by hand, to learn the feel of them better”.  Within about a minute of thinking this, my Kitchen-Aid took off at warp speed, then slowed down to a trot and then quit all together.  When I tried turning it on again, at low speed, it gasped, spun one or two revolutions and then shut down again.  It was dead.

Well as they say, “Be careful what you wish for!”  The kaiser dough came out of the mixer and hand kneading commenced.  After about 8 minutes I had a supple dough that was still tacky but not sticky.

Dough-after-kneading

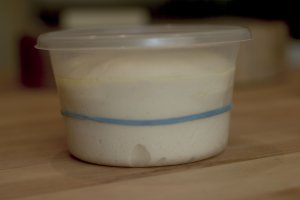
The dough went into an oiled container and was set aside for the first rise, approximately 2 hours or until it doubles.  I think it must have been quite warm in my kitchen because after 90 minutes, I had this:

Dough-doubled

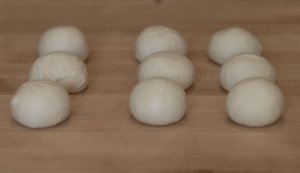
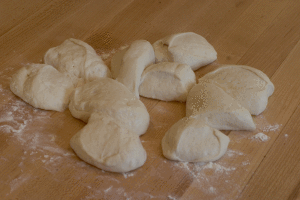
We had the option of making 6 larger buns or 9 smaller ones.  In a never ending (Losing) battle to consume less bread I decied to make 9 smaller rolls, figuring I’d never just eat half of a large roll, but maybe I could stop after just one whole small roll.  The dough was rolled into little balls and then covered to rest for 10 minutes.

nine-balls

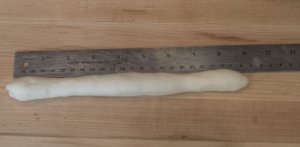
Next it was time to make the kaisers using my new cutter.  I pulled it out of the drawer and looked at it carefully.  Then I looked at my balls of dough.  I quickly realized that the cutter would not work for small rolls.  It was too big and would not make a proper cut on my small buns.  So, onto Plan B, forming my buns into little knots.  The instructions and photos in the book were very easy to follow.  First roll out the dough into an 8 inch strand.

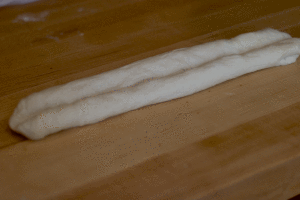
8-inches

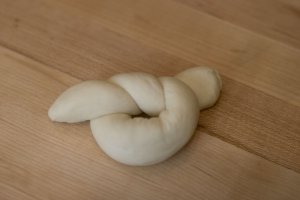
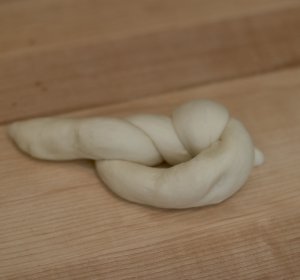
Next tie it into a simple knot.

tie-into-knot-1

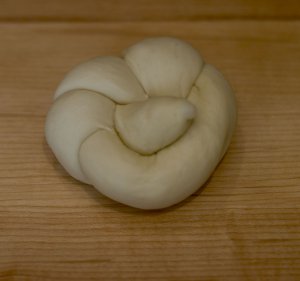
Then, take one tail and bring it and bring it up and over the loop and tuck it into the center hole.

tie-into-knot-2

Then take the other tail and bring it under the roll and poke the tail up through the center hole.

tie-into-knot-3

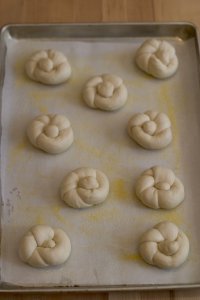
The knots are then placed on a cornmeal coated, parchment lined baking sheet.

onto-the-baking-sheet

The knots are sprayed lightly with oil, covered with plastic wrap and left to rise for 45 minutes.  Then we are instructed to turn the rolls over and let rise for a further 45 minutes.  When I picked up one of the rolls, I noticed there was cornmeal on the underside.  I did not want the top of my buns to have cornmeal on them, so I ignored this suggestion and let them continue rising, without turning them over, for a further 45 minutes.

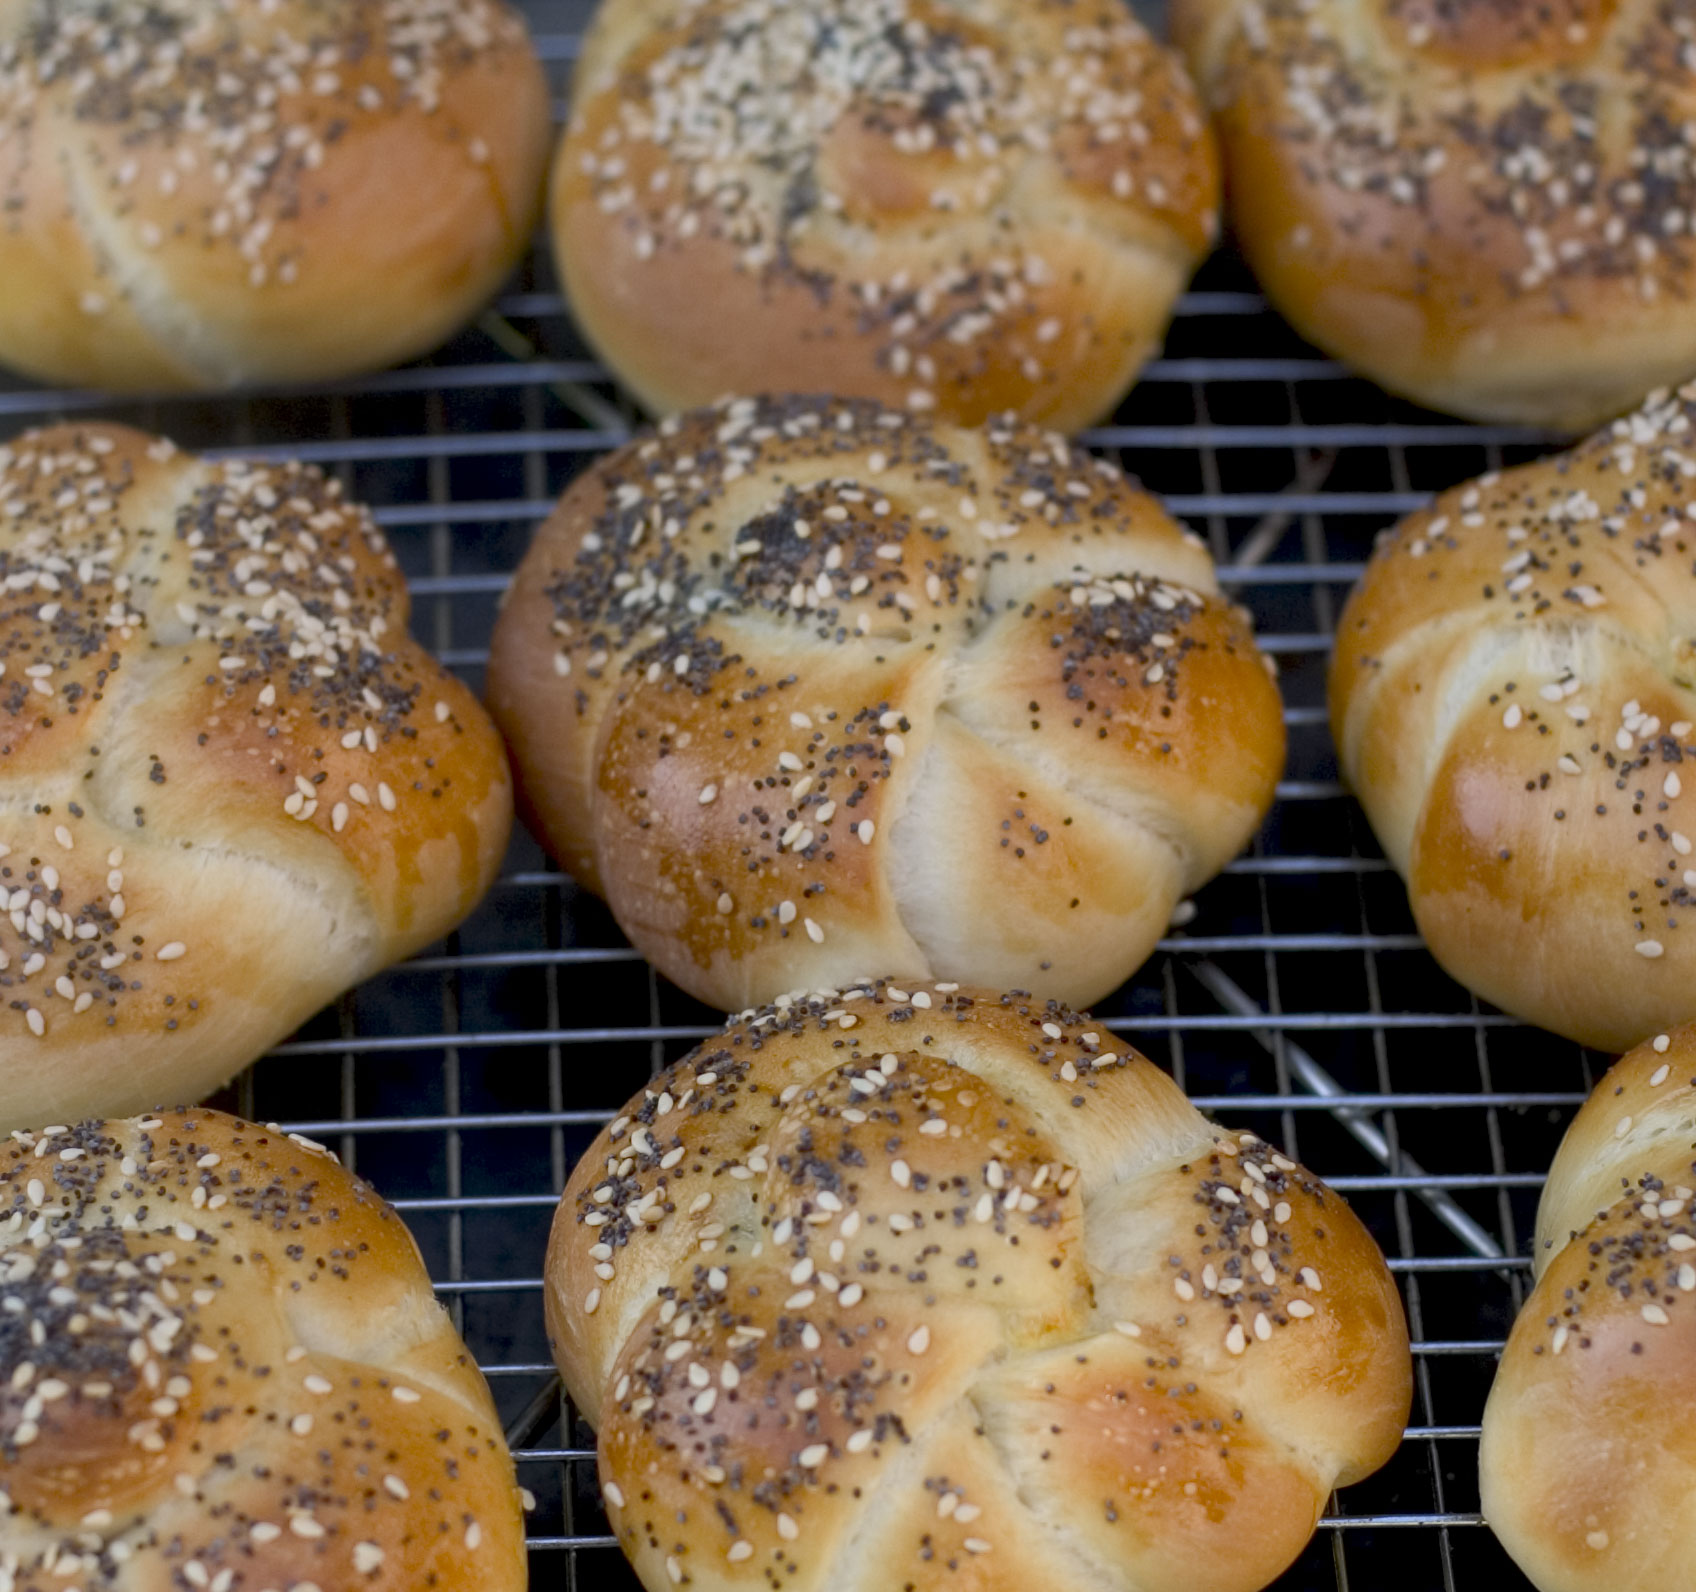
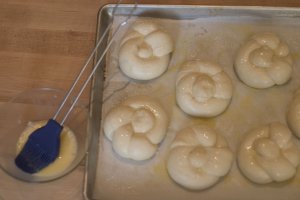
After the second 45 minute rising period, they had doubled in size.  I decided to egg wash them instead of spraying water on them as suggested in the book, as I wanted them to have a shiny finish.

eggwash-brush

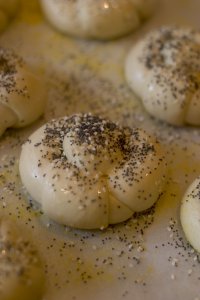
Then I sprinkled them with poppy seeds, sesame seeds and a touch of kosher salt.

sprinkle-with-seeds

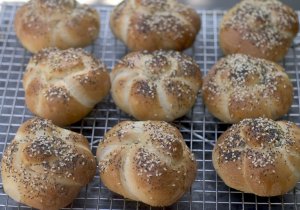
Into a 425 degree oven they went and were done after 14 minutes.

all-done

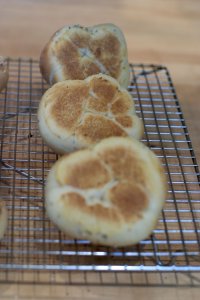
For bottom crust freaks, here is a shot of the underside.

the-underside

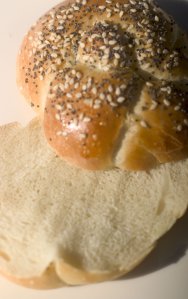
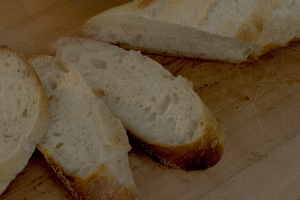
For crumb freaks, here is a shot of the inside.

the-crumb

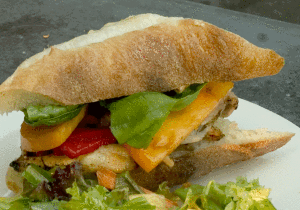
They were tender, a little sweet and the perfect sandwich roll.  For dinner that night we hade grilled salmon and chipotle mayo sandwiches.  Sorry, no picture as they got gobbled up too quickly!

#15. How Italian bread lead me to infidelity.


the-crumb-shot

I have a confession to make.  I cheated on Peter Reinhart.  Last week’s bread in the Bread Baker’s Apprentice Challenge was the ultimate French Bread, baguettes.  My results were mediocre and truthfully I was a little disappointed.  I really struggled with shaping and scoring the baguettes.  This week’s bread is Italian Bread and the shaping and scoring of the loaves is somewhat similar to French Bread.

I thought that if I could actually watch someone do it, rather than just read instructions in a book, I may have a better chance of success this week.   I surfed the web and came upon a video of Chef Danielle Forrester on Julia Child’s PBS series, making baguettes.  As I watched the video, I have to admit I was somewhat shocked to see how roughly she handled the dough.  She slapped it with her palm and really pressed hard on the seams as she formed her loaf. 

This was surprising to me because Peter Reinhart emphasizes handling the dough gently, lest we accidentally degas the dough.  But Chef Danielle just exuded power and confidence, and frankly, I was seduced.  I wanted to try slapping my dough around too.  So while I used Peter Reinhart’s recipe,   I followed Chef Danielle’s method for shaping my Italian bread.  The shape for an Italian bread, incidentally is called a Batard, (literally “Bastard”)  which is a torpedo shaped loaf, measuring 6-12 inches in length

This is a two day bread, where we make a starter on Day 1 and let it rest overnight in the fridge.  On day 2 the starter is incorporated into the new dough and the loaves are formed . This recipe made either 2 large torpedo shaped loaves (batards) or 9 smaller hoagie sized rolls.  I opted for the 2 large loaves.  After the dough fermented at room temperature I began forming my loaves.  

Dividing the dough into 2 pieces I formed each into a batard.  First the dough is flattened into a rough rectangle and then it is folded into thirds, letter style.  The flattening and folding is repeated 2 more times for a total of 3 times in Chef Danielle’s method, whereas PR only does this once.  Then a groove is formed down the center of the dough, using the side of your hand.  The top edge of dough is folded two thirds of the way down and the seam is sealed with the heel of your hand. The folding and seaming is repeated two more times for a total of 3 seals.  Peter Reinhart’s method only calls for 2 seals.  I must admit the surface tension of my Italian loaves seemed greater using Chef Danielle’s method. 

After forming the batards, the dough proofed for about one hour while I preheated the baking stone and oven to 500 degrees.

in-the-couche

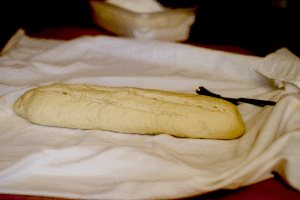
After an hour the loaves had grown to almost 1 1/2 times their original size.  They were ready to be scored.  After watching Chef Danielle’s sure and steady scoring method one more time, I slashed swiftly and with purpose. 

loaf-2-slashed

I decided to transfer my loaves into the oven one at a time rather than both at the same time.  Loaf one went onto the peel and slid easily onto the baking stone, retaining its shape.  I felt like a pro.

loaf-1-successfully-made-it

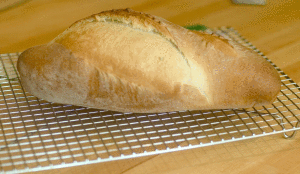
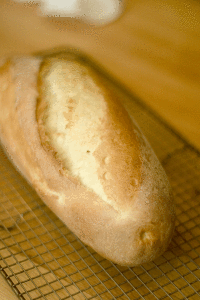
The second loaf slid in alongside the first and I added boiling water to the steam pan and quickly shut the oven door and turned down the temperature to 450 degrees.  The loaves were golden brown and crusty after about 15 minutes.  The slashes opened up beautifully and I was so impressed with my artistry!

loaf-1-done

loaf-2-done

While the outside was crusty and golden, the inside crumb was tender and soft.  After the loaves had cooled we sliced them up and toasted them on the BBQ and devoured them with diced tomatoes from the farmer’s market, garlic, olive oil, basil and salt.

#14. This week’s bread is brought to you by the letter S

standing-at-attention

In Week #14 of the Bread Baker’s Apprentice, we tackle the ultimate French Bread, the baguette. In the introduction to this bread, Peter Reinhart says, “As with most hearth breads, another key to the success of this bread is handling it gently, retaining as much gas as possible during shaping in order to promote large, irregular holes in the crumb…. This large, open crumb is one of the signs of a properly handled artisan loaf.” 

The novice bread baker might read this and think, “Hmm, that’s interesting.”  However, those of us on Week #14 of the Bread Bakers Apprentice Challenge will start sweating, with memories of our old nemisis the Ciabatta bread, still fresh in our minds.  My finished Ciabatta bread was good but did not have those characteristic holes that bread freaks live for.  The baguette is another challenging bread.  It is not for the faint of heart. 

If you are planning to make baguettes, I highly recommend watching this video.  It is from the PBS video series Julia Child: Lessons with Master Chefs and it features Chef Danielle Forestier making baguettes.  While Peter Reinhart’s instructions are good, I am a visual learner so the video was very helpful for me.  It was interesting to watch and then compare her method for forming the baguettes with PR’s .  She was way less gentle with the dough.  Unfortunately, I only discovered the video the day after I made my baguettes, but it will be helpful for when I form my Italian loaves.

To make a proper artisan baguette, you need to start with a pre-ferment.  A pre-ferment is a dough or batter made beforehand and used in bread dough.   Pre-ferments enhance the taste of bread by extending the fermentation time, creating more complex flavors and enhancing the texture of the final product. There are several types of pre-ferments.  In the baguette we make a “pate fermentee.”  Basically we make the dough on day one, let it ferment overnight in the fridge and on day 2 make a second batch of dough, adding the first batch as the pre-ferment.  So far so good. 

Here is my pate fermentee, cut up into small pieces to hasten the process of bringing it to room temperature after spending all night in the fridge.

Pate-fermente

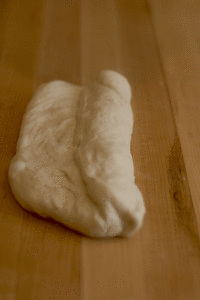
Next we make the dough one more time, and this time we add the pate fermentee to the new dough so that we have a double batch of baguette dough, enough to make 3 large baguettes.  Several times, in the recipe we are warned against working too roughly with the dough, lest we “degas” it too much.  The first step is to form each piece into a batard (torpedo shape).  This basically involves patting each piece of dough into a rough rectangle and then folding it letter style, into thirds, to form the batard.  The edge of your hand is used to form a seal.  Then the batards rest for 5 minutes.  

forming-into-batards

Here are my 3 batards.

3-batards

Next the baguettes are shaped by using the side of your hand to make a trough down the center of the dough. 

indentation

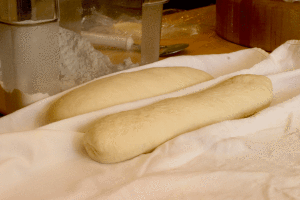
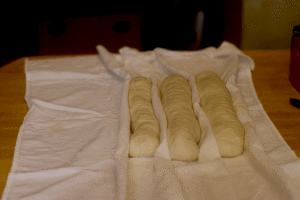
The dough is folded again, letter style and a seam is formed.  Then the dough is rolled, gently back and forth until the desired length is reached.  I got a little carried away with my rocking and rolling and rolled out my baguettes to an impressive 20 inches.  Then I realized that my oven only measures  16 inches across.  Ooops!  I gently compressed my loaves down to 16 inches.  Then I carefully transferred them to my homemade couche.  A couche is a piece of cloth that is used to support the baguette during it’s final proofing.  I used an old cotton apron and it worked perfectly.

into-the-couche

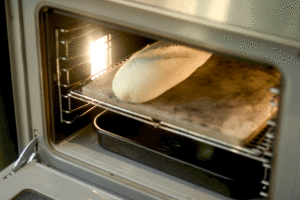
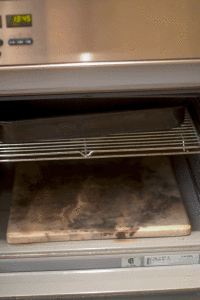
I covered the baguettes and let them rest for 45 minutes. While they were proofing I had a momentous decision to make.  Do I chance transferring the baguettes to a peel and slide them into the oven onto a baking stone or do I play it safe and bake them on a sheet pan, thus eliminating the scary slide into the oven.  Daredevil that I am, I decided to go for the baking stone and attempt the slide.  I set up my oven as shown in the book, with the baking stone on the bottom floor of the oven and the steam pan on the rack above.

baking-stone-and-steam-pan-

Then came the scary part.  Slashing the dough!  I had purchased a french lame (a special slashing blade).  Peter Reinhart is very detailed in his instructions about slashing the bread.  He instrusts us to cut on an angle, not straight down so that the blade is held almost parallel to the bread, much like slitting open an envelope.  I was so nervous to do it that I think my slit was too tentative and not forceful enough.  It was more like a gash than a slit.  Plus, I discovered the next day that I was holding the lame upside down.  The curve should face down, not up.

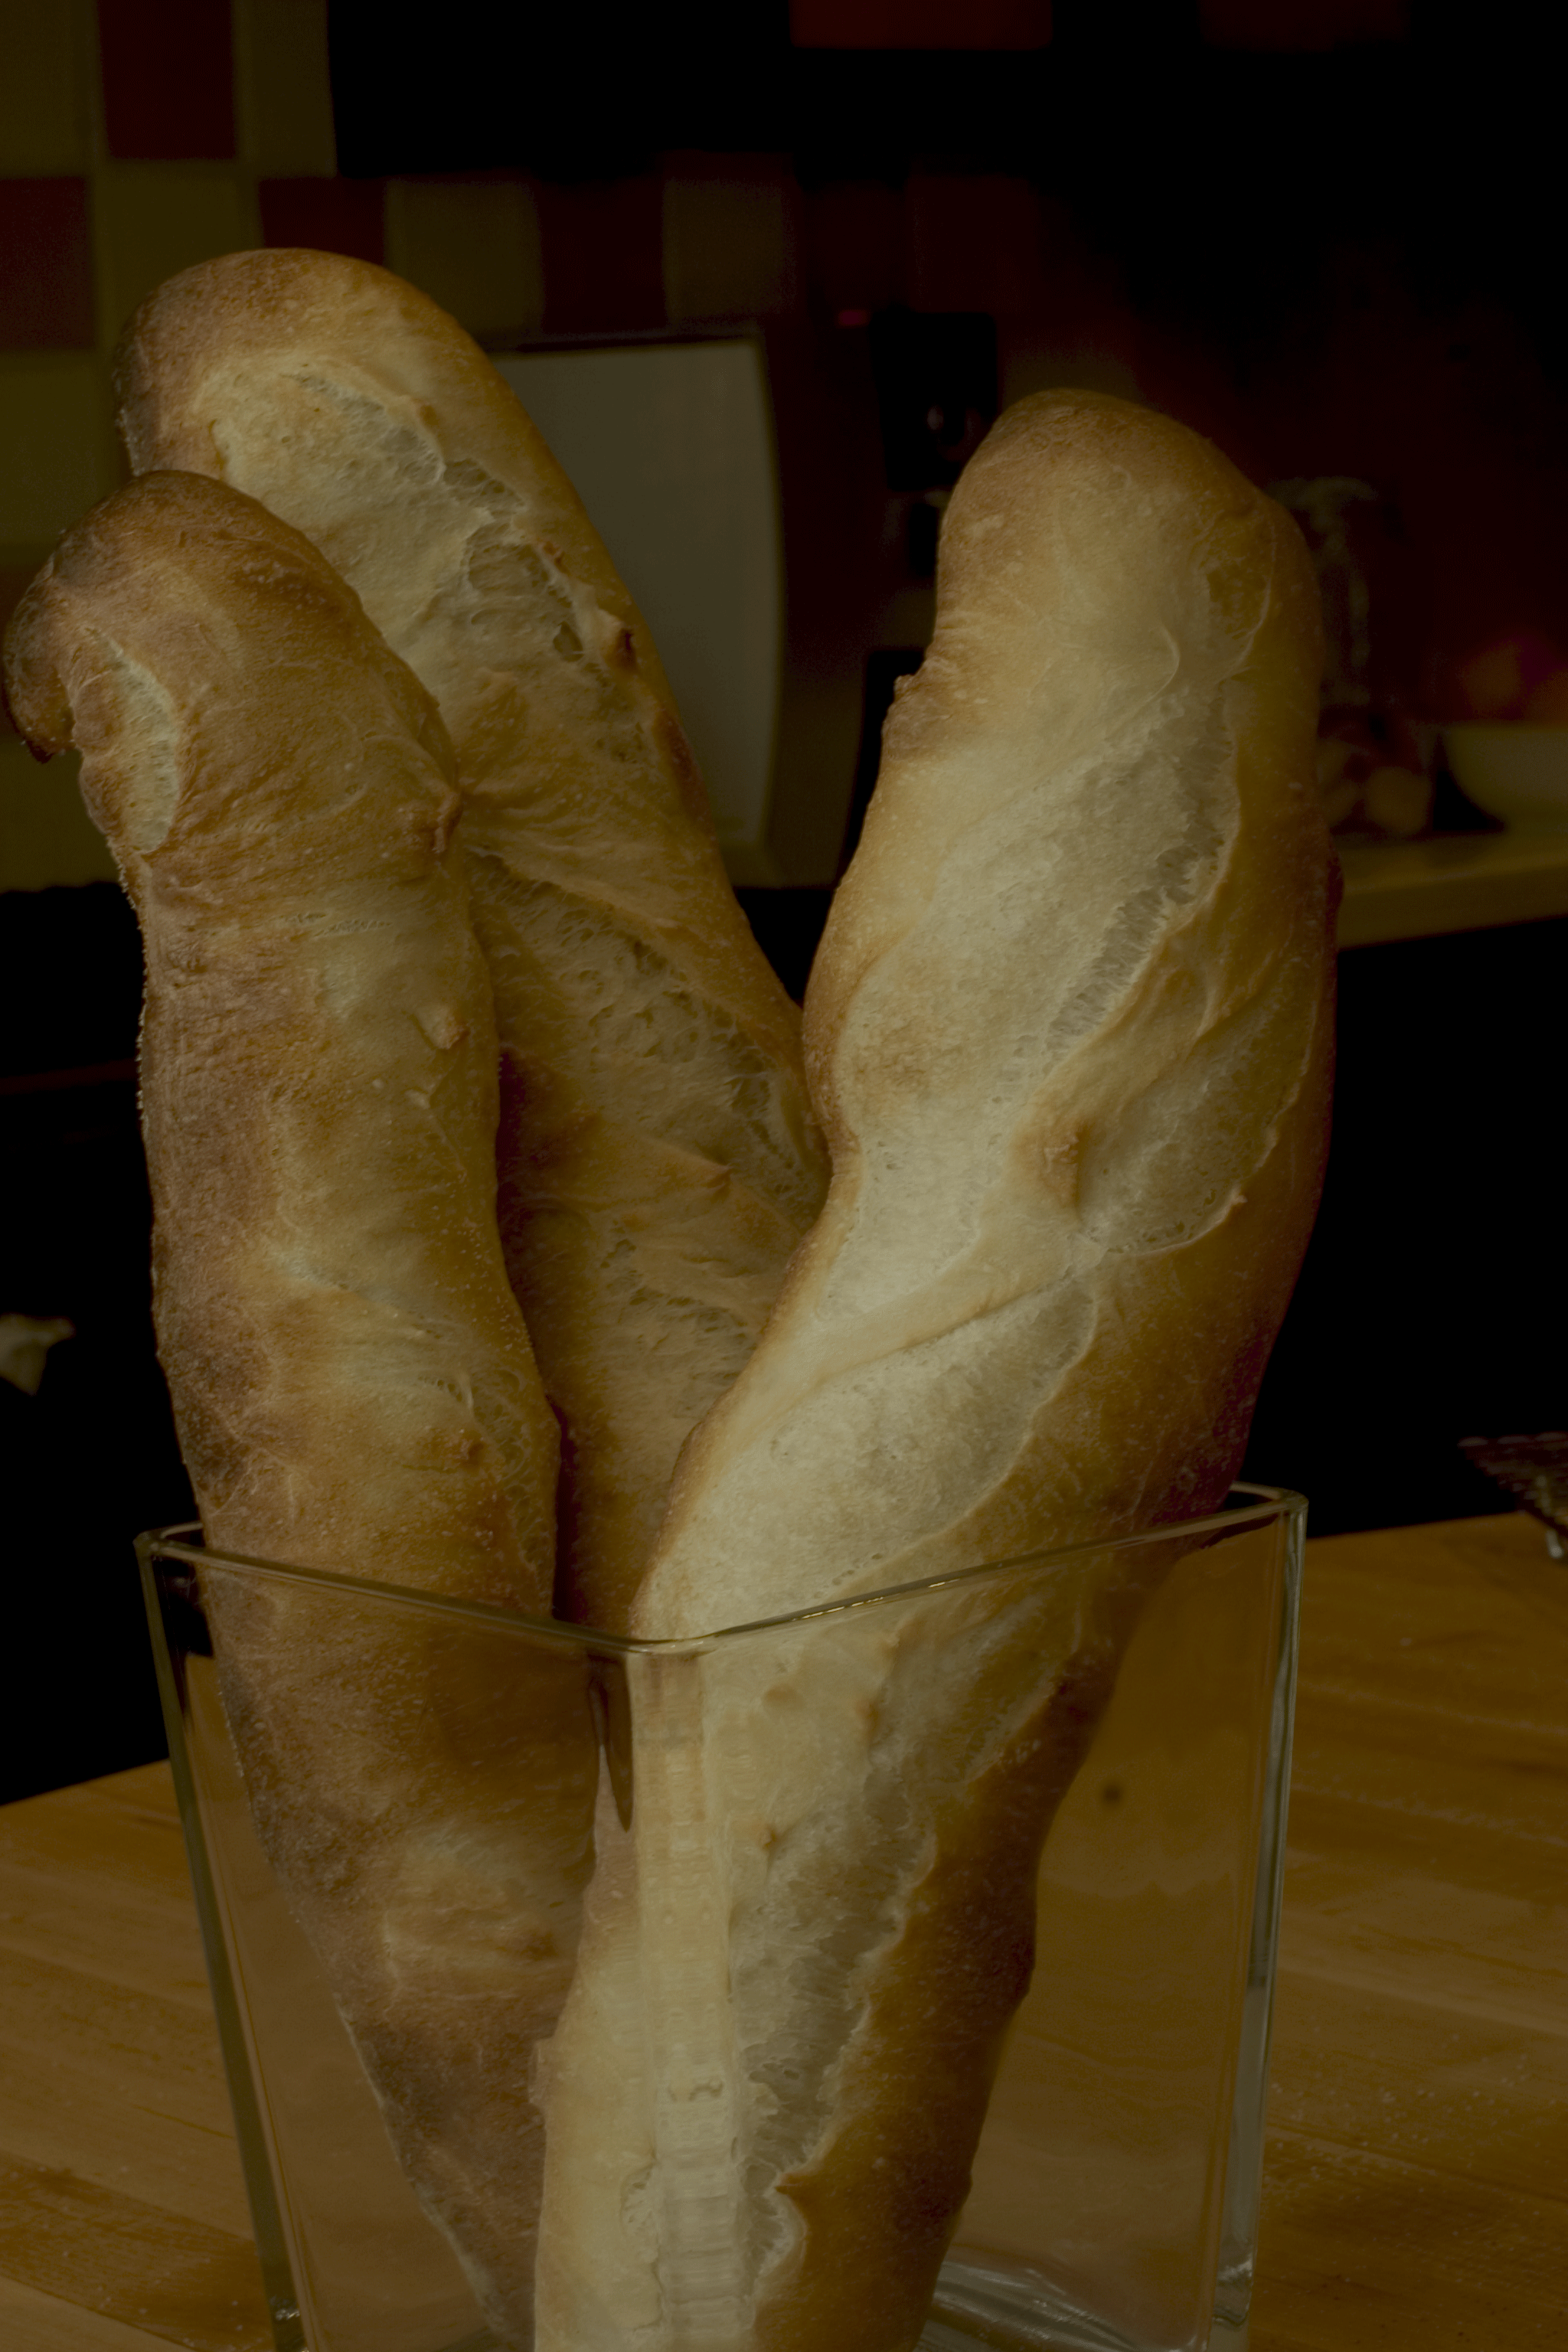
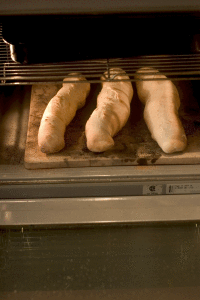
I prepared my peel with cornmeal, carefully transferred the baguettes to the peel, opened the oven, closed my eyes and gave a short jerk with my arm to get the baguettes from the peel onto the baking stone.  When I opened my eyes, I was horrified to see 3 “S” shaped baguettes staring back at me.  I tried as best I could to straighten them out but they were odd looking baguettes.

into-the-oven---a-little-cr

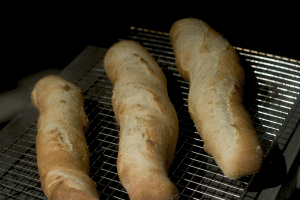
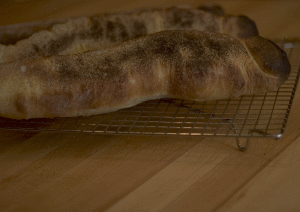
I added hot water to the baking pan to create steam in my oven and sprayed the oven walls twice, at 30 second intervals to create even more steam.  I forgot to turn the oven temperature down and as a result, my baguettes got way too dark on the bottom before the top was sufficiently browned.  In hindsight, I think I should have had the steam pan on the bottom of the oven and the baking stone on the middle rack for more even browning. 

finished-2

bottom-crust-burned

My baguettes definately had personality.  However, they the lacked large irregular holes in the crumb that are the hallmark of a stellar baguette.  Oh well, something to strive for.  They made delicious sandwiches for dinner with grilled lemon-rosemary chicken and chipotle mayo.

crumb-shot

 chicken-sandwiches