May 21, 2009
It’s Week #2 in the Bread Bakers Apprentice Challenge. This week’s bread is Artos, the Greek Celebration Bread. I was curious to learn a little more about this bread and so I did some research. Artos is Greek for leavened bread but in Modern Greek, it has come to mean the bread used in church. On Easter Sunday the priest blesses the bread and sprinkles it with holy water. It is placed on a table where it sits for a week. This week is known as Bright Week, often referred to as Easter Week. Finally 6 days later, on Bright Saturday, the bread is blessed again and only then is the Artos broken and distributed among the whole congregation for eating.
If you were in my house the day I baked my Artos, there is no way you would have been able to wait a week to eat that bread. The smell is intoxicating.
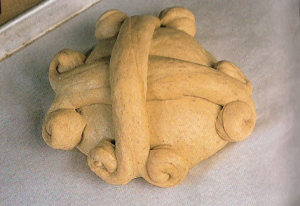
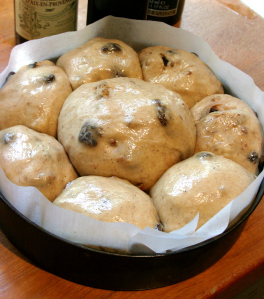
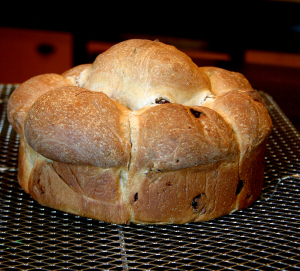
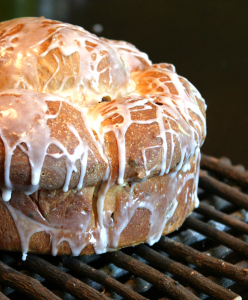
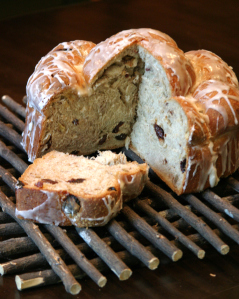
I decided on the second variation, Christopsomos. I could not bring myself to make the little octopus on top, so I formed my bread with the same method I use at Rosh Hashanah (Jewish New Year) when I make a round challah. You can see the method and results in the pictures below. The recipe suggests glazing the bread with a water, sugar and honey mixture but I thought that would be way too sticky. I made a cinnamon bun type of glaze instead. It looked like a giant cinnamon bun but had a totally different flavour.
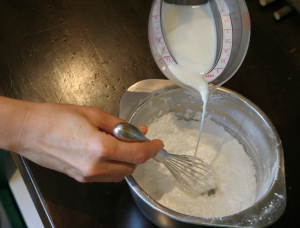
The bread begins with making a “pre-ferment”, which is basically a mixture of flour, water and yeast. The purpose of a pre-ferment is to improve the flavour and structure of the dough. It is basically a starter. I chose to make a “poolish” starter which needs to sit on the counter for 3-4 hours until it comes alive and is all bubbly. Then it can be used right away or refrigerated for up to 4 days. I made mine, let is sit on the counter for 4 hours, put it in the basement fridge and promptly forgot all about it until 4 days later when I went down to the basement fridge to get some milk and saw that thing growing. I realized I had better get my Artos in gear!
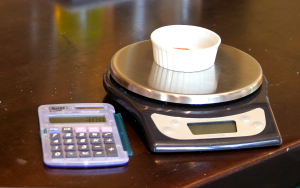
One of my only complaints about the book is that he uses all imperial measurements instead of metric . It is especially difficult when he asks you to weigh out .o55 ounces of yeast. Most scales will weigh in quarter or half increments but this is even less than that. Most scales allow you to switch to grams, so here is a tip for those who are not educated in the ways of metric. Multiply the ounce number by 28. In this example it would be .055 ounces x 28, which equals 1.5 grams. A calculator comes in handy with your scale! I just bought a new Salter scale and I love it.
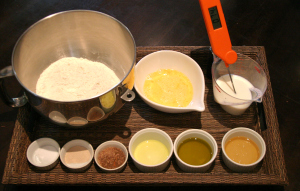
Here is my mise en place all ready to go. I guess I learned something in Culinary school after all.
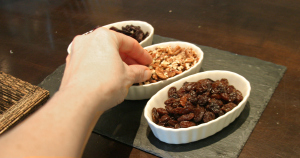
I decided to use raisins, toasted pecans and dried sour cherries. They looked so good, my daughter got into them before I got them into the dough.
Oops, just realized that I forgot to take the Poolish (starter) out of the fridge an hour before making the dough.
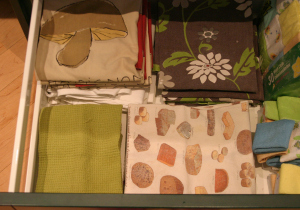
Have to wait an hour before making dough so I decided to kill the time by cleaning out my kitchen drawers. Long overdue. It’s amazing the junk that collects.
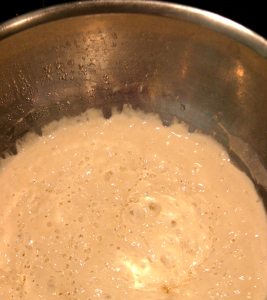
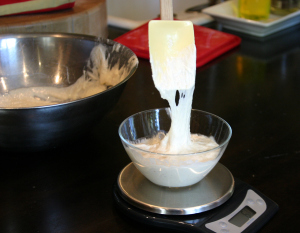
Finally time to add the poolish. It’s very sticky.
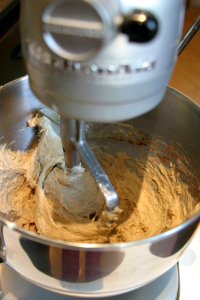
I mixed the dough in the kitchenaid on # 2 speed for about 6 minutes.
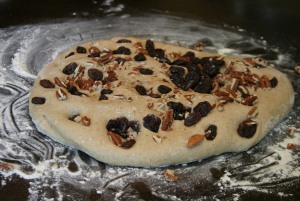
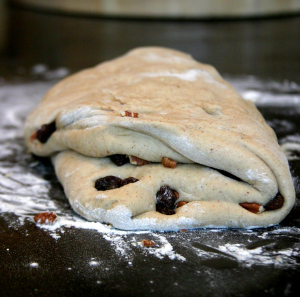
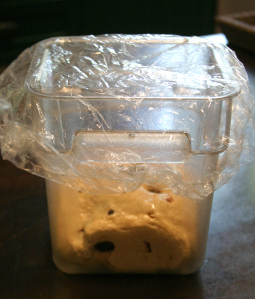
Dough goes into a greased container for the ferment (first rise). Thanks to a tip from fellow BBA Challenger, Paul, I now use disposable shower caps to cover the dough instead of plastic wrap. I can wash and reuse them many times.
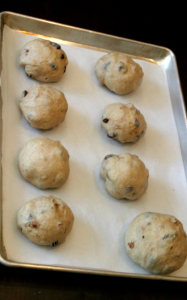
The dough doubled in about 90 minutes. I gently punched down, weighed the dough and divided it into 9 equal pieces. I formed 7 smaller boules and combined the last 2 pieces to form one medium sized boule, for a total of 8 boules.
I lined the bottom and sides of a 9 inch cake pan with parchment and arranged the 7 smaller boules around the edge and the larger one in the center. Another 90 minutes for proofing and this baby was ready for the oven.
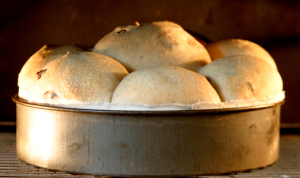
After 20 minutes I couldn’t resist a peek. Great oven spring
Bread just out of the oven.
I decided to mix up a glaze:
2 cups icing sugar
1/4 cup warm milk
1/2 teaspoon vanilla extract
1/2 teaspoon lemon huice
pinch of salt
Poured glaze all over bread.
Let cool and sliced into it. The verdict: my daughter loved it, my son hated it and my husband and I would have liked it better without the cloves and allspice.
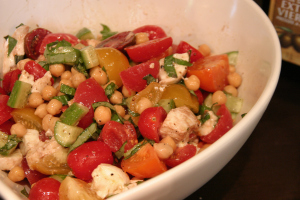
For dinner that night we had a tomato, chick pea, buffalo mozzarella, cucumber, and basil salad with olive oil and balsamic vinegar. I usually add olive bread croutons to this but not tonight. We’ve eaten enough bread for one day.
Next week: Bagels!
Thanks for visiting my site. I’d love to hear from you.

Very nice write up!! I love all the pictures. And your bread is beautiful. It looks like a crown. I’m looking forward to reading more of your posts.
Thanks so much for your kind comments!
I think I left a comment here the first time you published this post, but I’m happy to leave a new one: this is a great post, with great pictures! And you say you were new to blogging? I would ever have guessed.
Your Christopsomos look gorgeous!
Thanks for re-commenting. It’s greatly appreciated.
This is a lovely description of an even lovelier loaf. I added this to my “Others Blogging this Bread” section. Love the twig tray, too. (I must start collecting interesting props, the ugly kitchen counter is getting tedious).
Bravo on the new blog.
Thanks Paul. The photograrhy and food styling is almost as much fun as the baking for me.
I think it turned out beautifully, and I love all the pictures!
Thanks so much for stopping by.
Pingback: Artos: Greek Celebration Bread — Pinch My Salt
Love the iced, bubbly version. And congratulations on the new blog!
Do you ship samples?
Wonderful and very serene!
Will you be posting your previous articles on your blog archive?
I am so impressed with your blog, the quality of text and pictures, cannot wait for the next recipe….
looks really good!!!! good luck with bagels
Lovely post on Artos. And the bread is beautiful.
Mahleb + mastic is the milder alternative to the spices. I made a second batch (half a recipe) using these and liked the flavor although I love the cinnamon, nutmeg, etc. spices.
Looks great! I love how you rolled the dough into balls and baked in the cake pan. I wish I’d thought of that! 🙂
Pingback: The Bread Baker’s Apprentice Challenge: Artos Greek Celebration Bread (Week Two) « In Good Taste
I love what you did with the boules! I did mine savory, with no glaze, but yours looked really scrumptious with the icing and the puffs of dough!
Keep up the great work!
~devany, Hilo, HI
http://www.myhawaiianhome.blogspot.com
You people are impressive. I love reading your blogs showing all the work that goes into doing the bread and on top of that you blog about it also. WOW! Great job!!
Thanks for the compliment! Glad you enjoyed the post.
Informative and entertaining. I’ve added your blog to my “reading material.” Keep me updated!
I love how you formed your bread…that is such a neat technique…I had trouble getting those little octopus arms to stay down hugging the sides. Your photos/tutorial = wonderful! Thanks for taking the time to do all this. I have to remember to get back here each week! Great looking bread…truly beautiful.
Thanks. I appreciate your comments.
da best. Keep it going! Thank you
Hi, interest post. I’ll write you later about few questions!
Hi, very nice post. I have been wonder’n bout this issue,so thanks for posting
I love the way you baked the Artos! What a wonderful presentation. Mine tastes delicious (I made the plain variety with the sugar/honey glaze) but it looks like a huge, flying saucer. I’m going to adopt your method next time. Great post. (Here’s mine if you’re interested: http://strangerkiss.wordpress.com/2009/06/18/artos-bread/)
Salt –
I love your variation on the bread shaping. And a nice glaze, too. It looks mighty tasty!
We finished ours yesterday (still others streaming in), if you are curious –
http://akuindeed.com/?p=3236
Pingback: The Bread Baker ‘ s Apprentice Challenge: Artos Greek Celebration Bread (Week Two)
Pingback: Addictive Blogger Award «